Helpful Information
Timing: Late winter to early spring
Where to do it: Outdoors
Garden space: Large garden
Timing: Late winter to early spring
Where to do it: Outdoors
Garden space: Large garden
Planting and growing your own living willow structure is very rewarding. It’s an activity that uses lots of different skills, from designing the structure, to spacing the willow rods, to caring for it. It can also be a great activity to do as a group.
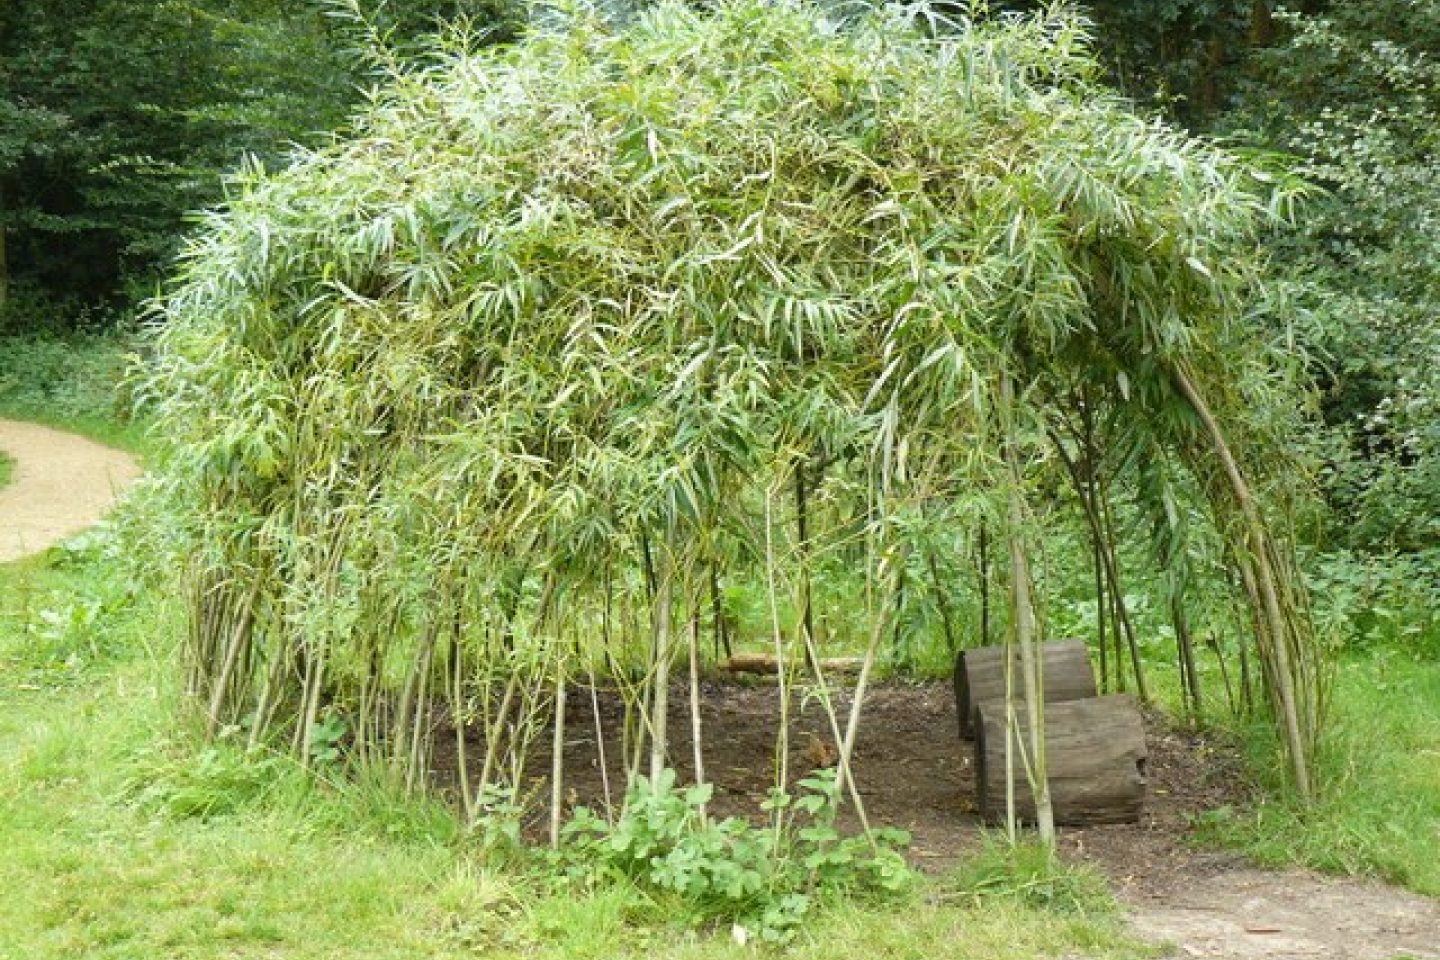
Your living willow structure can become a garden feature that is full of interest and supports wildlife. As willow grows so fast (up to 2m growth a year), you don’t have to wait long to see the results!
What type of structure to make
There are lots of different types of willow structure you could create, such as:
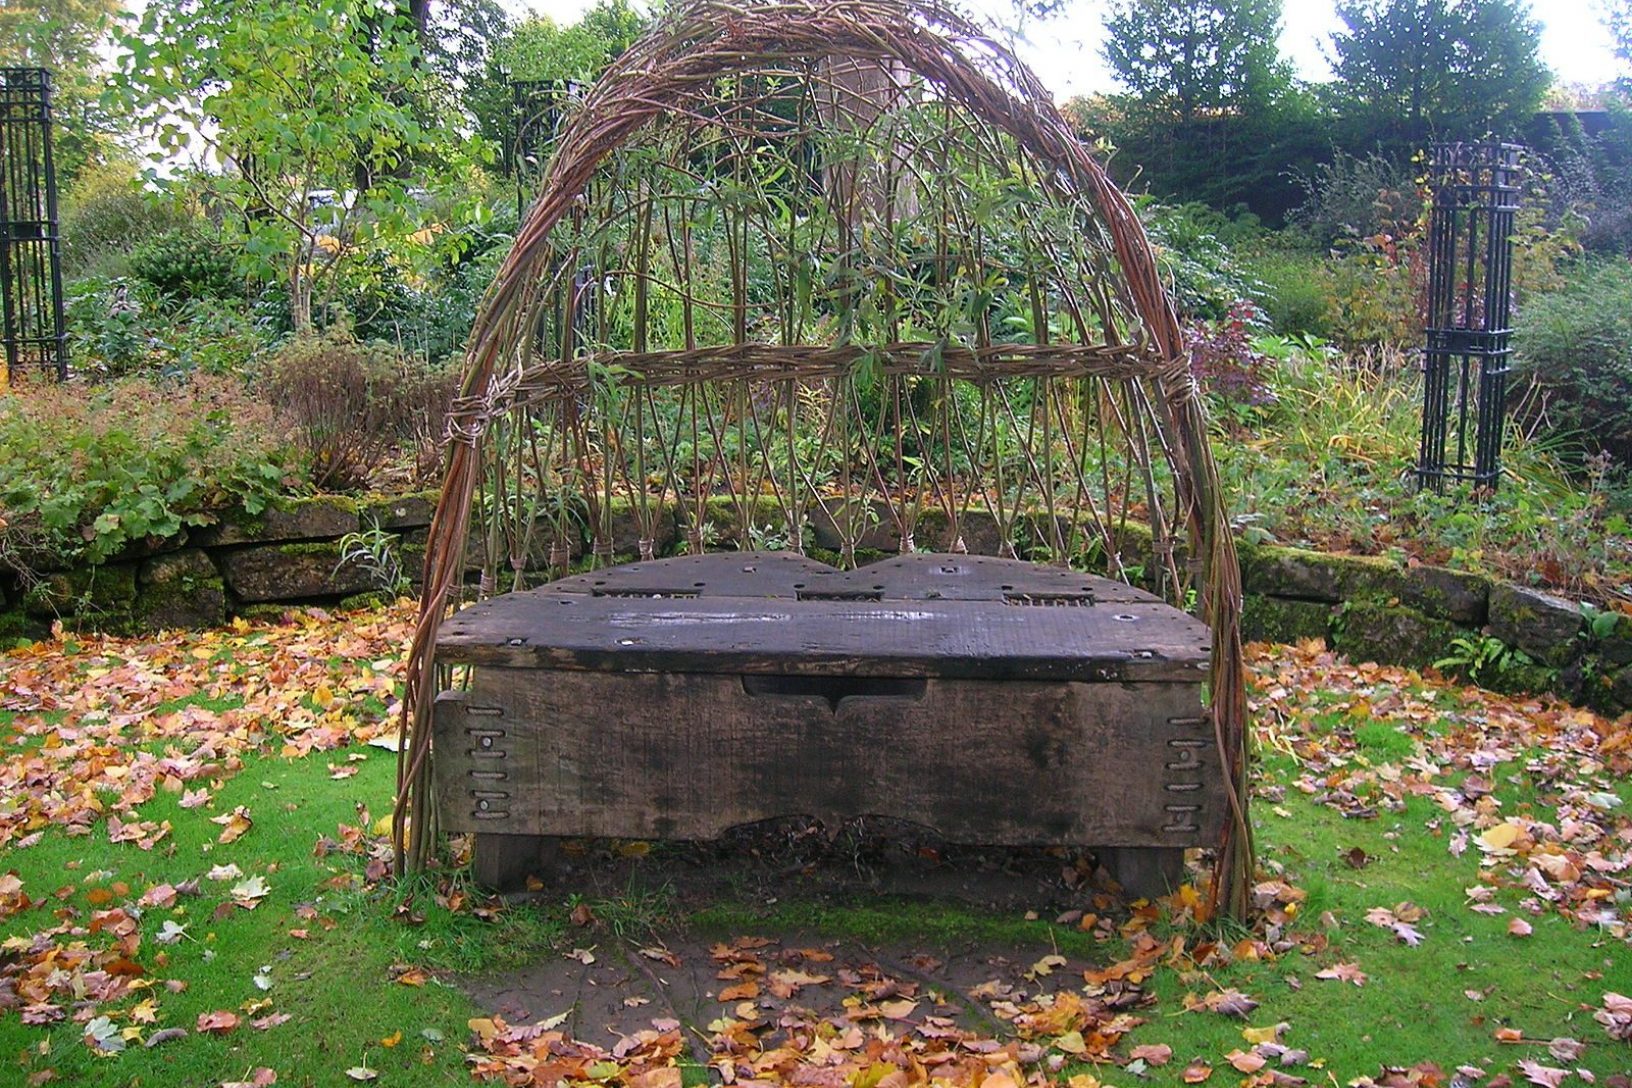
The right one for you will depend on the space you have available and how you hope to use it. Domes are particularly popular, creating a secluded space to sit in the garden.
It is a good idea to refer to specific instructions for the feature you are intending to build. The guide below gives general advice to get you going.
What type of willow to use
Willow structures can be made from any kind of freshly cut willow. This is also known as 'green willow' (even if it's not green in colour). Willow that has been cut and dried is known as 'brown willow'.
You can buy freshly cut willow from specialist willow growers online. It may also be available from local conservation groups.
Common varieties for living willow structures include Salix alba var. vitellina, Salix viminalis and Salix purpurea.
Ideally, you want long, straight willow rods without branching to create your structure.
You can now buy living willow kits from a variety of online retailers. These come with the right number and size of willow rods needed and will generally include detailed construction instructions.
When to plant your structure
Living willow is best planted in late winter to early spring. At this time the plant is dormant (i.e. the new leaves haven't yet start to grow). This will help give the plant the best start once it gets growing in the spring.
Ideally, plant willow as soon as possible after it arrives. If you cannot plant it out quickly, place the thick end of the rods in water. Before you start planting, cut off the bottom 10cm of the rod to remove any willow that has dried out.
Where to plant your structure
Ideally, place your living willow structure in a sunny but moist part of the garden. Willow will grow in a slightly shady spot, but willow planted in bright sunshine will have the best colour. Too much shade may cause it to die back.
The roots of the willow will seek out sources of water. Don’t plant it too close to pipes or drainage systems! Try to have it as far as possible from any buildings.
Sign up for our free Gardening Club newsletter, full of seasonal tips, inspiration and entertainment.
Sign upEssential items
Optional items
Gather all the tools you need to complete this task first. Then, follow these steps to plant a living willow structure with ease.
Step 1: Mark out the shape of the structure
Mark out the shape your structure will make on the ground. You could use a spade or edger to do this.
Step 2: Clear grass and weeds
Clear all grass and weeds from the planting area. Use a spade to do this. Place debris on the compost pile or in the garden waste. A bucket or container may make it easier to collect and carry debris.
Putting down weed control fabric will avoid you having to weed around the structure in the future. If you are planning to use it, peg the fabric in place before you start planting your willow rods.
Step 3: Make your planting holes
Use a long-handled dibber or planting spike to make your planting holes. If you have used weed control fabric, make the holes through this.
Refer to the instructions for your specific structure for the quantity and spacing of holes. About 25-30cm apart is usually a good distance.
Step 4: Plant the upright / frame willow rods
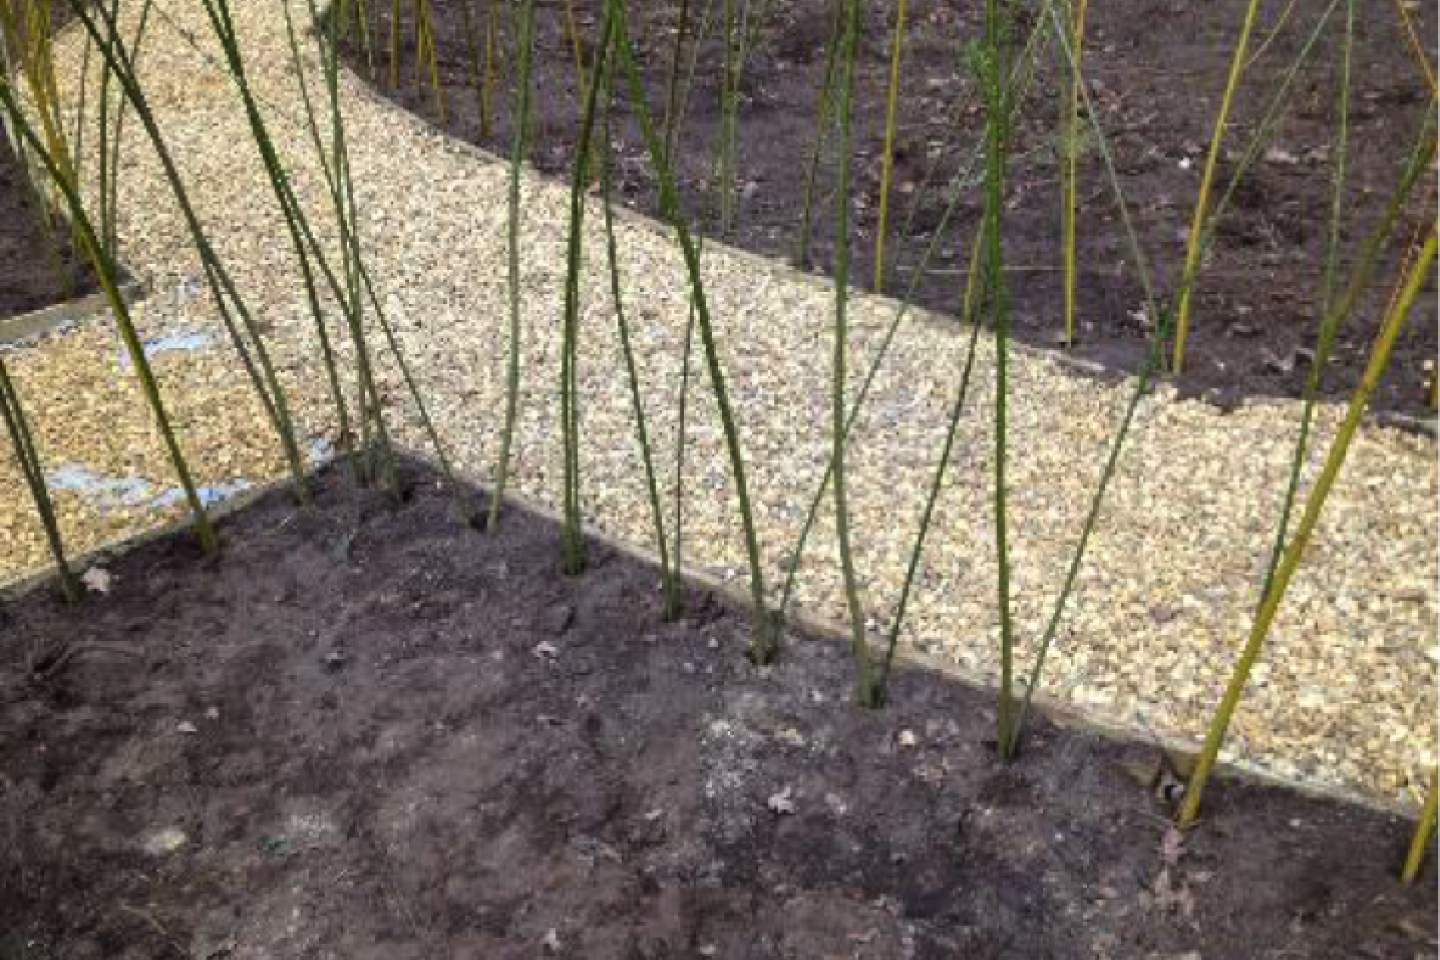
Start by positioning the largest willow rods in the planting holes. these will sit upright and create the basic frame. Push them in about 30cm deep. You can use your feet to firm the soil back around.
Step 5: Bend the upright rods to create the shape
Once your upright rods are in place, take two rods opposite each other and bend them over to make the top of the dome (or tunnel). Twist them around each other. Loosely tie the willow together with garden string or twine to hold the structure in place.
Keep going with all opposite rods until they are all tied in.
If you find tying string fiddly, you can use cable ties.
The length of your upright rods will determine how tall your structure is. If you keep your structure a little less high, it will be easier to maintain as it grows.
Step 6: Add the remaining rods at a diagonal angle
Now, add in the rest of the willow rods at a diagonal. You want to plant two between each set of uprights at an angle of about 45 degrees. Have them so they face and cross over with each other first.
You will weave each diagonal rod towards the top by going over and under each of the uprights. You may want to tie the willow in place where it crosses each upright, particularly when you start weaving. As more bits get woven in, it should start to hold its structure. Over time the willow may graft together where it crosses.
Step 7: Mulch and water
Once you have finished weaving all your rods in, put down a thick layer of bark chippings or other mulch around the base of the structure. This will keep in moisture and keep the weeds down. You can do this even if you have used weed control fabric.
Water thoroughly.
Congratulations, you have created your living willow structure! Make sure to celebrate your achievement and enjoy watching it grow.
Keep your willow structure well watered during its first year.
If any of the rods do not take, you can remove them and replace them with new rods the following year.
Your willow will grow fast! You could trim it several times a year to keep it looking smart. Or, you could give it one good hair cut in winter.
Any rods growing on the sides of the structure can be woven in to thicken the sides and top.

Chitting or sprouting potatoes is a fun activity to do. It is simply the process of forcing seed potatoes into growth before they are planted out.