
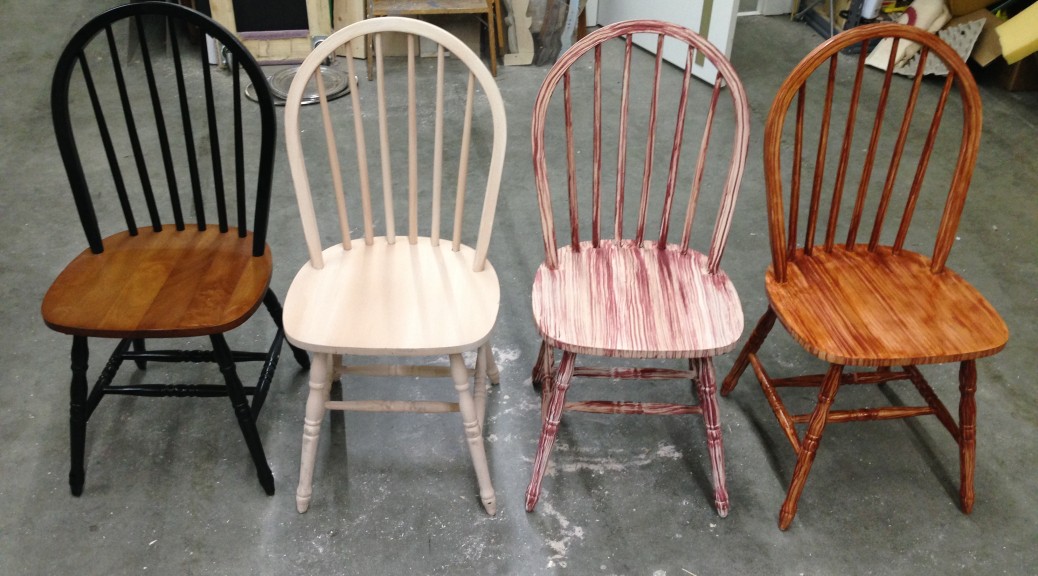
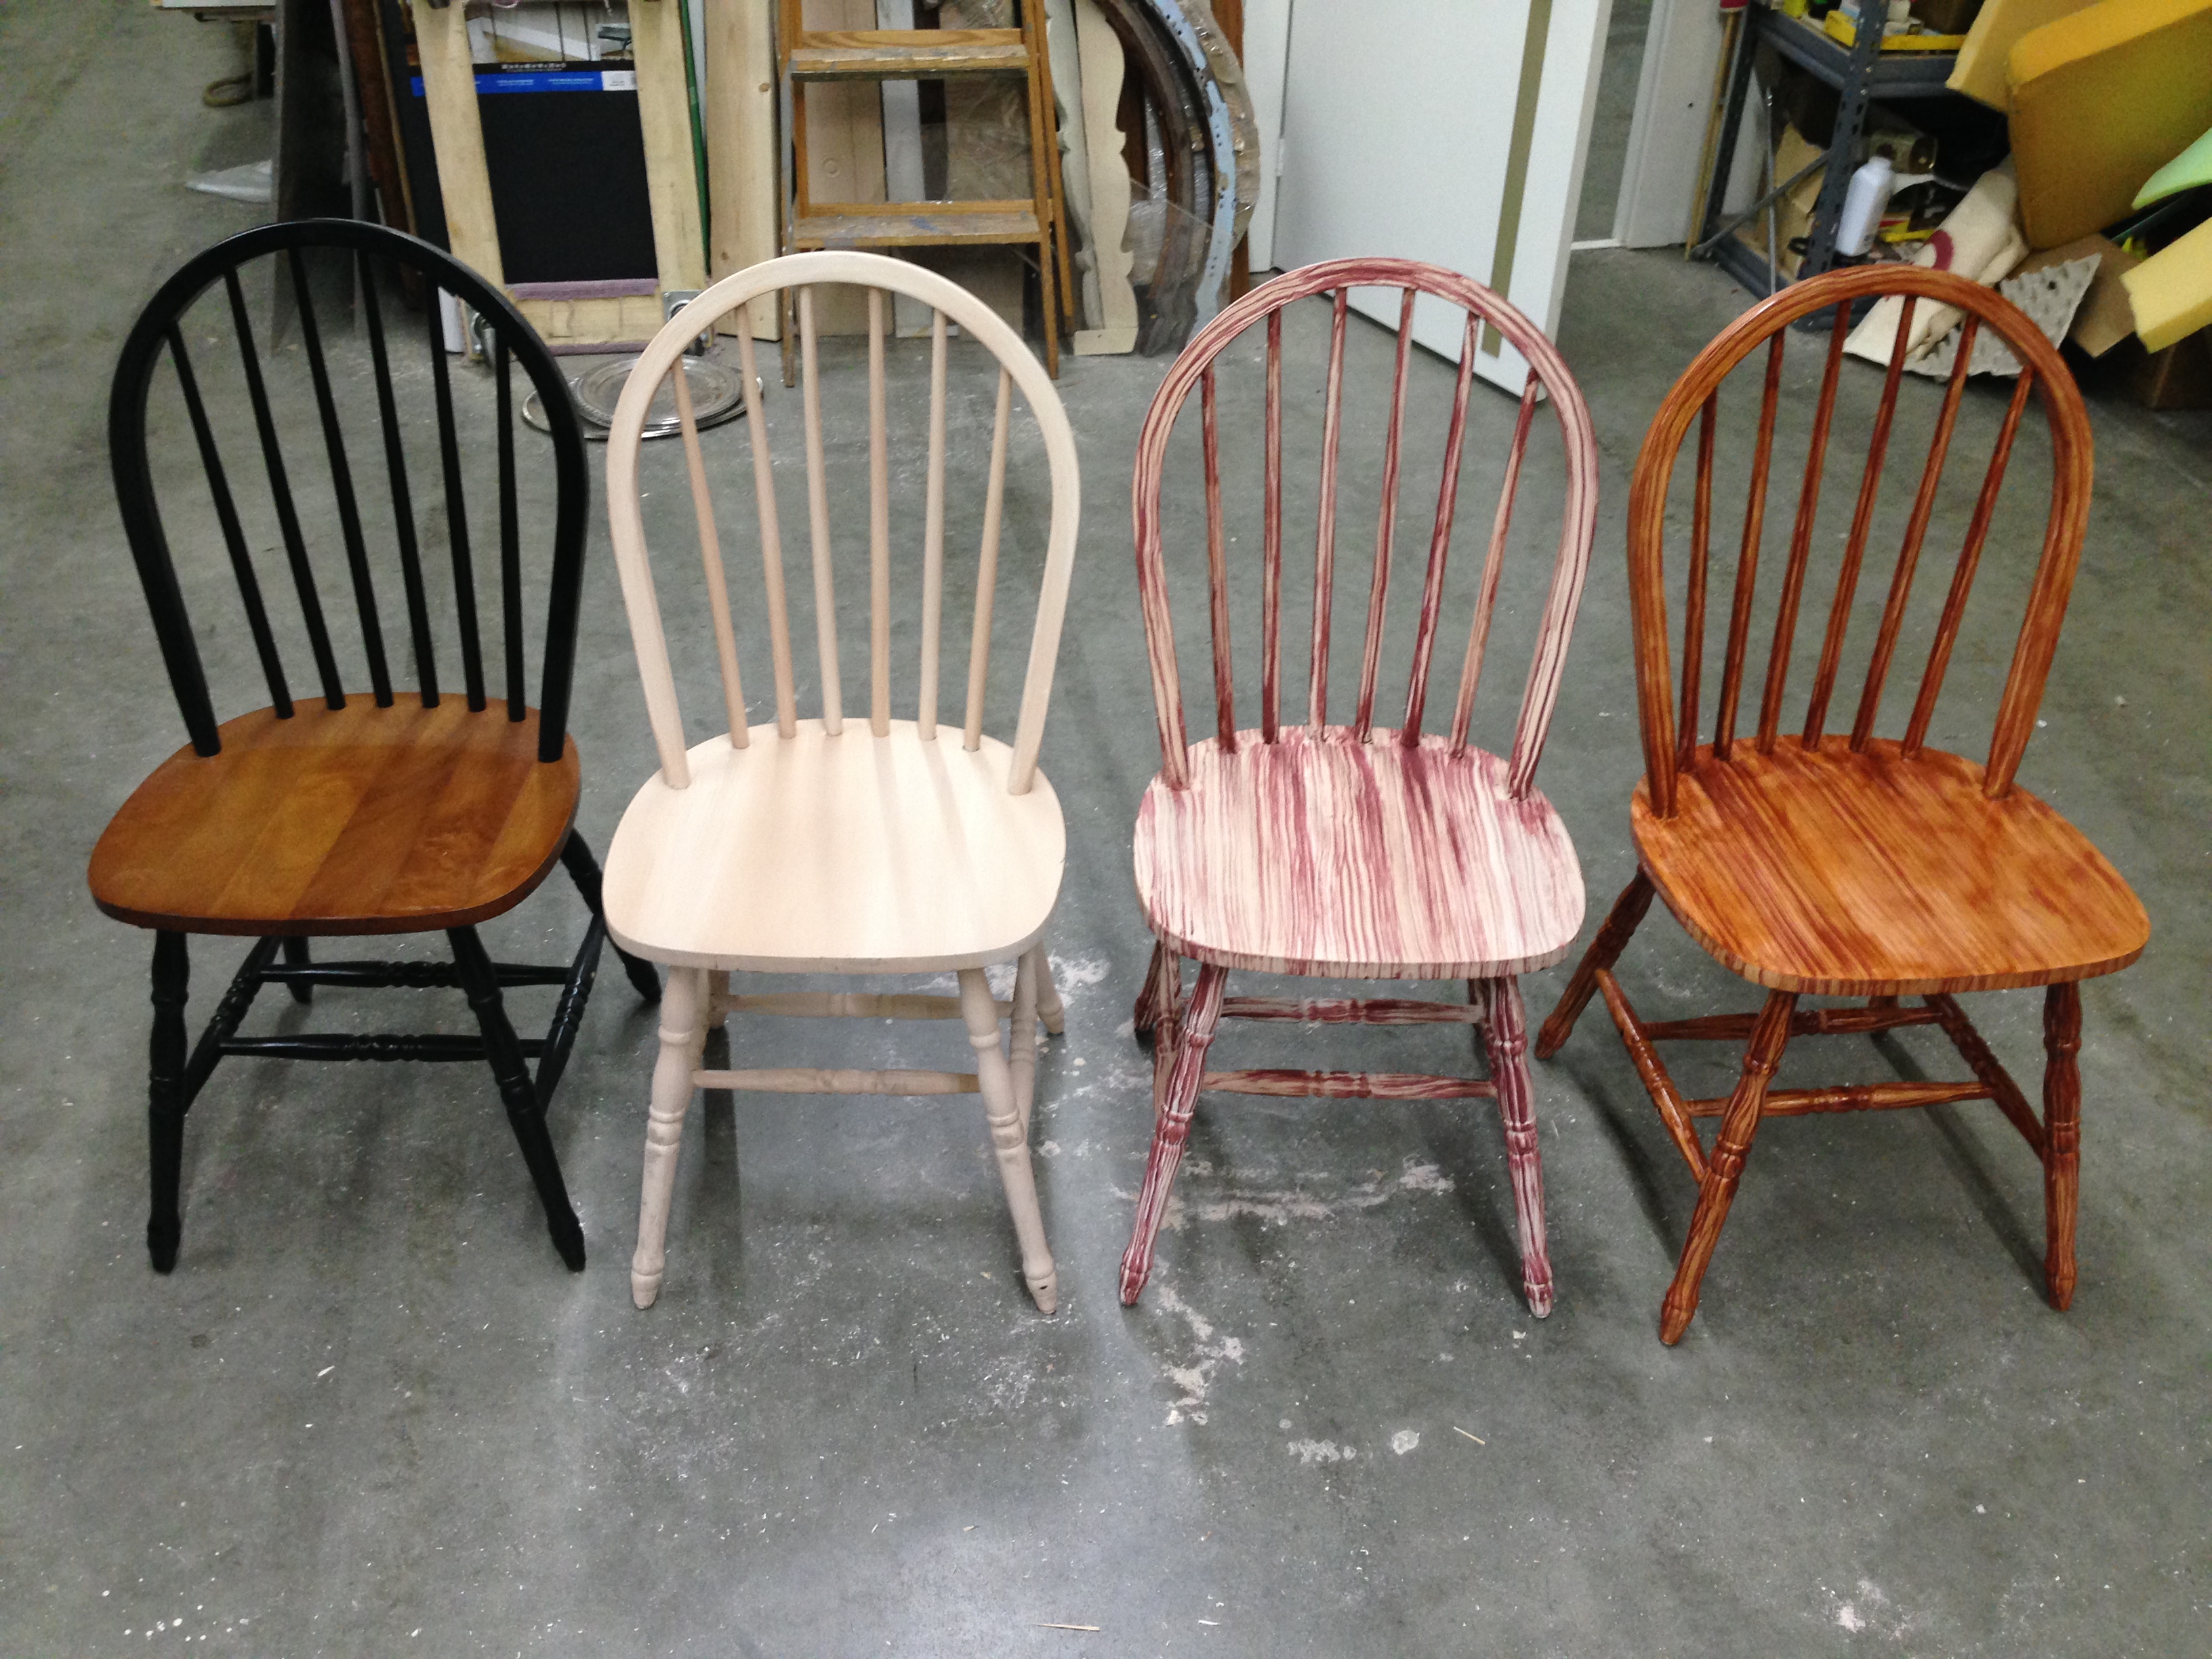
Our production of Anna Christie closed last night at Triad Stage. The first act takes place in a bar, filled with wooden furniture. The bar, tables and chairs all needed to match, and since they were constructed from a variety of wood and other materials, the best way to do that was by painting all of them.
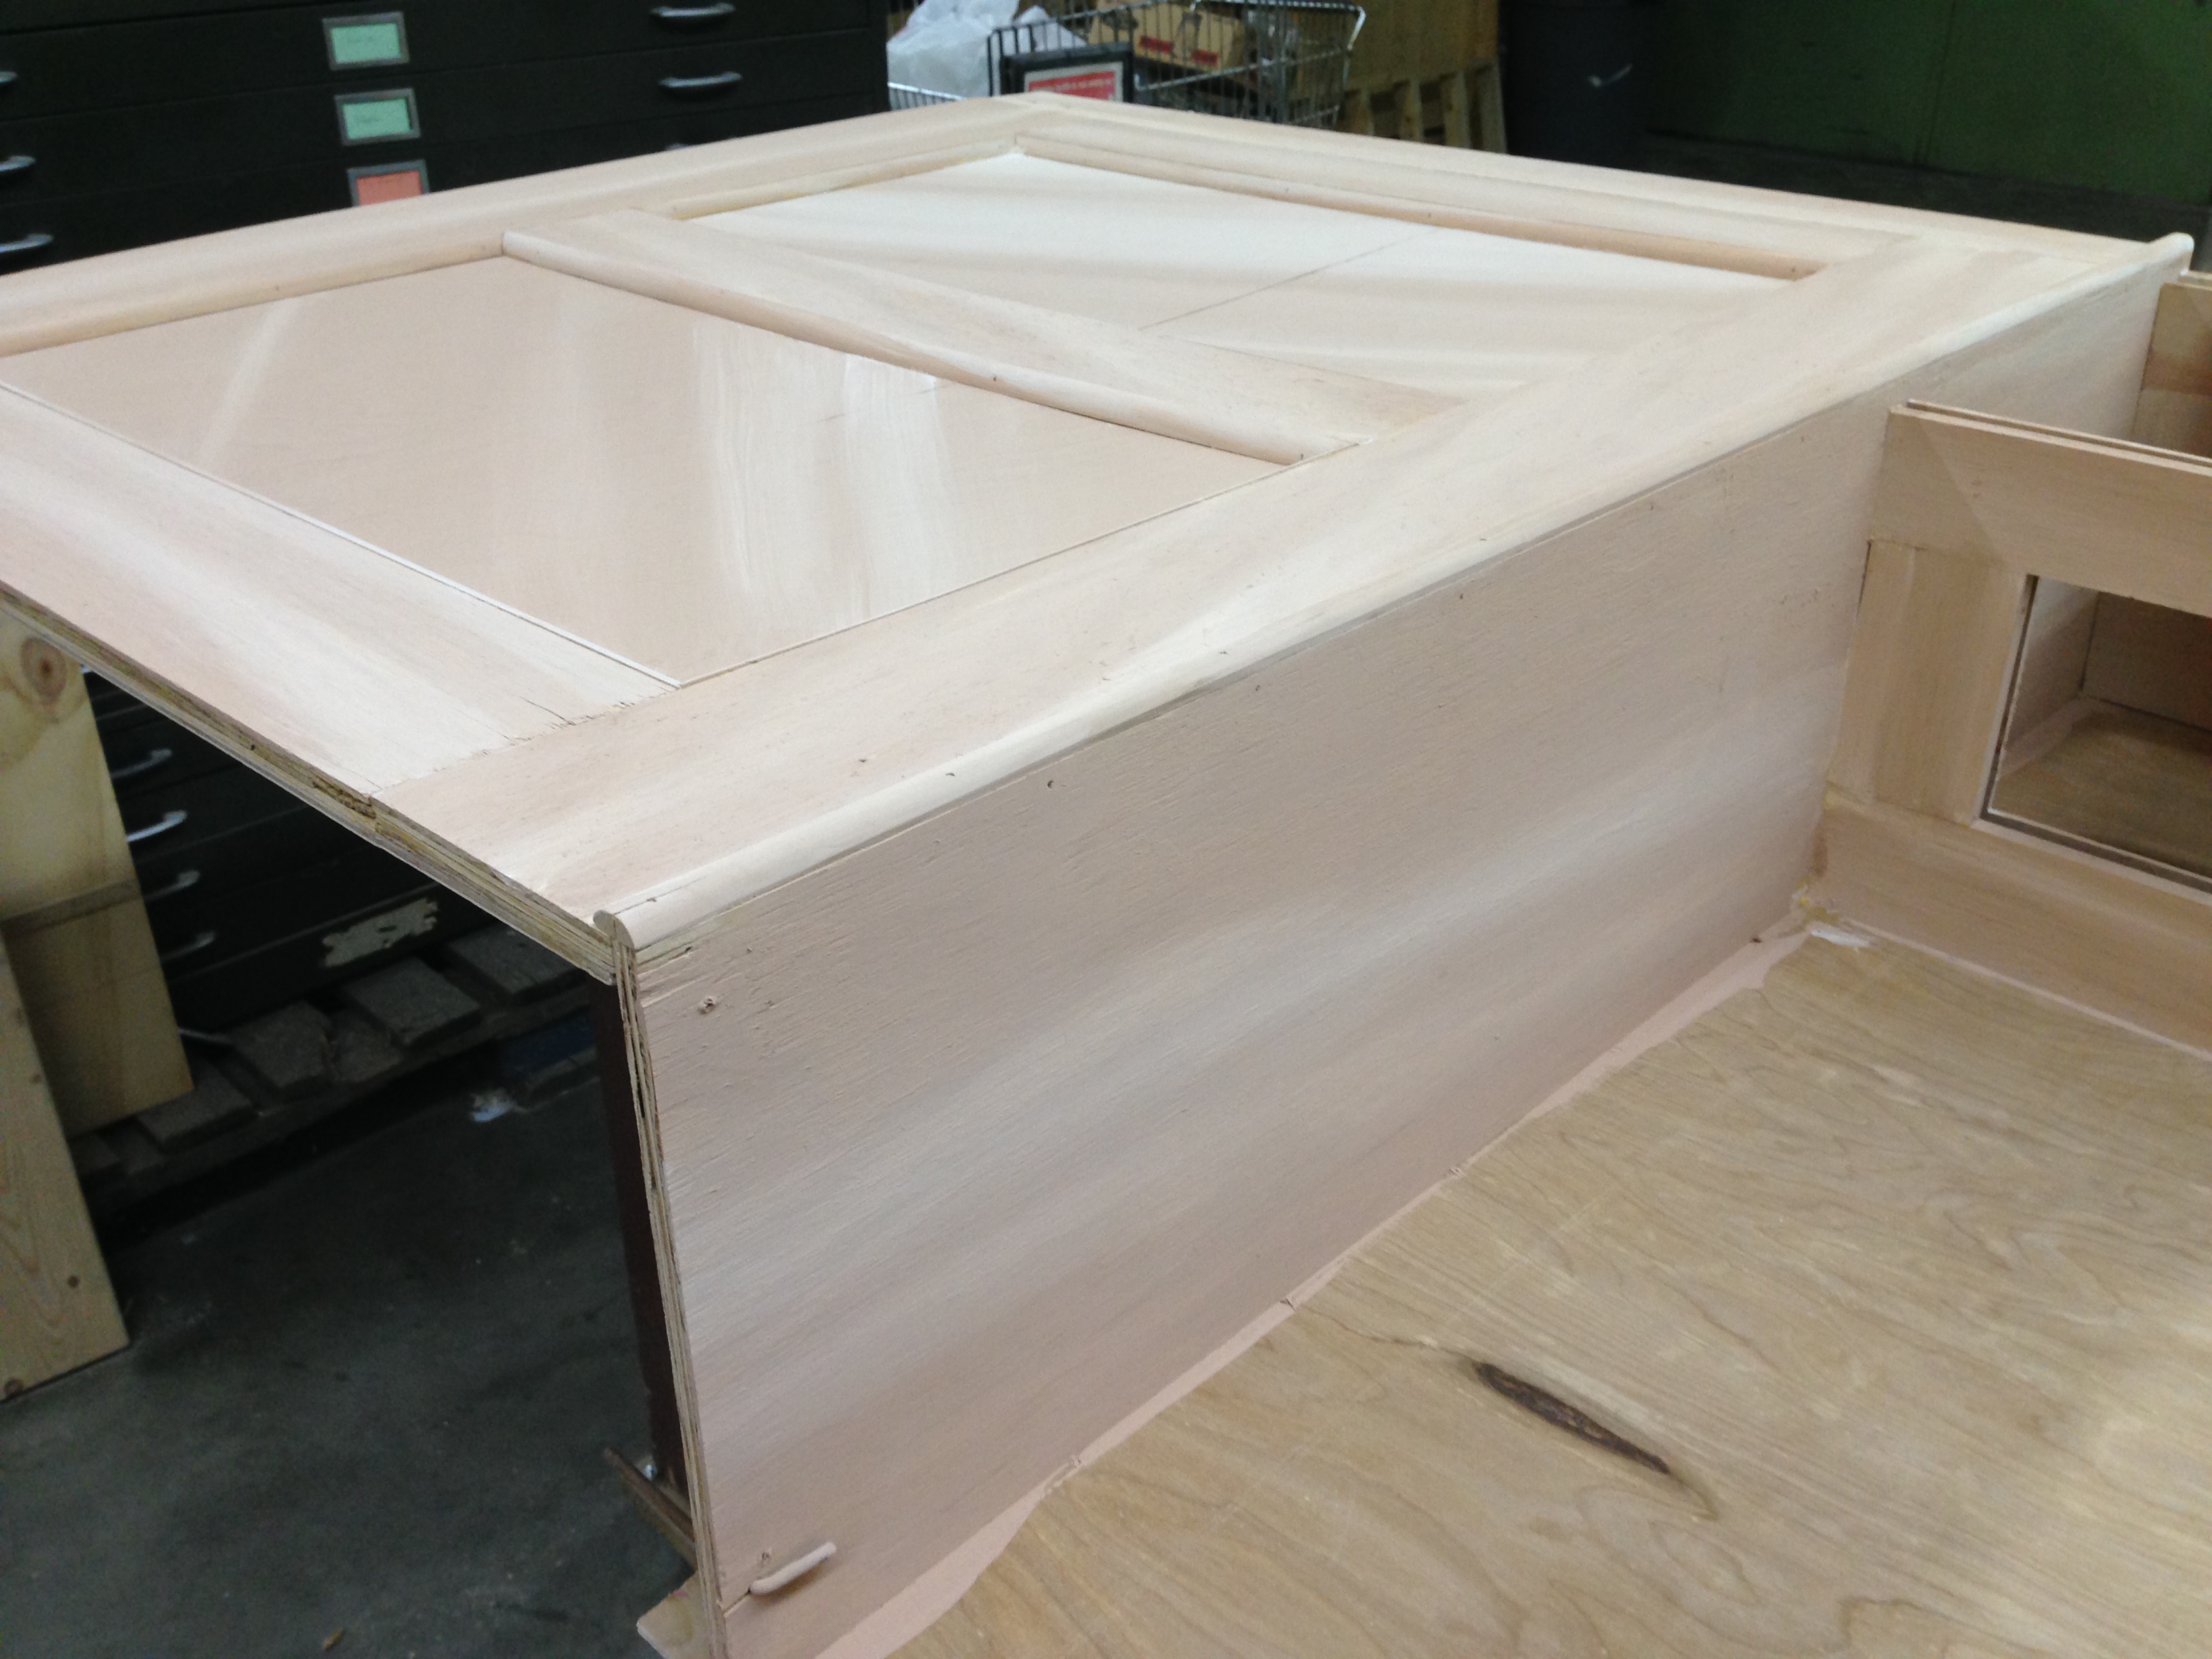
Our scenic charge artist, Jessica Holcombe, helped us develop a process to match the wood sample that our designer picked out. The base coat was a wet blend of two colors: a light tan, and a slightly darker beige. We blended them in the direction that the fake grain would go.
The next layer was a maroon/pink graining layer. A lot of the graining was done simply with a chip brush lightly dragged along the surface to make stripes. For some of the larger surfaces, we broke out the grain rocker to make some knots and other grain characteristics.
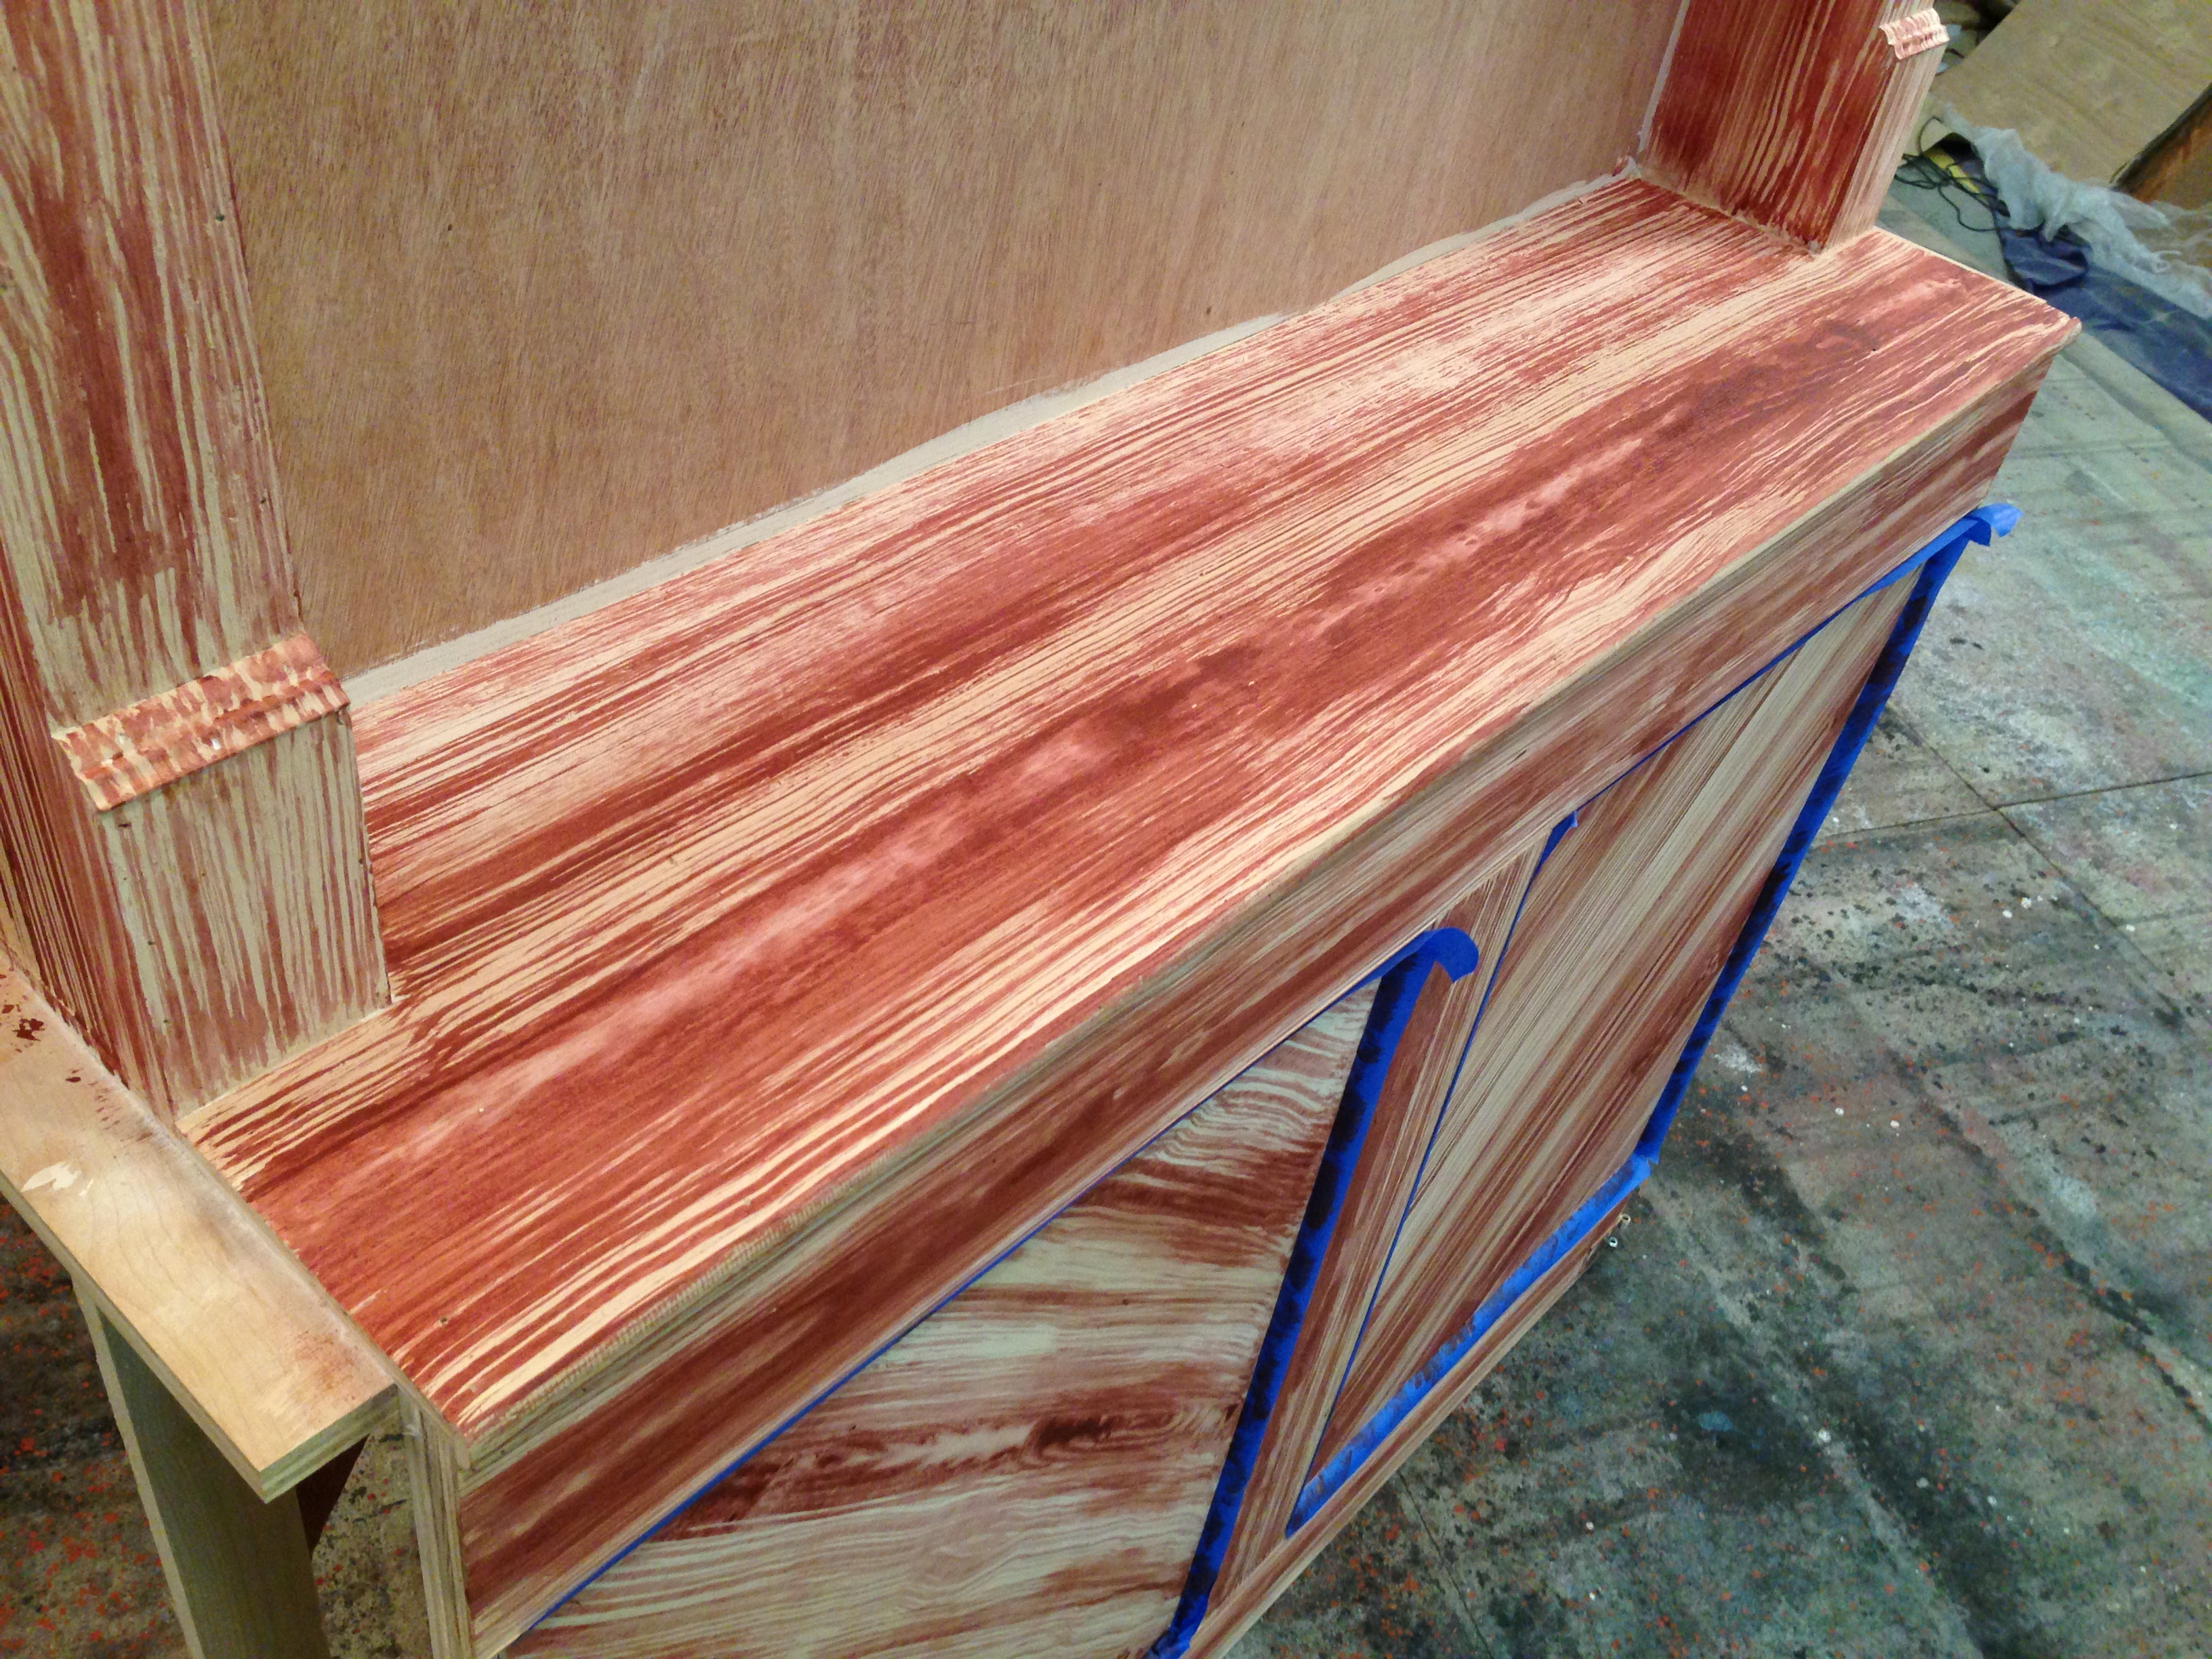
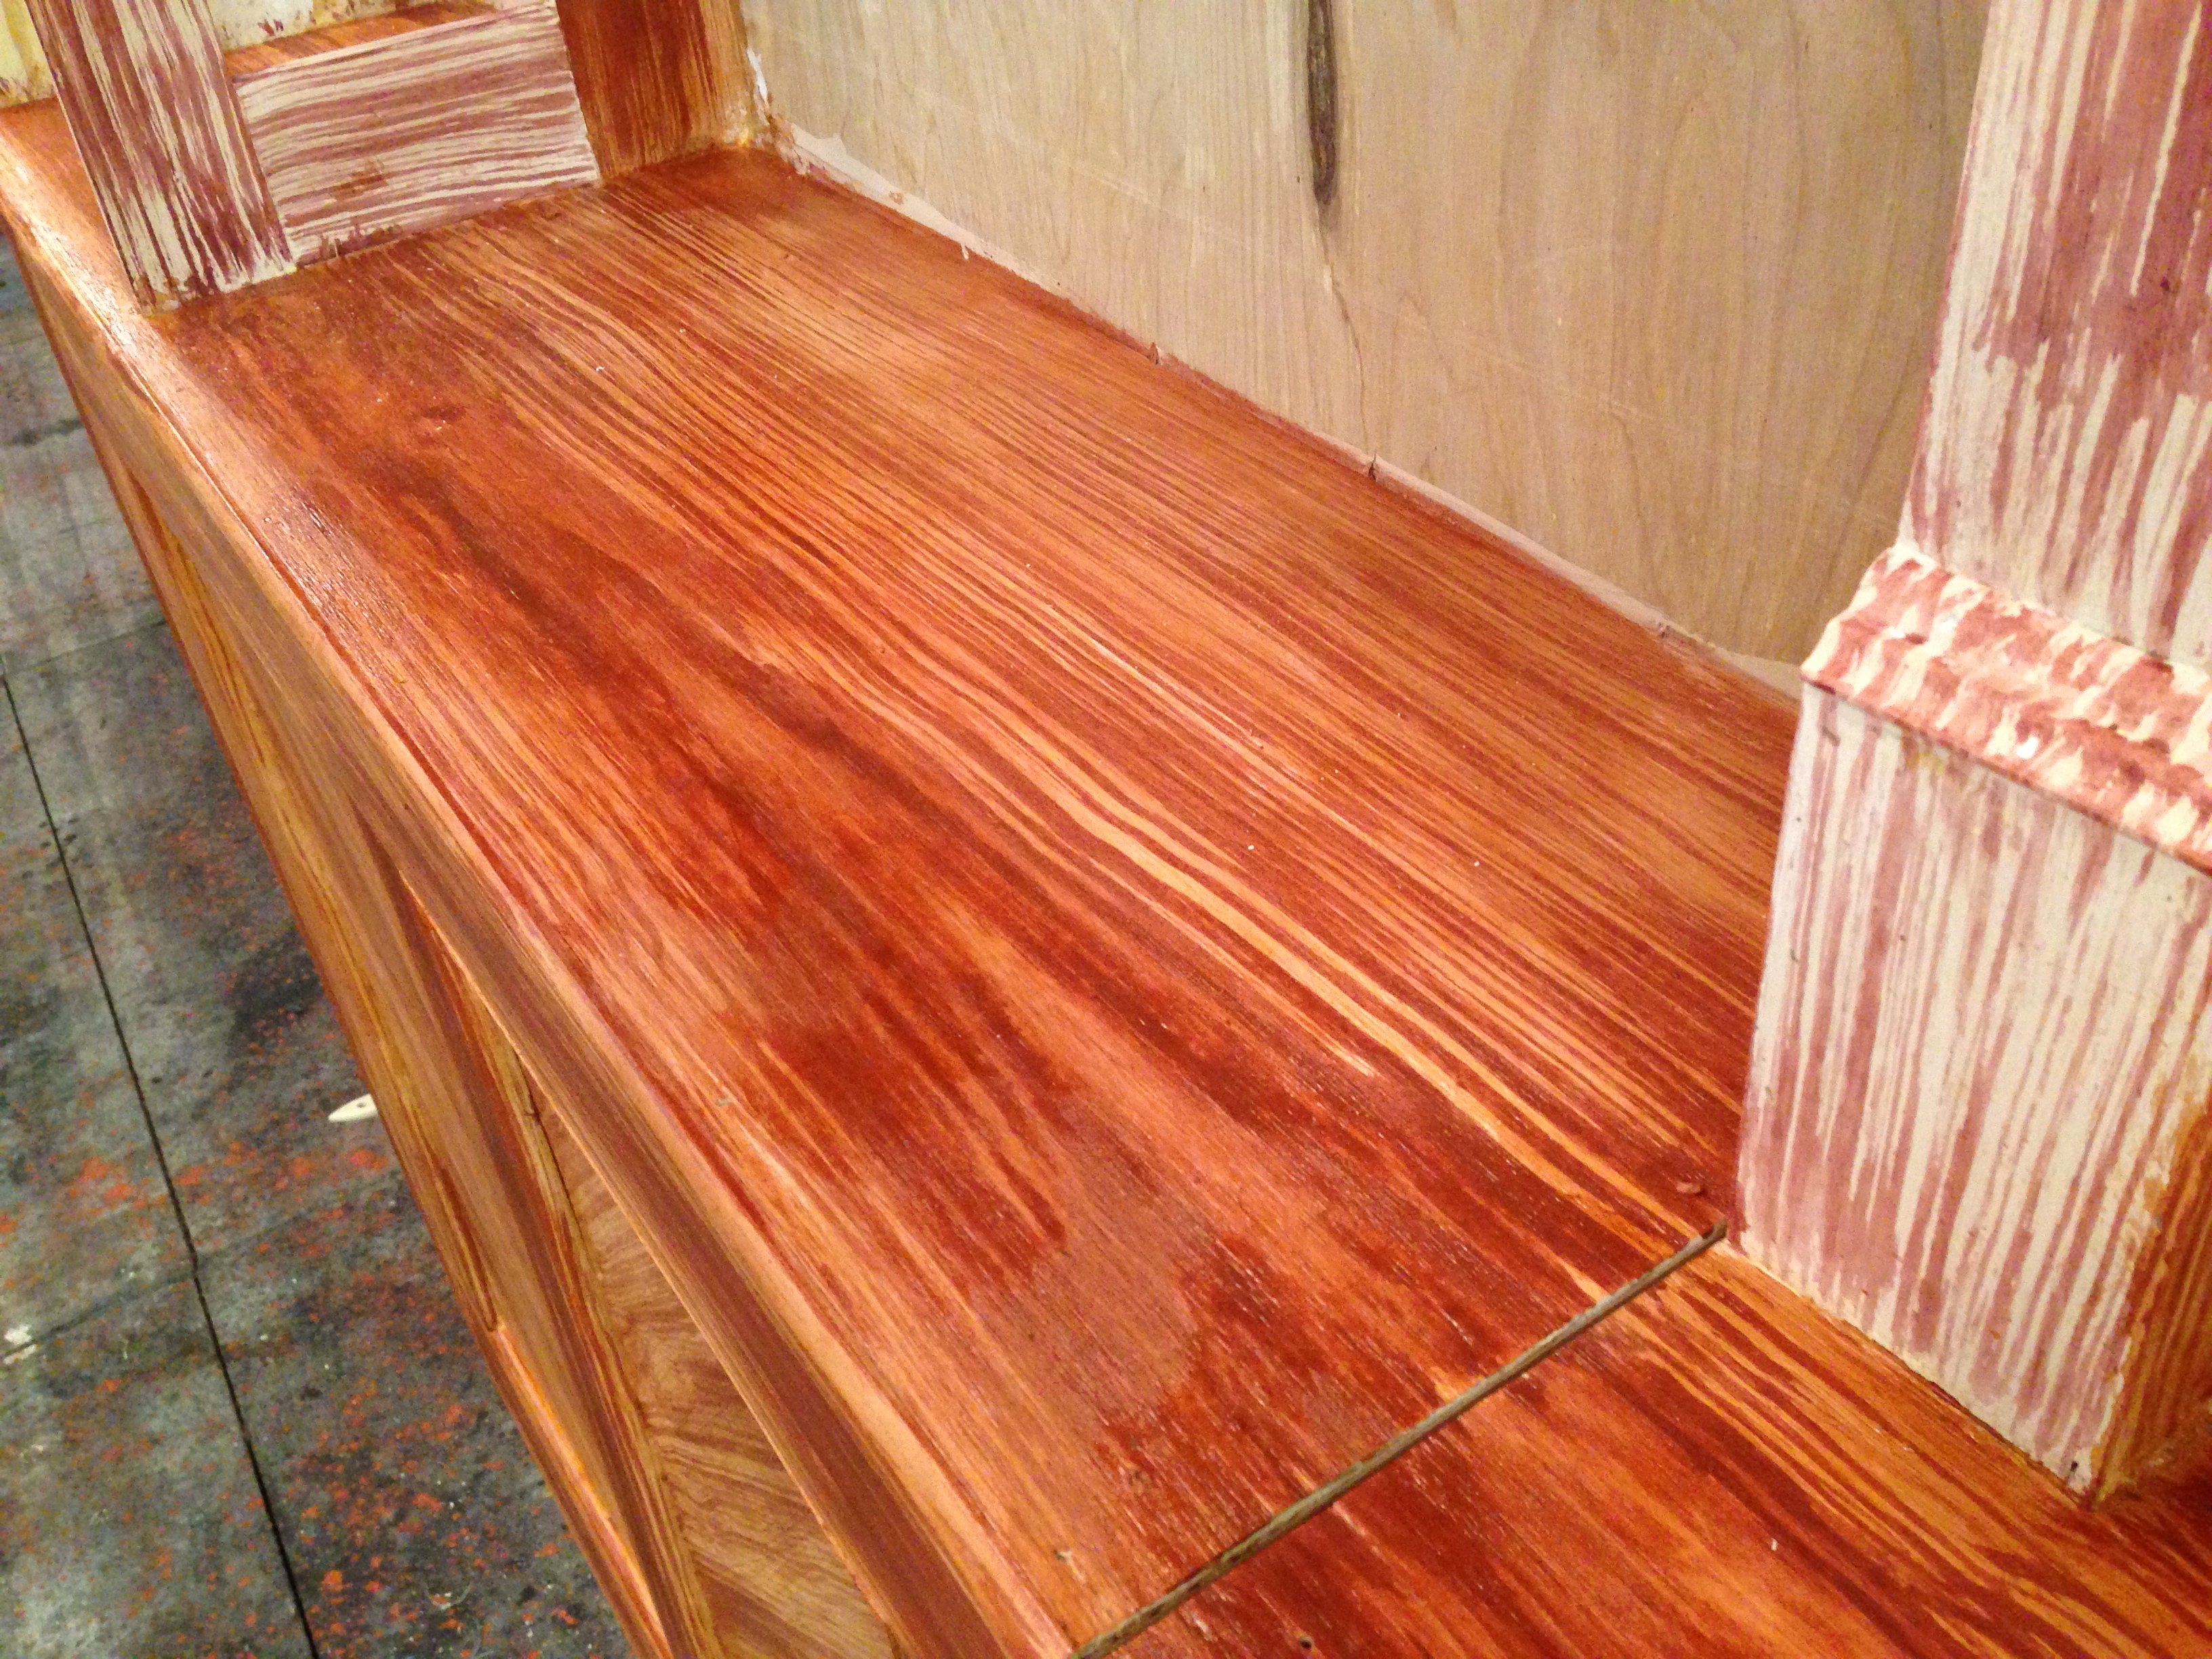
For the third layer, we made a glaze from some amber shellac and a bit of brown tint, and painted that over the whole thing.
The picture below shows the progression of this graining process, starting with an unpainted chair I bought.
When the furniture got on stage under the lights, it was too bright and the grain had too much contrast. We added another glaze coat of tinted shellac, this time using a darker brown to tint it. Jessica also showed us how to flock (edit: I mean “flog”) this layer, giving it a bit of the subtle pores and perpendicular stripes you can see below.
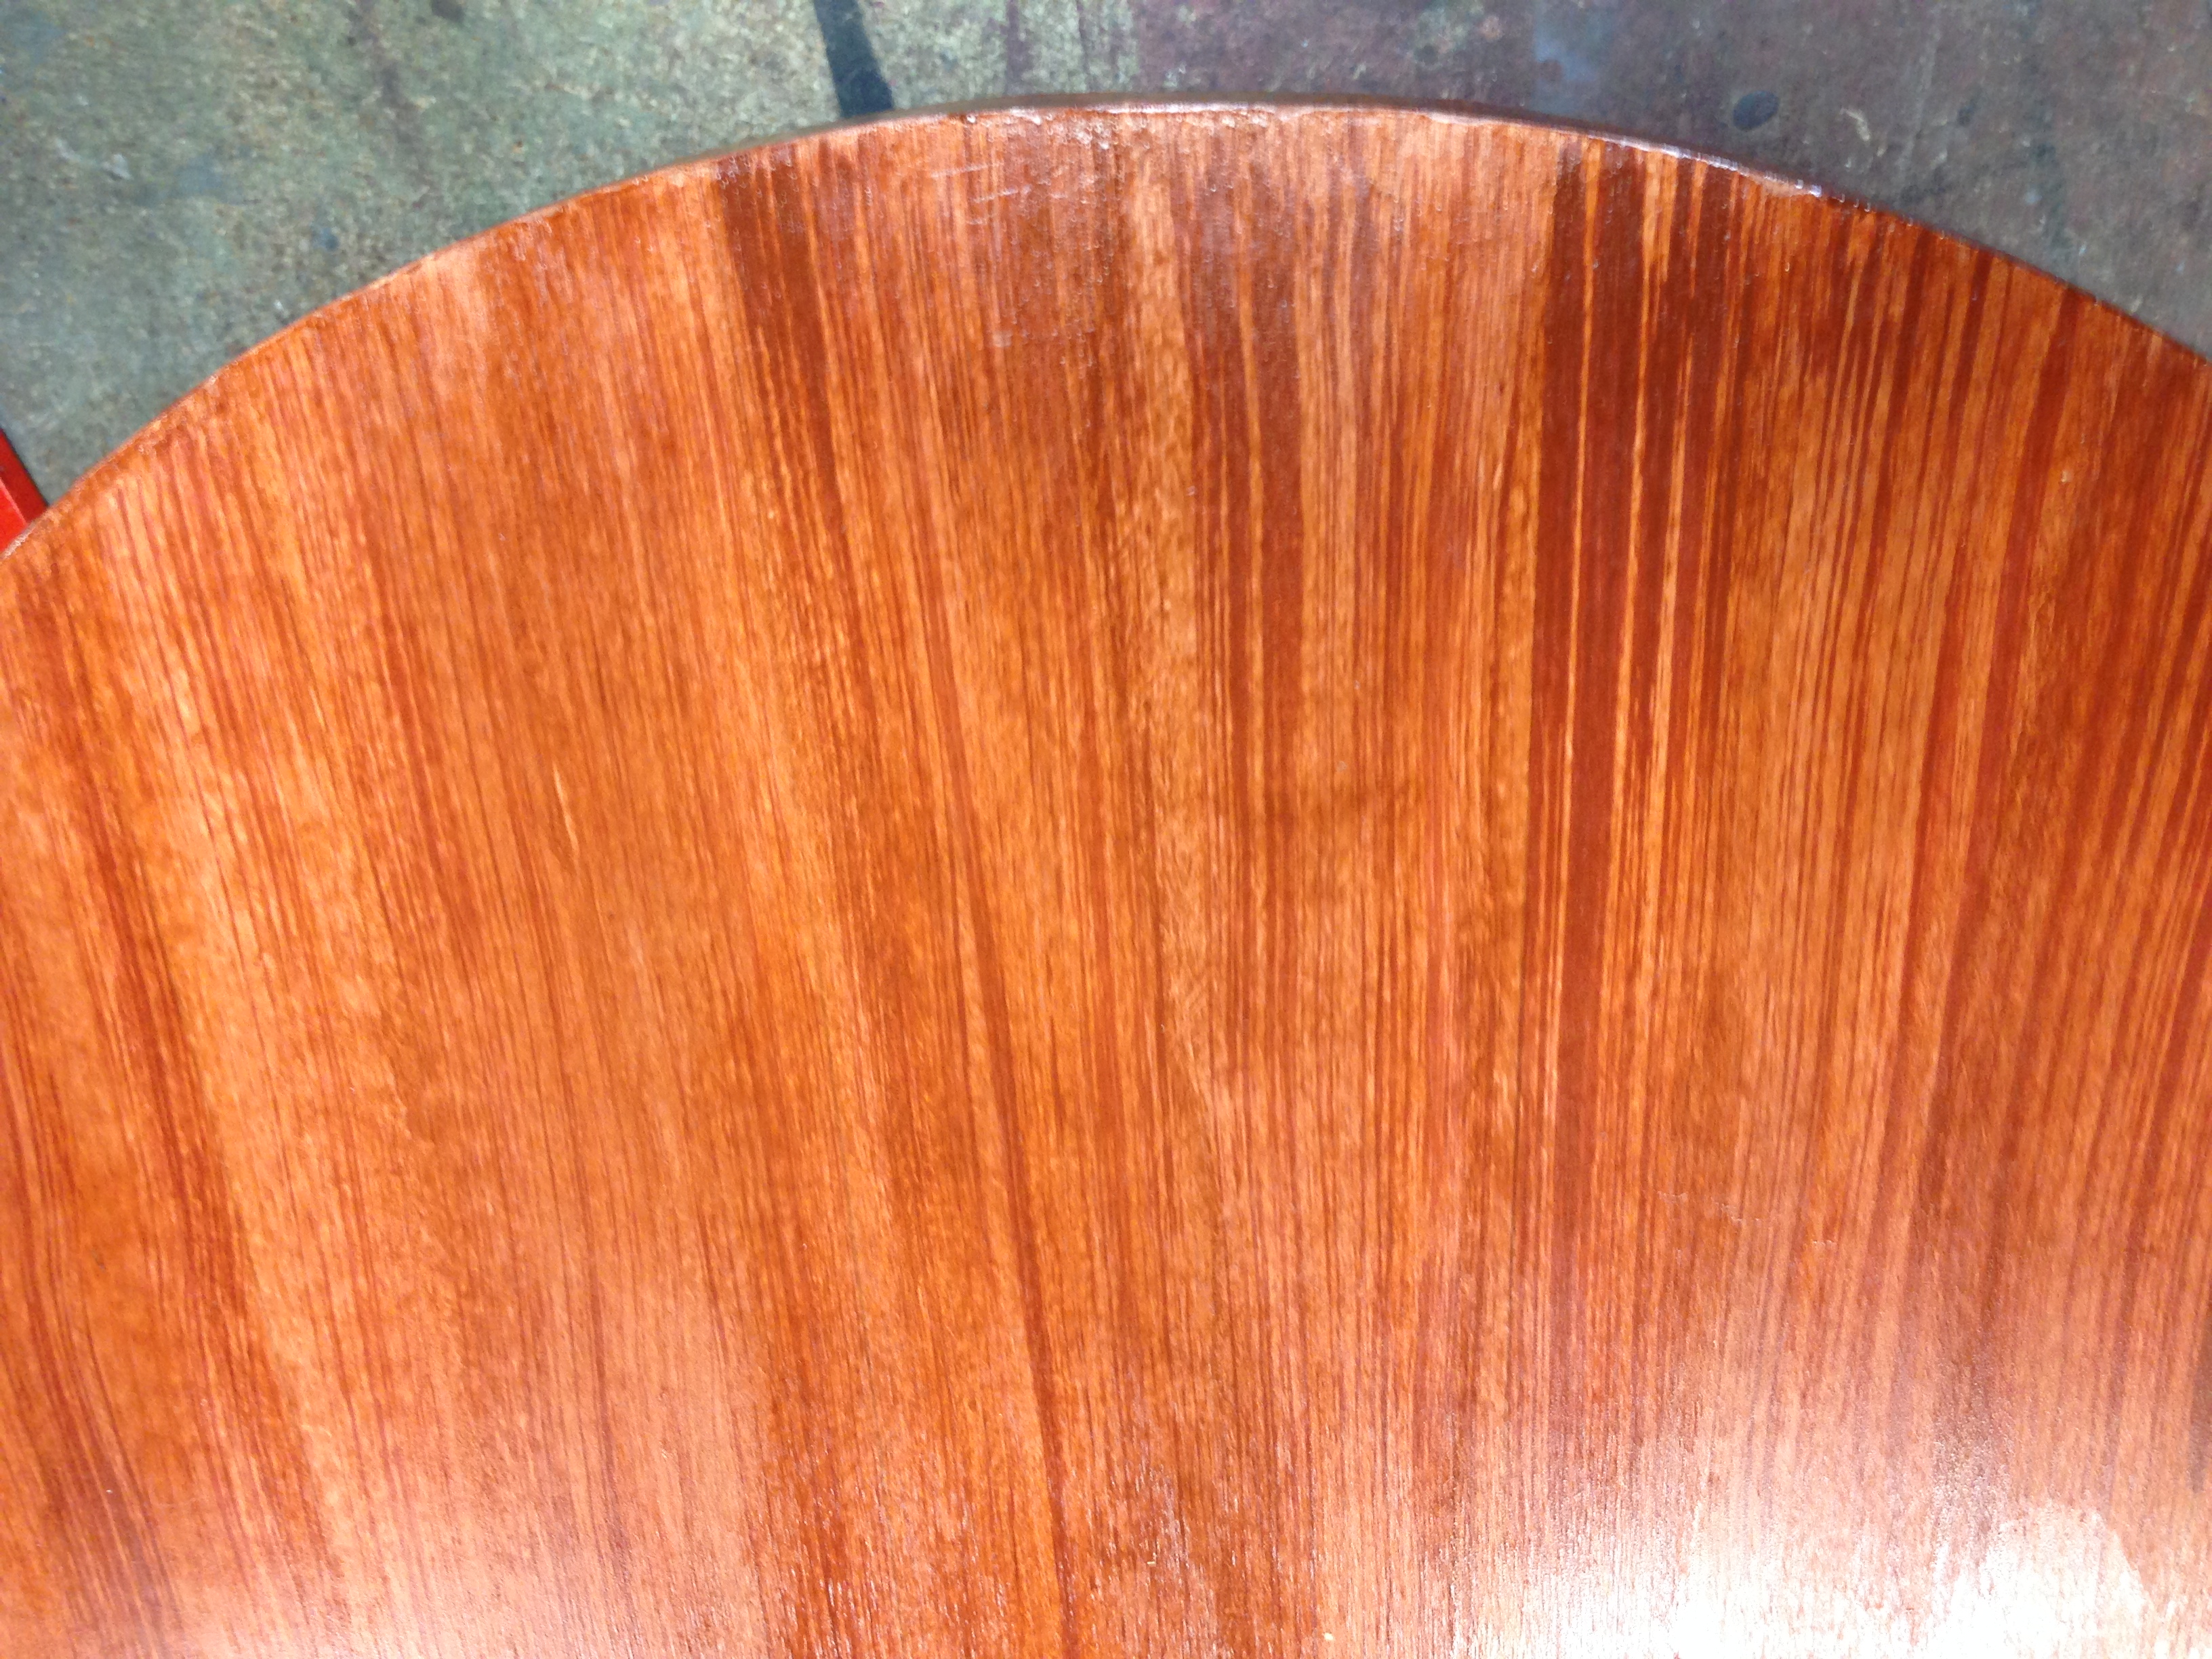
When doing a wood grain, the more layers you can add, the richer and more realistic your final result will be. There are many other techniques and tricks you can utilize depending on the specific type of wood you are trying to replicate; it is important to have a clear reference photo or physical sample of what you want your wood to look like.


Could you explain a bit more about the “flock” texture in the final layer?
Yes, I actually misheard and it should be “flog”, not “flock” (I changed it in the post above). You use a flogger, or any paint brush with long bristles, and holding the brush parallel to the surface, sort of whip the end while pushing the brush along the wet paint. This video demonstrates it, and it makes a whole lot more sense if you see it in action: https://www.youtube.com/watch?v=te4scF6QX94