:format(webp)/cdn.vox-cdn.com/uploads/chorus_image/image/72273005/paraglider_hed.0.jpg)
Like its predecessor, The Legend of Zelda: Tears of the Kingdom demonstrates Link’s new powers in a small, isolated portion of its vast open world. Once you’ve learned how to use the new Zonai abilities, you then skydive to the surface to start exploring at your leisure. However, in order to unlock the paraglider (the most useful item in the game) and a way to start revealing regions on the map, we recommend pursuing the “To the Kingdom of Hyrule” questline immediately.
Here’s how to unlock the paraglider in Tears of the Kingdom and start activating Skyview Towers.
How to unlock the paraglider in Zelda: Tears of the Kingdom
Once you’ve climbed out of the lake below The Temple of Time, follow the yellow marker to Lookout Landing, a makeshift fort where you can buy new armor, stock up on supplies, and meet the townsfolk. Speak to Purah, the head of Lookout Landing, at the quest marker to complete “To the Kingdom of Hyrule” and begin “Crisis at Hyrule Castle.”
This will send you to the outskirts of the titular abode, where you’ll meet Captain Hoz and witness even more bizarre events. Return to Purah to report what you saw. At this point, Purah will invite you to explore Lookout Landing while she preps for the next phase of the quest. After getting to know the townsfolk and exploring the Emergency Shelter, head to the Skyview Tower on the northwest side of Lookout Landing.
During the ensuing conversation, Purah will show you how to use the towers scattered throughout Hyrule to reveal the correlating regions on your map. She will also — thank the Zonai — give you the paraglider.
:format(webp):no_upscale()/cdn.vox-cdn.com/uploads/chorus_asset/file/24628440/paraglider_granted.jpg)
If you played Breath of the Wild, you know how useful the paraglider is. You can climb almost any surface in the game, yes, but getting back down was vastly more complicated before King Rhoam gave you the device. The paraglider allowed you to drop from any height (provided you open it before landing) and cross ravines, chasms, and rivers in the undulating wilderness (assuming you have enough stamina).
The paraglider is even more useful in Tears of the Kingdom. It makes it much easier to dive from the numerous sky islands floating above Hyrule (you no longer have to aim for deep water when falling) and allows you to enter the Depths, the vast, underground map that covers almost as much real estate as Hyrule itself. Combined with Ascend, the Zonai ability that lets you warp through ceilings above you, the paraglider will make exploring each of Tears of the Kingdom’s tiers (Tiers of the Kingdom?) feel that much more organic.
How to fly the paraglider
:format(webp):no_upscale()/cdn.vox-cdn.com/uploads/chorus_asset/file/24663935/obs64_tMfv0gvUoY.jpg)
Flying the paraglider can be a little tricky for newer players, but it continues to be finicky throughout your playthrough. When you’re midair, press the X button to open up your glider, and if you’d like to descend, you can press B to close the glider or R to dive. While the paraglider is open, use the left stick to control which direction you’re going and use the right stick to change which direction your camera is facing.
The amount of time you can glide in the air is dictated by the amount of stamina you have. If you’d like to glide a longer distance, you’ll need to upgrade your stamina by visiting a Goddess Statue with four Light of Blessings and exchange them for a stamina vessel. When you’re in the air and you notice that your stamina wheels are almost empty, make sure to descend closer to the ground or else you’ll plummet to your demise! One item to take advantage of if you’re low on stamina while gliding is the wing, the bird-shaped Zonai device.
To land on the wing midair, you’ll need to do the following:
- Stay still — do not move the left stick.
- Open up your inventory menu and drop the wing.
- Hold forward on the left stick until you’re just above the wing.
- Press B to let go of your glider and land on top of the wing.
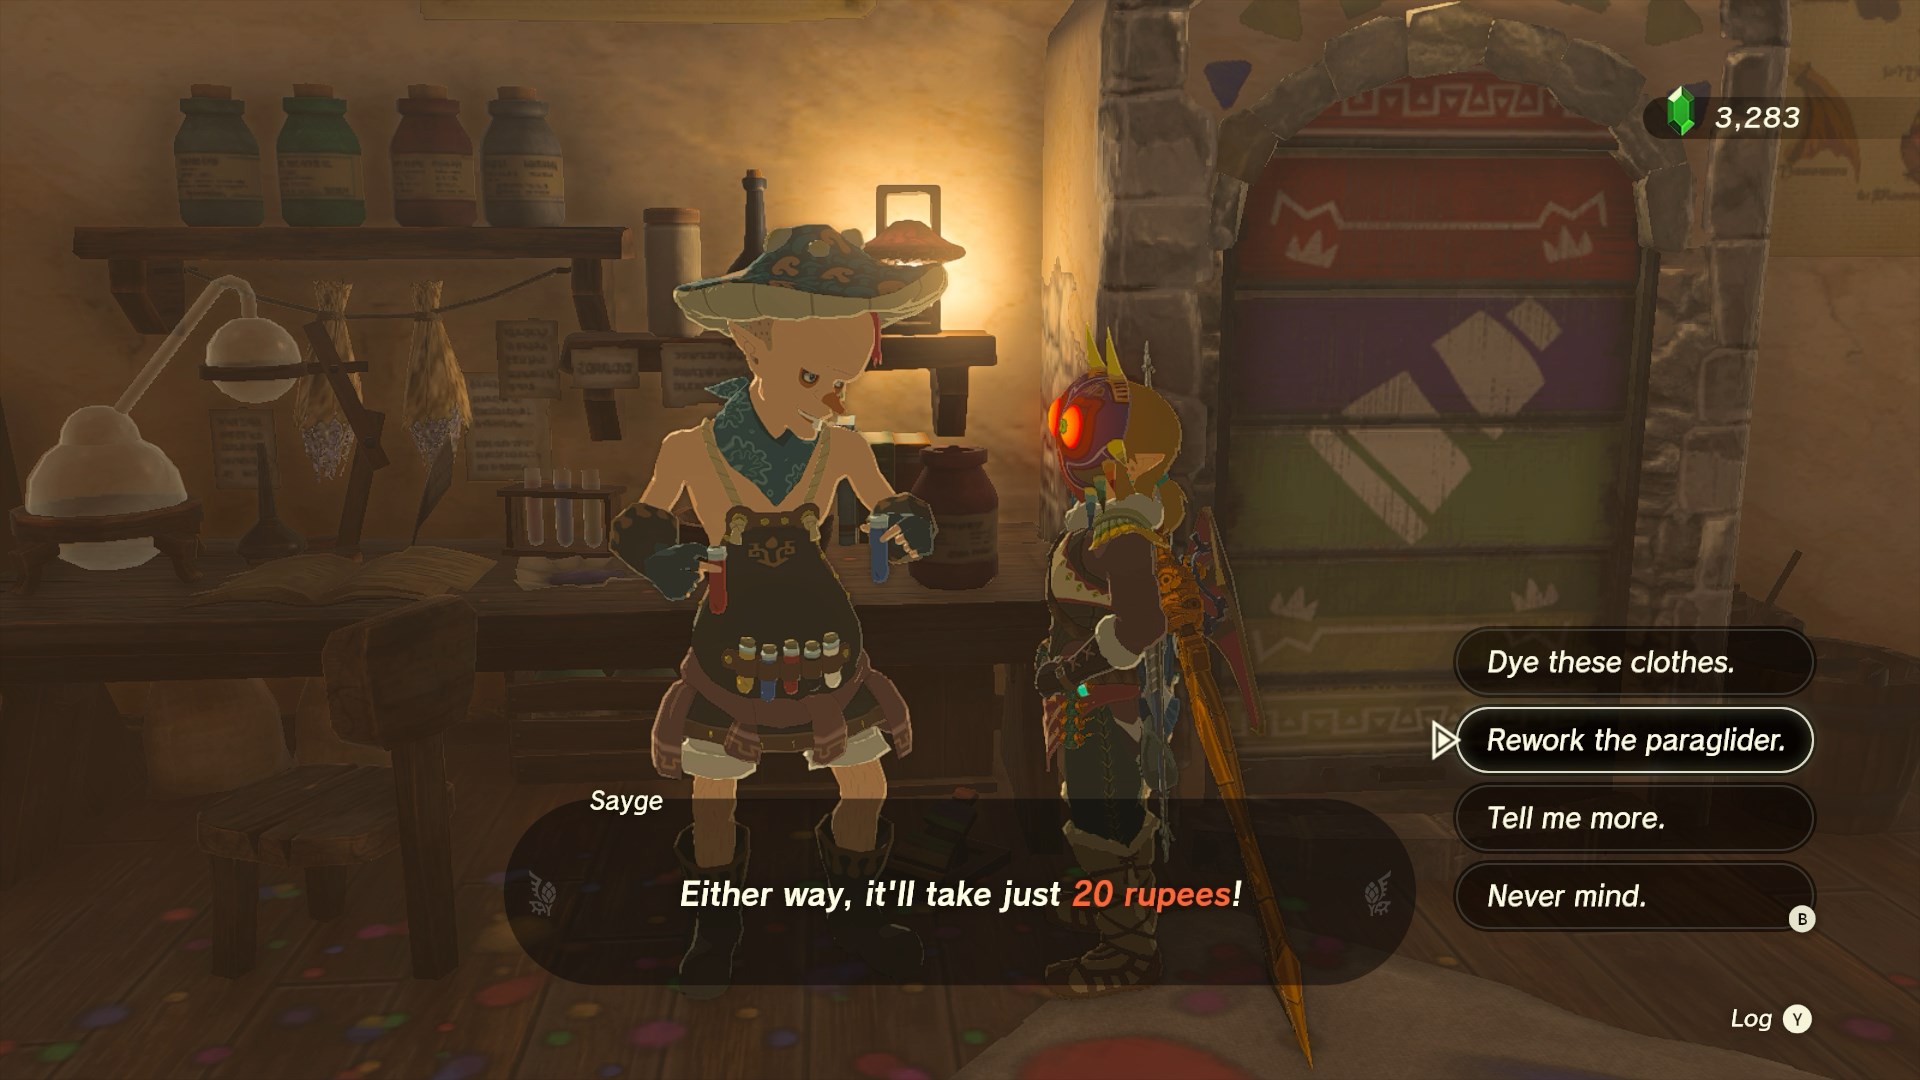
How to customize the paraglider with new fabric
:format(webp):no_upscale()/cdn.vox-cdn.com/uploads/chorus_asset/file/24664062/TOTK_Paraglider_Dye_Shop.png)
To change the design of your paraglider in Tears of the Kingdom, make your way over to Hateno Village and speak with Sayge inside the dye shop. Choose the “rework the paraglider” option to change the design of your glider at a cost of 20 rupees.
-
 Image: Nintendo EPD/Nintendo via Polygon
-
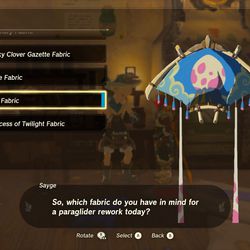 Image: Nintendo EPD/Nintendo via Polygon

Keep in mind that you’ll only be able to change your paraglider’s design to a design that you’ve already unlocked. To get more paraglider designs, you can scan amiibo or complete certain objectives or quests; the “Photographing a Chuchu” side quest you can get from Sayge himself is a good place to start.
Update (May 17): We’ve added two more sections on how to use the paraglider and how to customize it.
The next level of puzzles.
Take a break from your day by playing a puzzle or two! We’ve got SpellTower, Typeshift, crosswords, and more.
Loading comments...