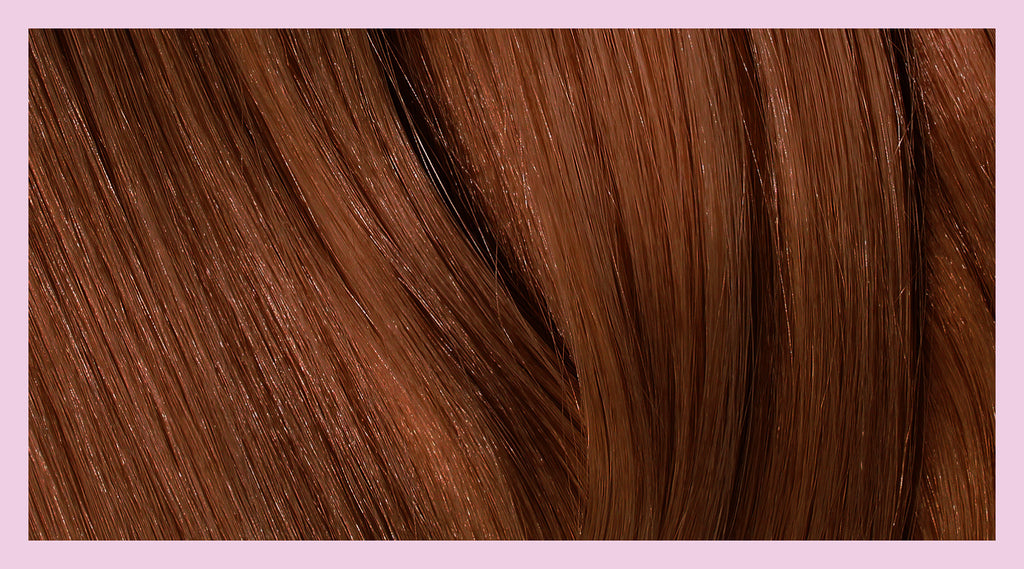
Hello head full of foils, baby lights, streaks, balayage, ombre — what do I do with thee now I am Colouring at home? Since we started spending more time at home, our Consultant line has been flooded with this question: How do I Colour over the above?
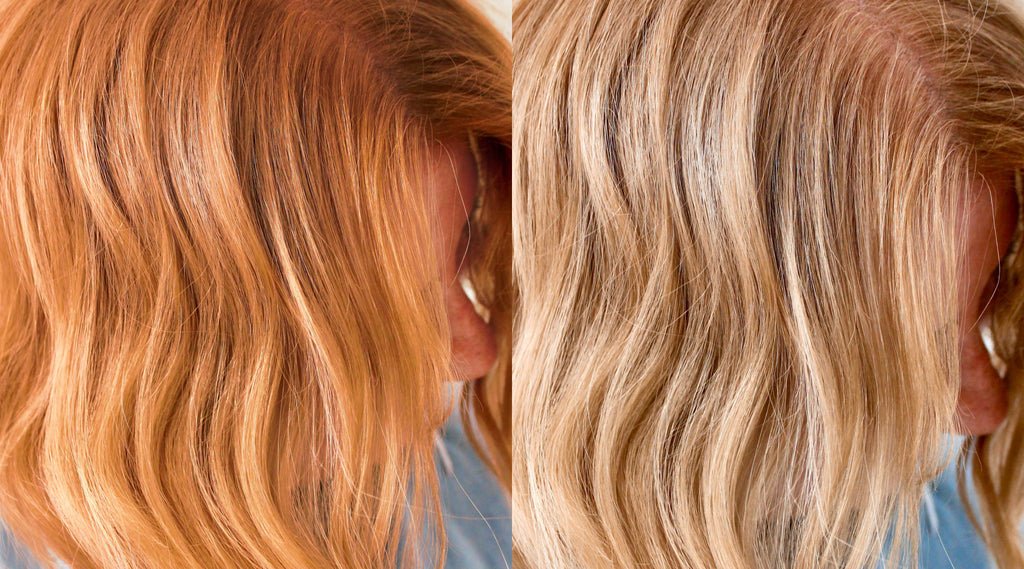
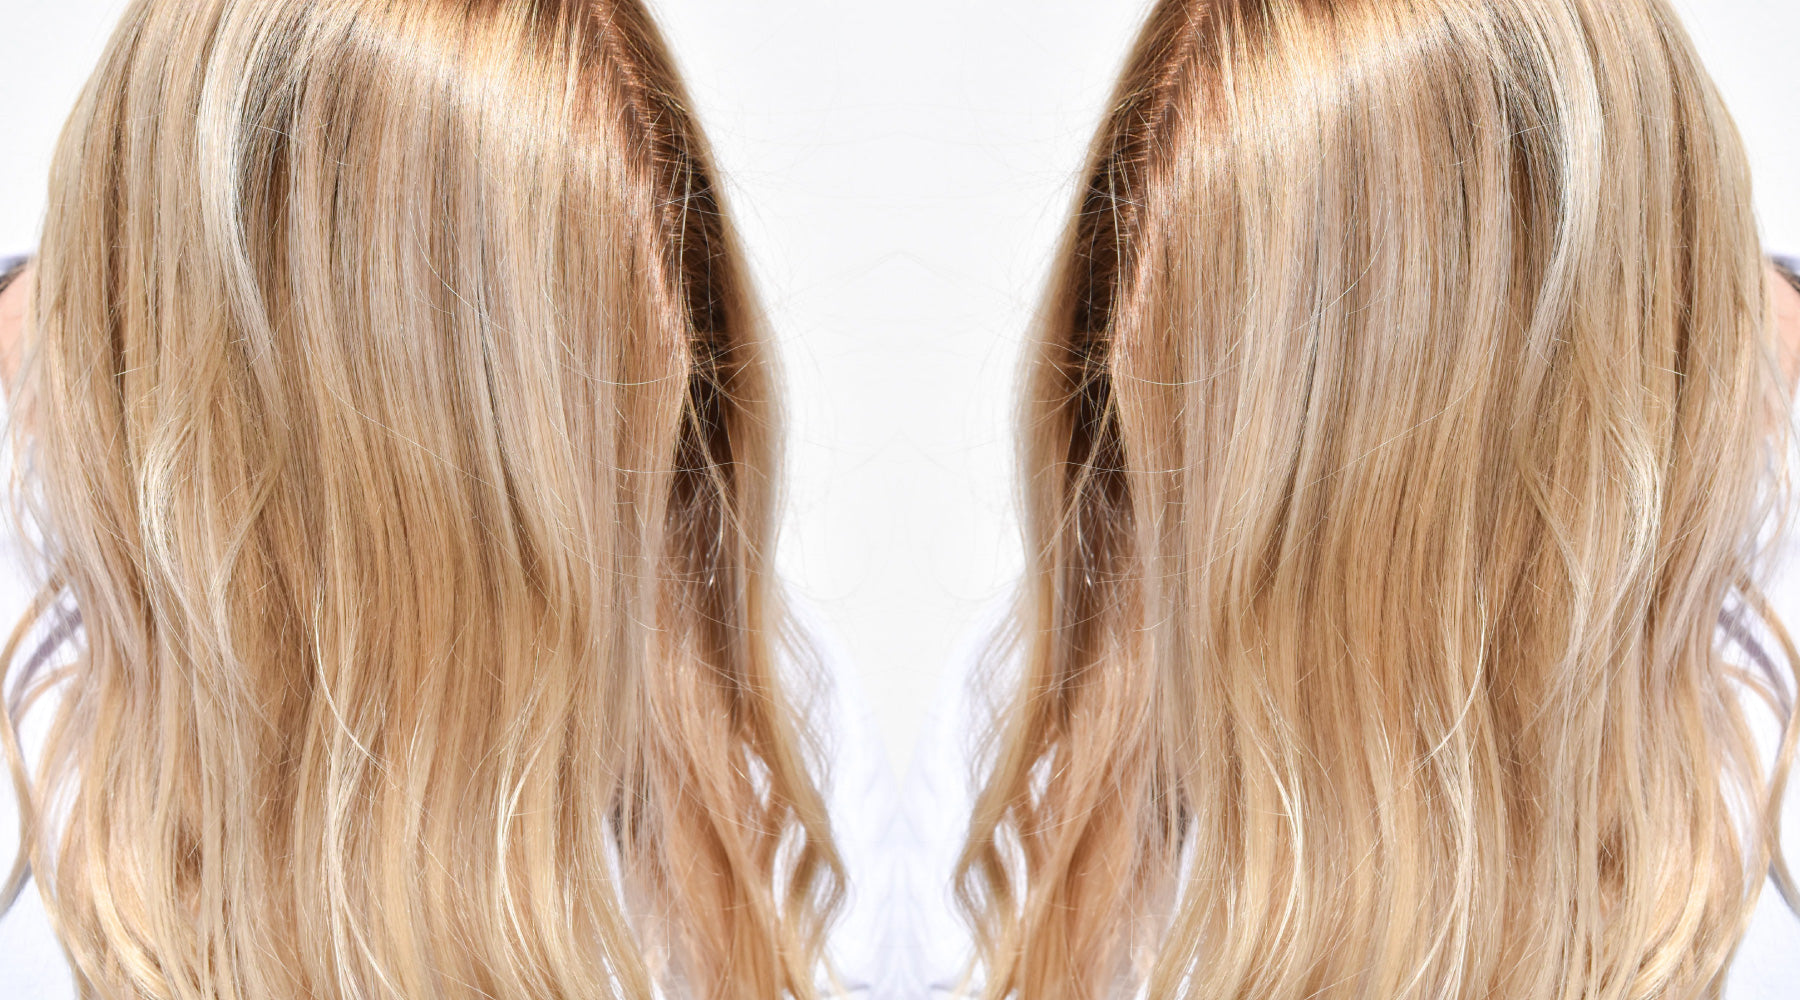
Often it is assumed this starting base immediately puts you on the back foot when Colouring yourself, but it couldn't be further from the truth. Already Lightened Hair is the perfect base to create a new Colour blend, to add depth and dimension through your Colour or when you want a bright Shade.
Whether you are extending your time in between salon visits, in search of your next Shade or want to cover your highlighted Hair — these three processes are what our highlighted hunnies ask us about the most. Keep reading to see the step by step instructions that will transform your Hair into a totally new look.

Transformation 1: The harmoniser
When your goal is to achieve the same Light Blonde as your foils and highlights, lightening your Natural un-Coloured Hair and getting that right blend is paramount.
Step 1: Establish your Natural Colour
Using the Natural Colour Chart, find the Hair Colour Shade that is the closest match to your Natural Regrowth. Ensure to do this in good light.
Step 2: Find your Blonde match
Now the fun part, find the Blonde that matches, or you would like to match, your Lightened Hair. If you find your Hair can be yellow or brassy, consider a Cool Ash or Beige Shade.
Step 3: Choose your Developer
Tip: How To Choose Your Developer
Your Developer choice is essential to your Colour outcome. To find your Developer, take the Colour number that represents the Blonde you want and minus it from the number that represents your Natural Colour. The answer is how many Shades you will need to Lighten your Hair.
For example, your goal Blonde is 7.1 Ash Blonde and your Natural Hair Colour is 5 Light Brown.
7.1 (minus) 5 = 2 Shades.
You will need to Lighten your Hair 2 Shades.
These numbers correlate to a Developer.
20 Volume Developer will lighten your Hair 2 Shades.
30 Volume Developer will lighten your Hair 3 Shades.
40 Volume Developer will lighten your Hair 4 Shades.
If your Hair is more than 70% Grey, use a 20 Volume Developer.
Step 4: How are your ends looking?
Now that you have chosen your root Colour, observe the rest of your Hair. Do your lightened ends have a sprinkling of Gold? Are they looking a little... tarnished? Sounds like it is time for a Tone.
Here is how to find the perfect Toner for your Colour:
For Light Blonde to Very Light Blonde Shades who want a softer, creamier Tone use the Pearl Blonde Toner Kit.
For Medium To Light Blondes use the Light Ash Blonde Toner Kit.
For Dark Blondes use the Dark Ash Blonde Toner Kit.
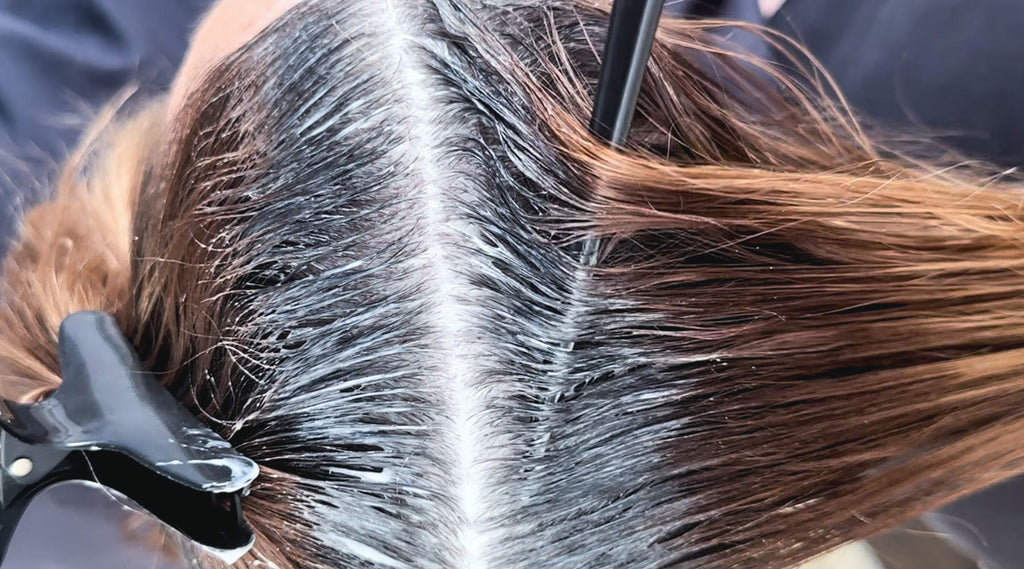
Step 5: Apply your products
Following the mixing instructions, apply your Blonde mixture to your Natural Regrowth only. Once you have your Colour applied to your Regrowth, set your processing time for 45 minutes.
Tip: With stronger Developers like 30 and 40 Volume, you don't want your new Colour mixture overlapping onto your already lightened Hair.
During the final 20 minutes of your processing time, apply your Toner through your ends. Once you've reached 10 minutes left, gently use the Wide Tooth Comb and comb from your roots to ends. This will help with the Colour blend.
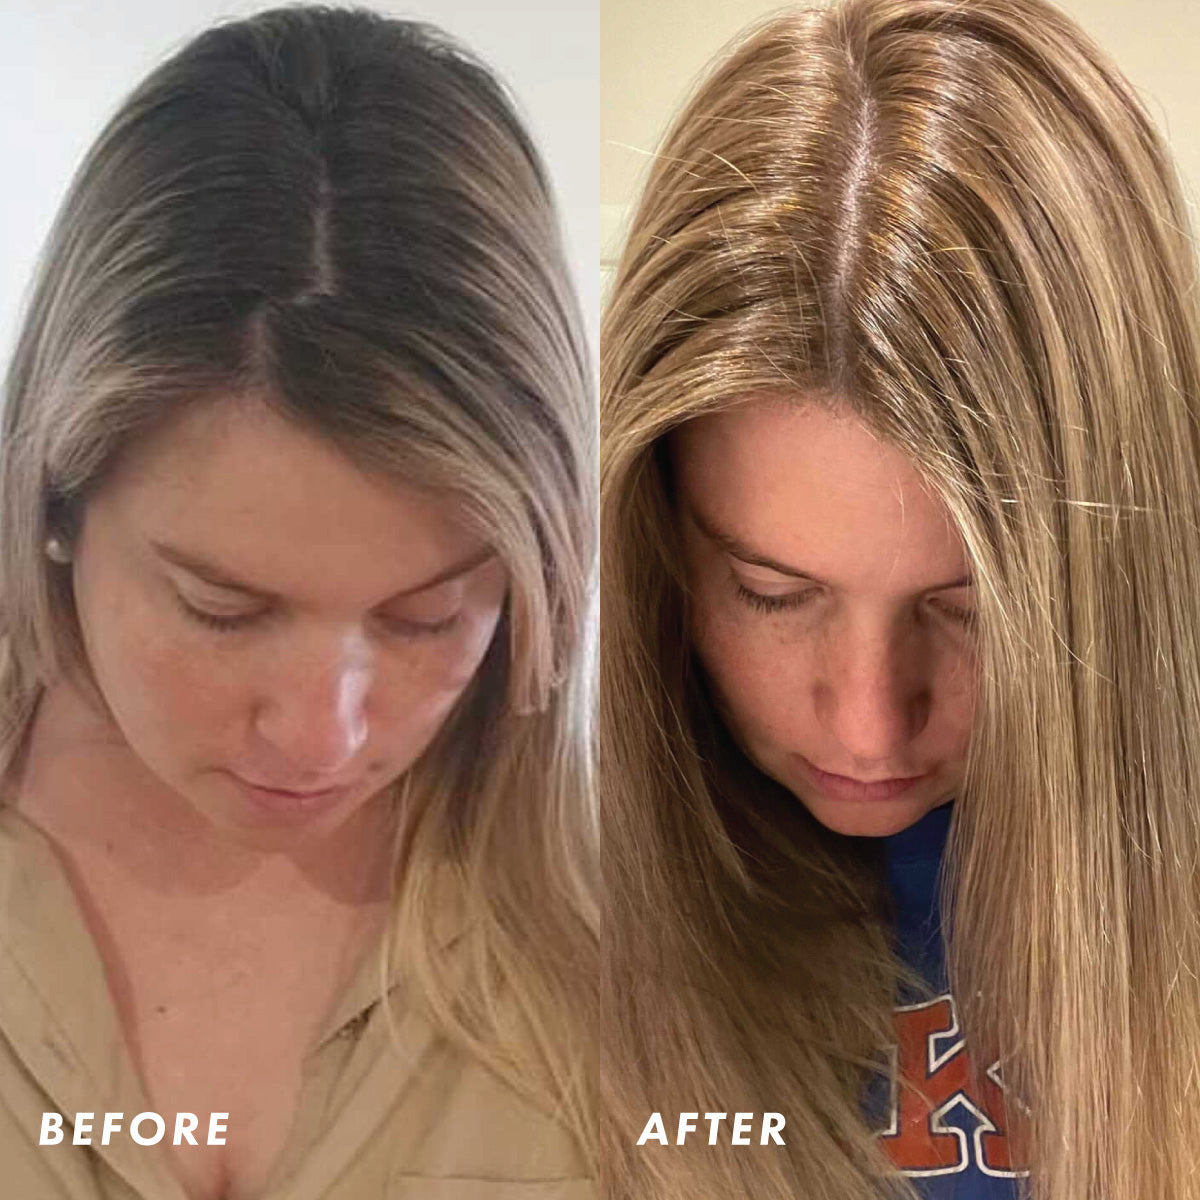
Transformation 2: The soft, Natural blend
When you need to cover your greys and soften the contrast between Natural and Highlighted Hair, either to push back your next salon visit or for a freshen up.
Step 1: Establish your Natural Colour
Using the Natural Colour Chart, find the Hair Colour Shade that is the closest match to your Natural Regrowth.
Step 2: Find your new blend Colour
Choose a Hair Colour between your Natural Regrowth and Lightened Hair. We like to use a Colour that is two Shades Darker than your Lightened Hair, with a similar Colour style, tone and reflects.
For example, your Natural Hair Colour is 5 Light Brown and you've Lightened with 9.1 Light Ash Blonde. The ideal root blend would be 7.1 Medium Blonde.
Step 3: Choose your Developer
Use the guide in Transformation 1 to establish your Developer choice.
Step 4: How are your ends looking?
Now that you have chosen your root Colour, observe the rest of your Hair. Do your lightened ends have a sprinkling of Gold? Are they looking a little... tarnished? Sounds like it is time for a Tone.
Here is how to find the perfect Toner for your Colour:
For Light Blonde to Very Light Blonde Shades who want a softer, creamier Tone use the Pearl Blonde Toner Kit.
For Medium To Light Blondes use the Light Ash Blonde Toner Kit.
For Dark Blondes use the Dark Ash Blonde Toner Kit.
Step 5: Apply your products
Following the mixing instructions, apply your Blonde mixture to your Regrowth. Use your Tint Brush to taper your Colour down, staggering the area where your Regrowth and Lightened ends meet. This is so beneficial to your blend, avoiding a stark straight-line application. Once you have covered your roots, start the processing time.
During the final 20 minutes of your processing time, apply your Toner through your ends and use the Wide Tooth Comb from your roots down to spread and blend your Colours.

Transformation 3: Brand new Shade
When you want to cover up your Highlights and get to a single Shade or build off your Lighter Shade to create a fun, brighter new Colour or a delicious Darker Shade.
Step 1: Establish your Natural Colour
Using the Natural Colour Chart, find the Hair Colour Shade that is the closest match to your Natural Regrowth.
Step 2: Choose your Hair Colour
Is your brand new Shade going to be Light or Dark? When you have a Lightened base, it acts as a great starting point for bright or vibrant Shades.
Step 3: Do you need to fill your Hair?
If your dream Colour is a lot Darker than your Lightened Hair, you may need a Colour Filler to build the pigment back into your Hair that was stripped out during Lightening. In your first process, apply your Colour Filler to your Highlighted ends. Then, once your Hair is washed and dried, you can apply your Darker dream Shade to your entire head.
It is easy to know if you need a Colour Filler: when your dream Colour is 3 or more Shades Darker than your Lightened Hair, a Colour Filler is essential to create a smooth Colour blend.
For example, if your Natural Hair Colour is 5 Light Brown and your Hair is Lightened with 9 Very Light Blonde and you would like your Hair Coloured all over with 5 Light Brown you will need a Colour Filler as you are transitioning 4 Shades.
Your Colour Filler needs to be:
A Warm Shade.
Around 1-2 Shades Lighter than your goal Brunette.
Mixed with a No Lift Developer.
Your Colour Filler is applied over your Lightened Hair first and then your goal Colour in a second process.
For the example listed above, a 7.3 Golden Blonde or 7.53 Chocolate Blonde would be the perfect Colour Filler.
Find out more about Colour Fillers here.
Step 4: Choose your Developer
If sticking with a Lighter Colour, you will need to do two Colour mixtures with two different Developers.
Use the guide in Transformation 1 to establish your Developer choice to cover and Lighten your roots (your first Lightening mixture).
Mix your goal Colour with a No Lift Developer over your Lightened ends (your second non-Lightening mixture).
If Colouring your Hair Dark, stick to a No Lift Developer or a 20 Volume Developer when you have 50% or more Greys.
Step 5: Apply your products
When keeping with a Lighter Colour, follow the mixing instructions for your root Colour mixture (Lightening) and apply your mixture to your Regrowth. Once you have your Colour applied to your Regrowth, start your processing time.
Then begin mixing your second Colour mixture (non-Lightening). Apply your second Colour mixture through your Lightened ends. Once you reach the last 20 minutes of your processing time, use the Wide Tooth Comb from your roots down to spread and blend your Colours.
When Colouring Dark, your priority is to apply your Colour Filler. Following the mixing instructions, apply your mixture to your Lightened ends only. Process as per instructions and rinse Hair.
Yes, you can apply your goal Colour mixture on the same day to dry Hair.
Follow the mixing instructions and apply to your roots. Start your processing time. Once your Regrowth is fully covered, continue to spread your mixture through the lengths of your Hair and leave. Once you reach the last 20 minutes of your processing time, use the Wide Tooth Comb from your roots down to spread and blend your Colours.