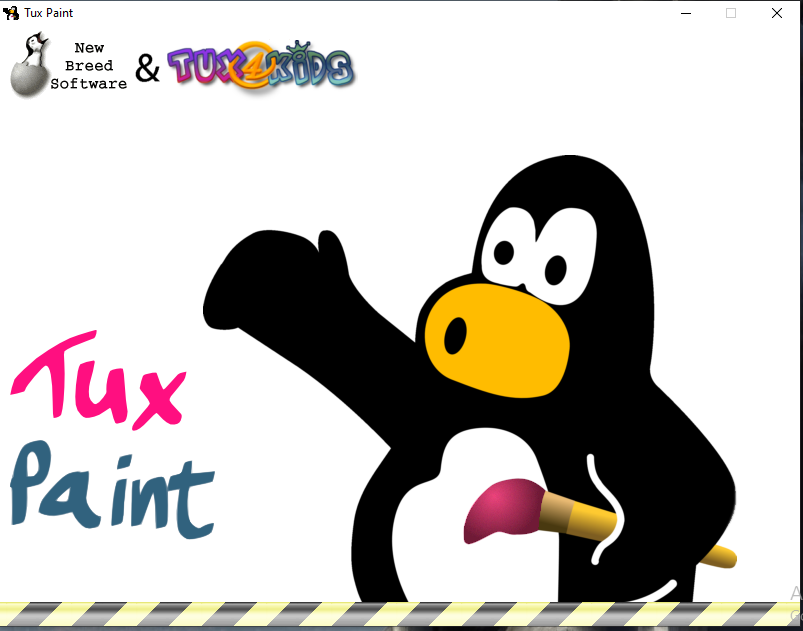
Tux Paint is the latest application tool for drawing. It is easily available free of cost. Tux Paint has a lot of options for funny drawing, animation, and magical effects, you can download tux paint from www.tuxpaint.org on the internet.
Steps For Downloading Tux Paint
- From the source, the 32 bit Or 64-bit file will be there according to the operating system you have, download the file.
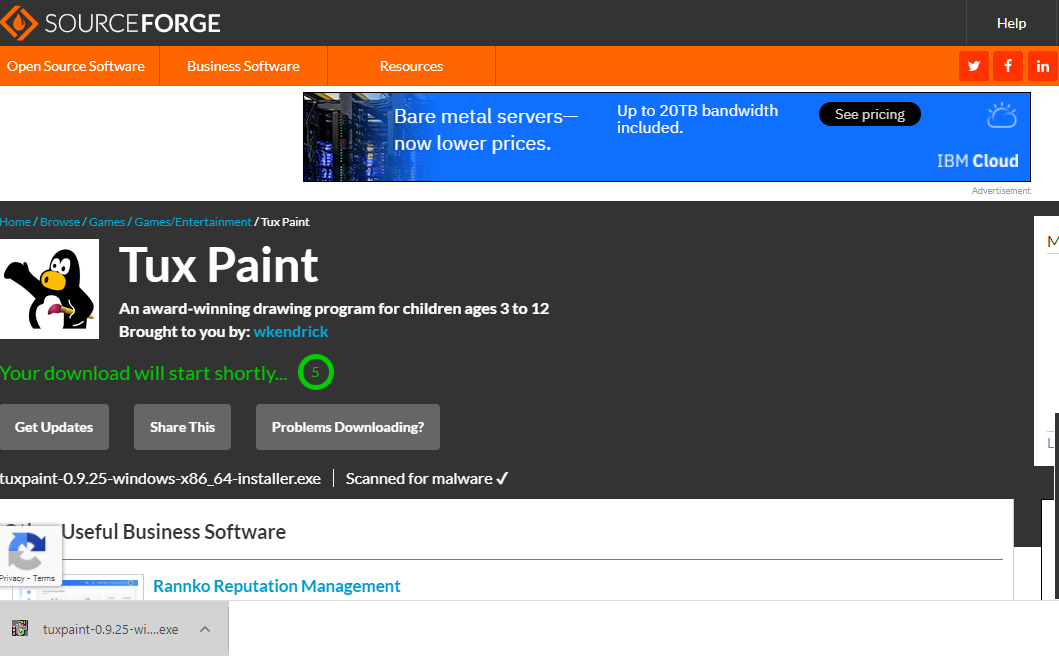
Like this, a site will open for downloading Tux Paint
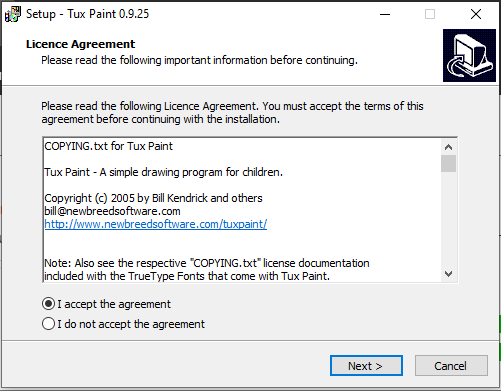
- The second dialogue box will appear as shown below.
- After this, a wizard-like below will open press the next button.

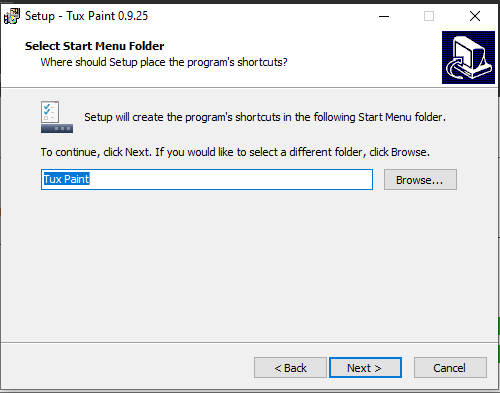
- Select Start Up menu will appear as shown here you can save the location as per your convenience in any drive or folder.
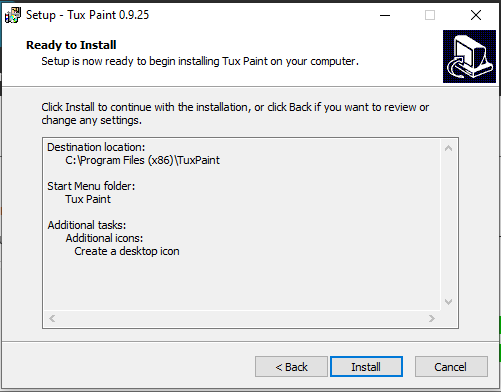
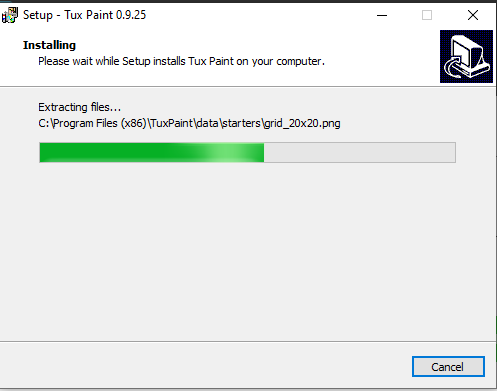
- Now the file is ready to install.
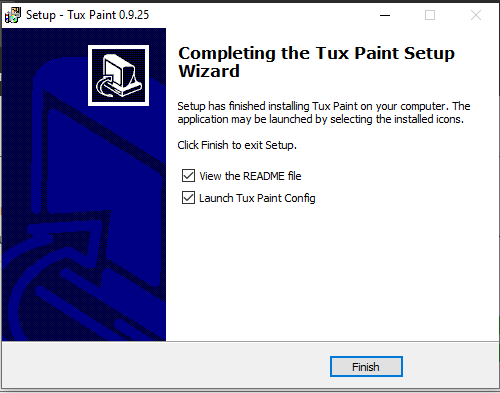
- After the installation process is finished click on the finish option as shown in the below wizard.
Starting Tux Paint:
To open Tux Paint on your computer
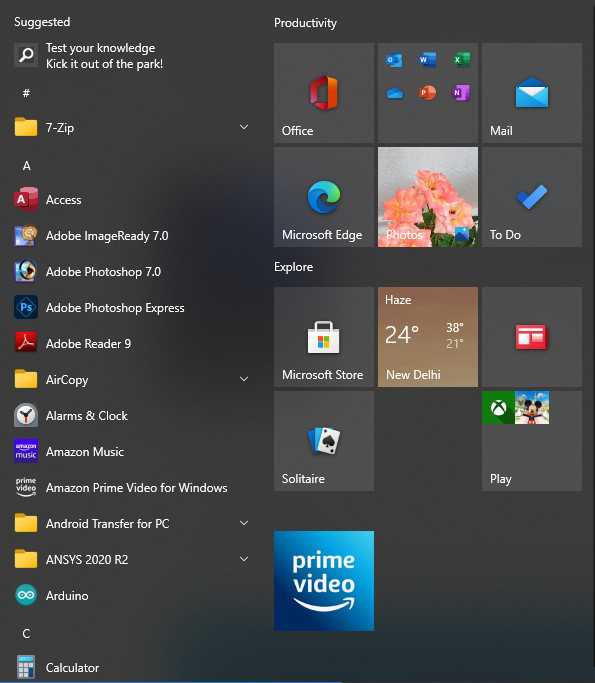
1. Click on the Start button from the all programs list as shown below.
2. Choose Tux Paint either full screen or windowed.
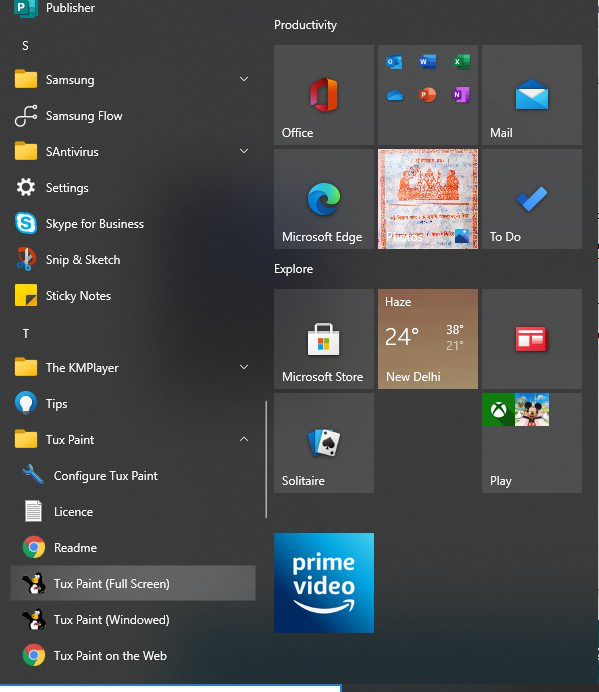
3. Select Tux Paint (Windowed) by double-clicking it.
4. Tux Paint welcome screen will open.
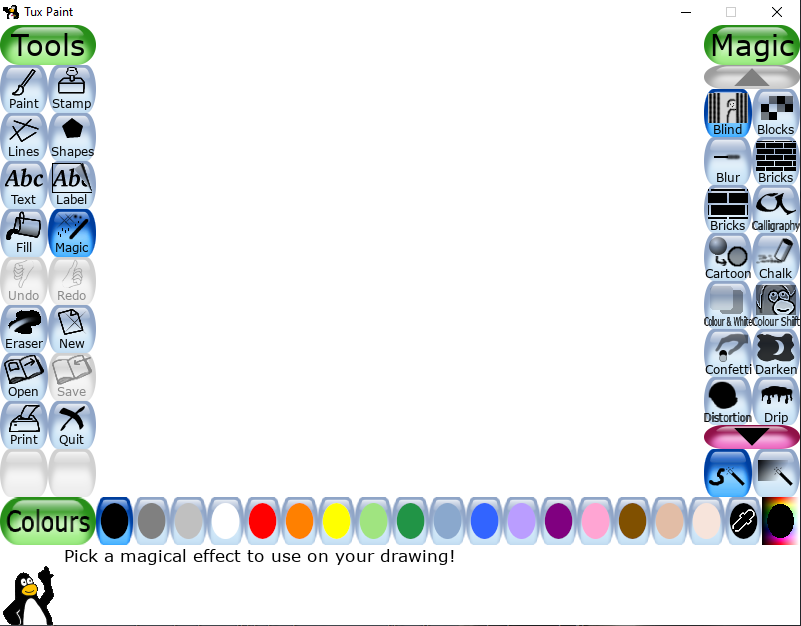
Parts of Tux Paint Screen:
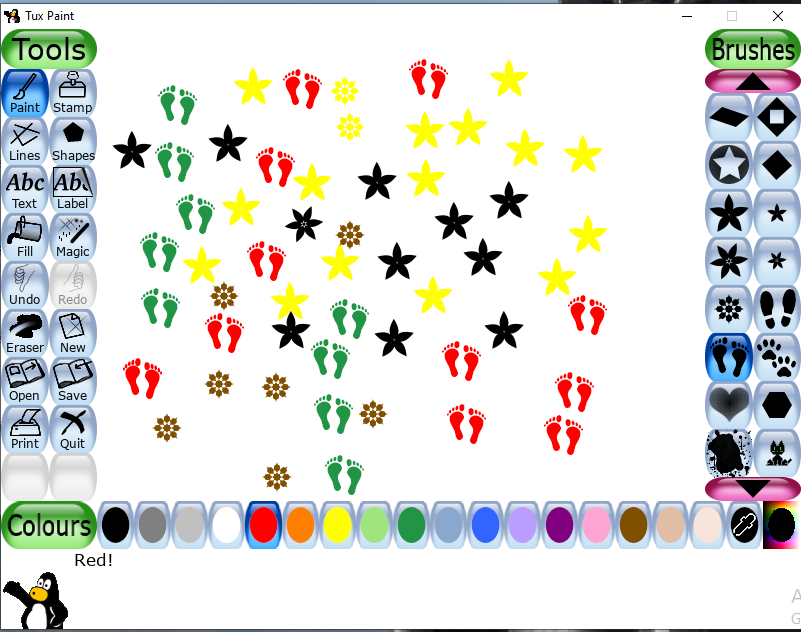
1. Toolbar has the initial tools that are required for basic purpose and also has some program control like undo, new, save, print. This is present on the left side of the area.
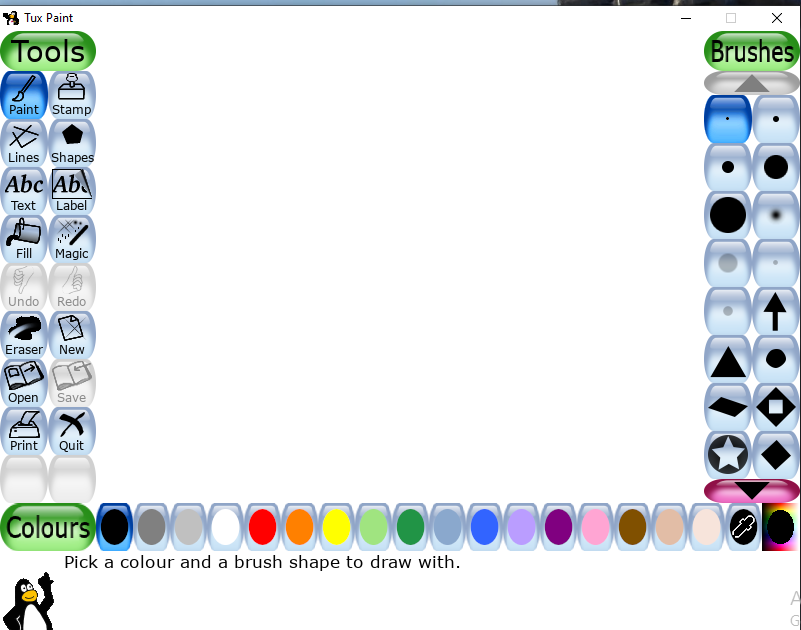
The toolbar contains all types of tools like:
- Paint( where the brushes are shown)

- Stamp ( in this the image appear with a mask as it crop out the image and it can be of any shape)

- Lines ( the images which needed a line to be included here the line tool is there for solving the purpose, the straight, curved, bold, simple, etc all type of lines are in this line tool)

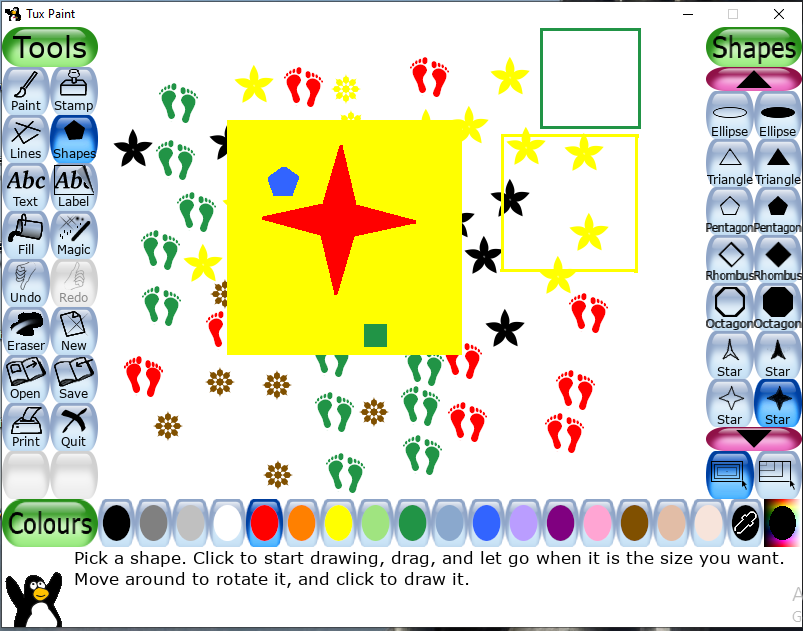
- Shapes ( for giving a perfect structure to the image or picture drawn the triangke, rectangle, square, circle, pentagon, hexagon, etc. all shapes are found in this tool)

- Text ( the written content with a dialogue box will appear where you can insert the text you want as per the wish)

- Label ( in this text it gets floated over the picture and text position, color, font get stored separately in the label So we can reposition or edit the label later of the given image.

- Fill ( the color taken from the pallet from this tool and filled into the image)

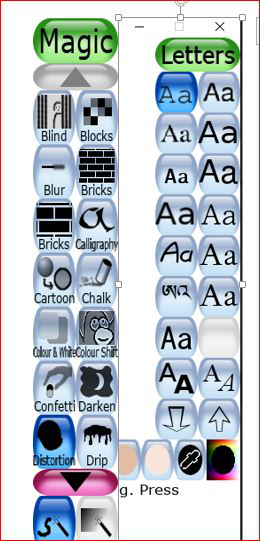
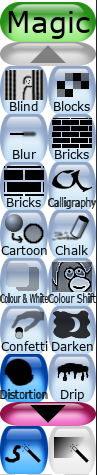
- Magic (through this the blind, block, blur, bricks, cartoon, chalk, color and white, drop, distortion, etc effects are there to be shown)

- Undo, Redo and save ( through this we can go back to the step, forward the taken step, and save the whole content safely)
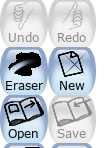
In this, the part from the grey shade that is not selected is the Undo Redo and save option
- Eraser, New, Open ( from eraser a block size tool will appear from which you can erase the wrong image drawn and from new the new page will appear and from open the saved file you want to edit can be opened)
Selected part
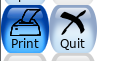
- Print and Quit ( the drawn image can be printed for saving it in a hardcopy or permanently keeping the file with you and from the quit option, you can go out of the tux window wizard)
2. Selector sub-toolbar as it gives several selectable objects like the brushes, text, shape, eraser, magic, etc. depending on the current tool the font, and the sub tool. The selected tool elaborated option will be seen on the right side of the tux paint area.
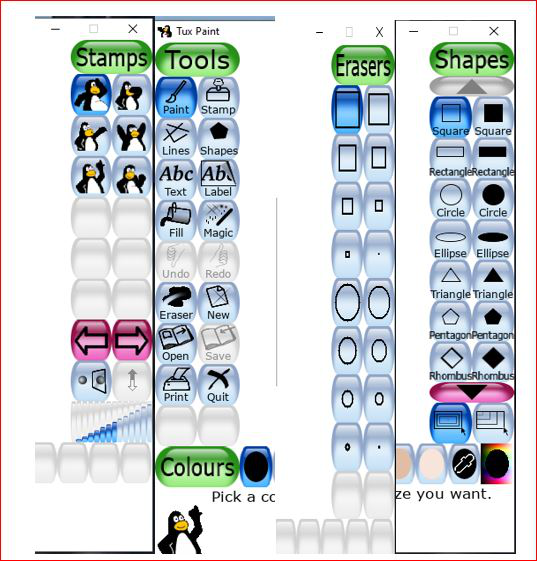
3. Color Box or Color palette as it has lots of color painting options in it due to which the colorful images are made. Below the toolbar and the sub toolbar, the color pallet is there.

4. Drawing Area or Drawing Canvas in which we draw certain images it’s an area where the work is performed. This is present in the middle portion.

5. Help Area where we find the information, tips, encouragement, and instructions are provided so that we can work easily without facing many problems.

Creating New Drawing:
The Tux Paint has several built-in drawing or readymade pictures which you can open and use.
1. To open the Click New tool
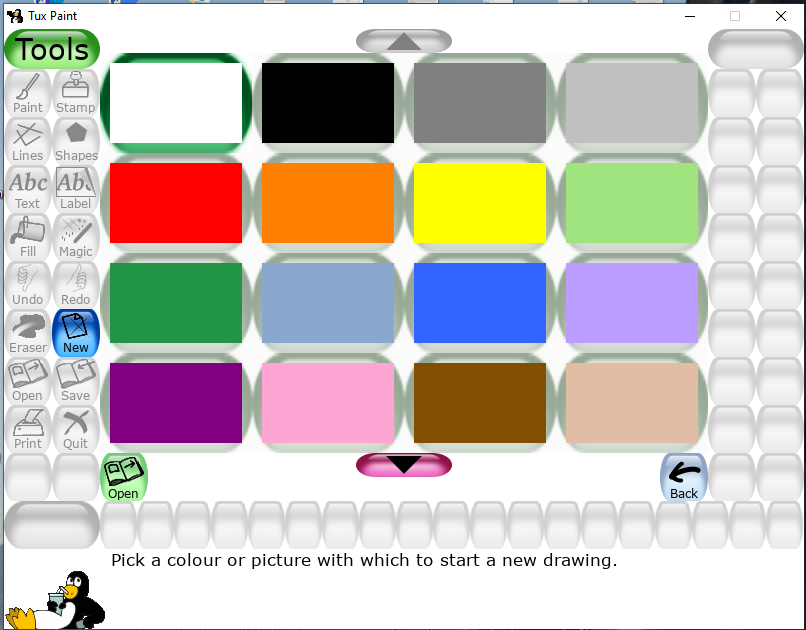
2. A number of drawings will display in the drawing area as shown in the above image.
3. You can click the upper arrow button on the top or the lower arrow button of the drawing area to find more drawings, the button in the above image is shown in purple color.
4. Double-Click on the desired drawing.
5. Selected drawing will open in the drawing area.
Coloring the Drawing:
1. Click on Magic tool on the toolbar.
2. Select the Fill Magic effect (sub tool) fill from the selector/ sub toolbox.
3. Choose the color of your choice from the color box.
4. Select and click inside the area of your drawing to fill with the selected color.
5. You can choose different colors to fill different areas of your drawing.
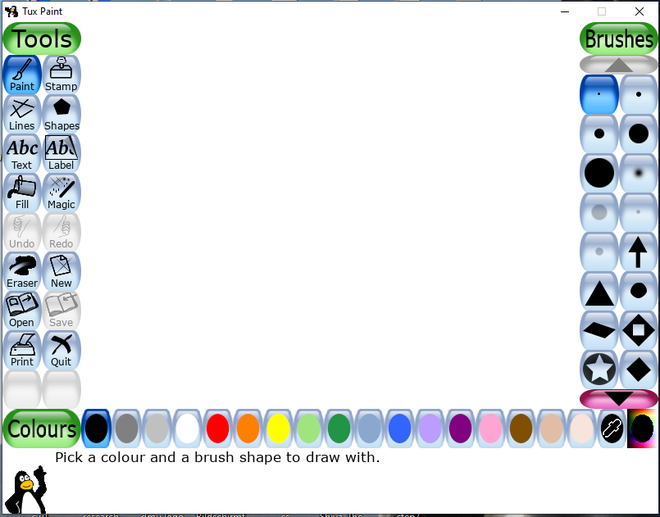
Paint Tool:
The paint tool is just like a brush used to draw the freehand drawing on the Drawing Area. You can paint as you wish. However, you can choose different types of brush shapes from the sub- toolbar.
1. Click on the Paint tool from the toolbar.
2. Select the type of brush from sub-toolbar.
3. Start the drawing by choosing different colors and brushes.
4. It also consists of different patterns of brush shape. Choose different patterns like star, arrow, square, etc. to draw different patterns.
Erase Tool:
Whenever you draw or write something, you may need to correct the same if you had done some mistake, similarly, tux paint also provides an Eraser tool on the main toolbar to meet the requirement of correction in the drawing needs.
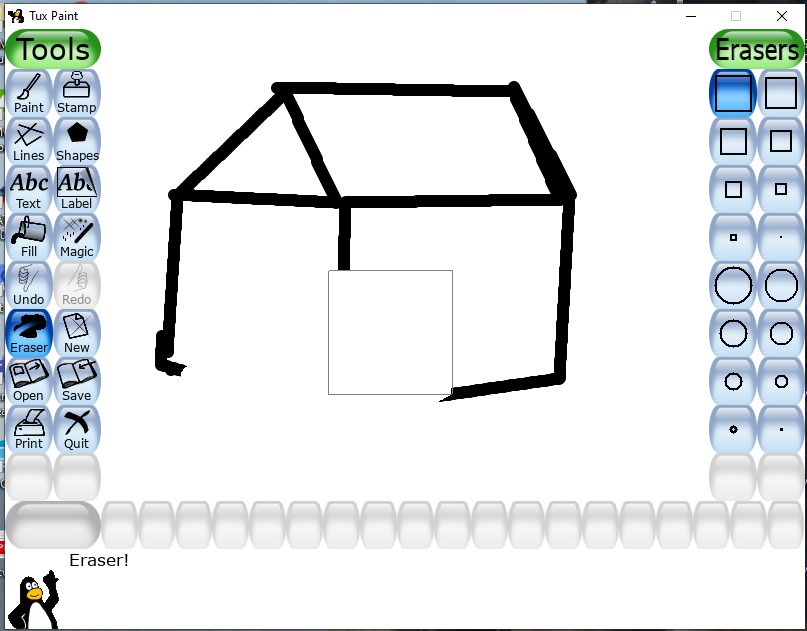
Eraser on the main toolbar

Eraser size in sub toolbar
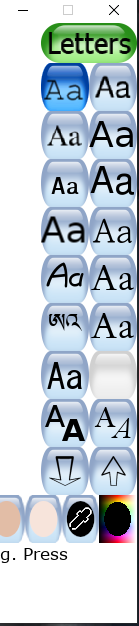
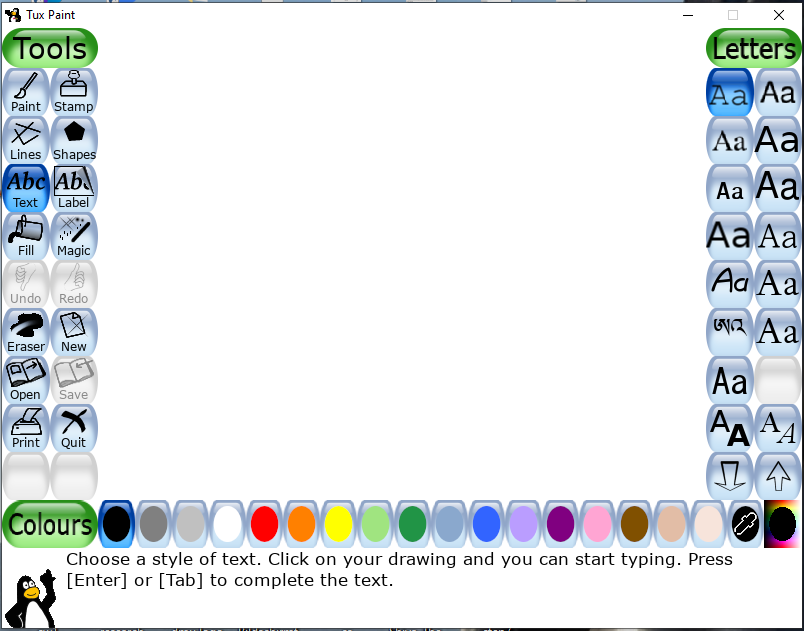
Text Tool:
You can add text data to your drawing using Text Tool.
1. When you select the Text tool, you get different types of letters and fonts on sub-tool or selection, just choose the desired sub-tool.
2. The pointer changes to the ‘I’ shape on the drawing area.
3. Enter the text of your choice.
4. Tux Paint automatically adjusts the size of the text box in the drawing area according to text.
5. You can choose different colors for your text.
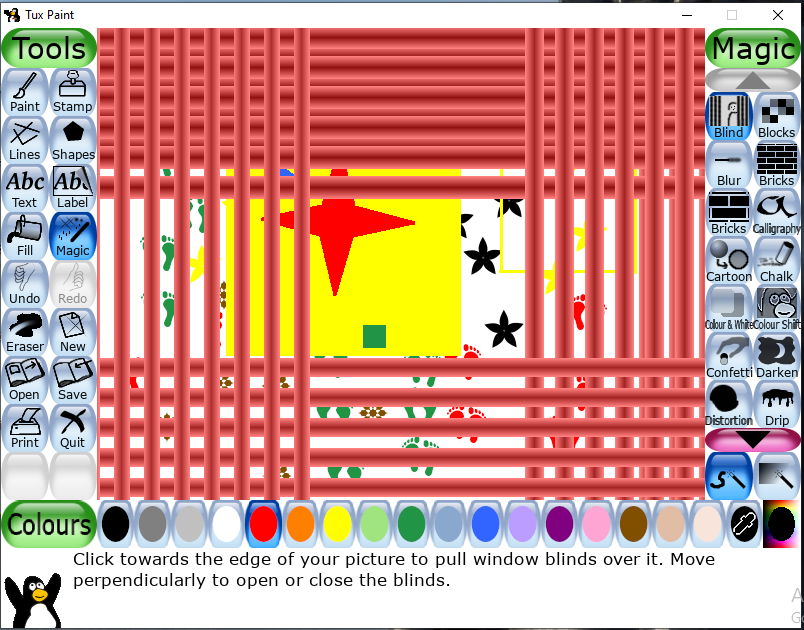
Magic Tool:
As the name tells a magic tool is used to give magic to your drawing.
1. Select the Magic tool.
2. Now, choose different sub-tools from the selector/ sub-tool box.
3. You can choose block, blur, Negative, Mirror, Fold, Wave, Rain, etc. effects.
4. Each effect has its own impact on the drawing.
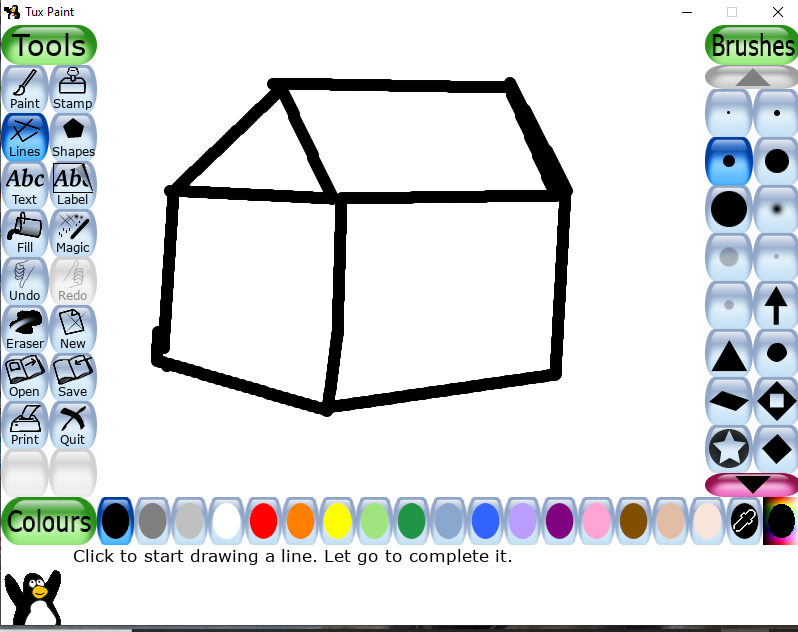
Lines Tool:
This is used for drawing straight patterns (using sub-tool)
1. Again you have several options to choose from the sub-tool box.
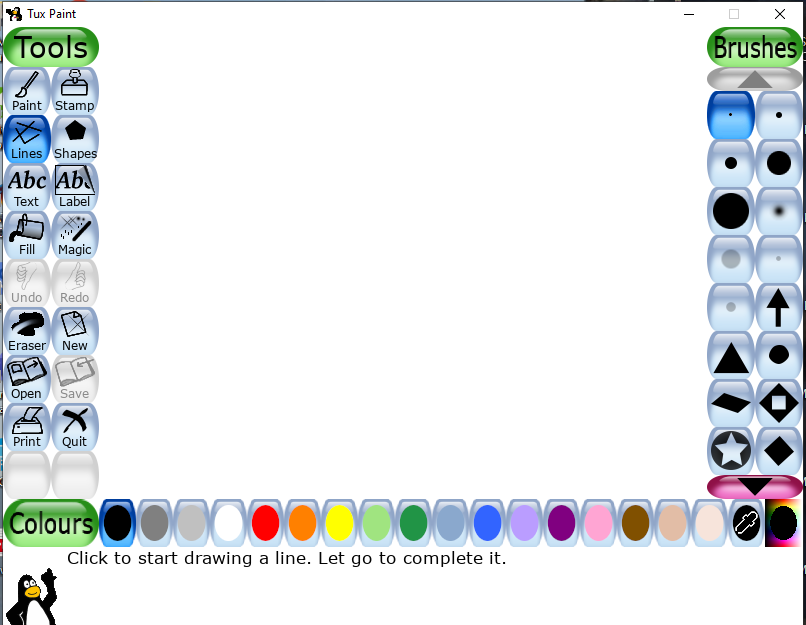
2. The options are similar to that of the Paint tool.
Stamp Tool:
1. It is something unique to Tux Paint. Stamp tool works like conventional stamps which are used in day to day life. You have a variety of stamps available with Tux Paint.
2. Click on the Stamp tool.
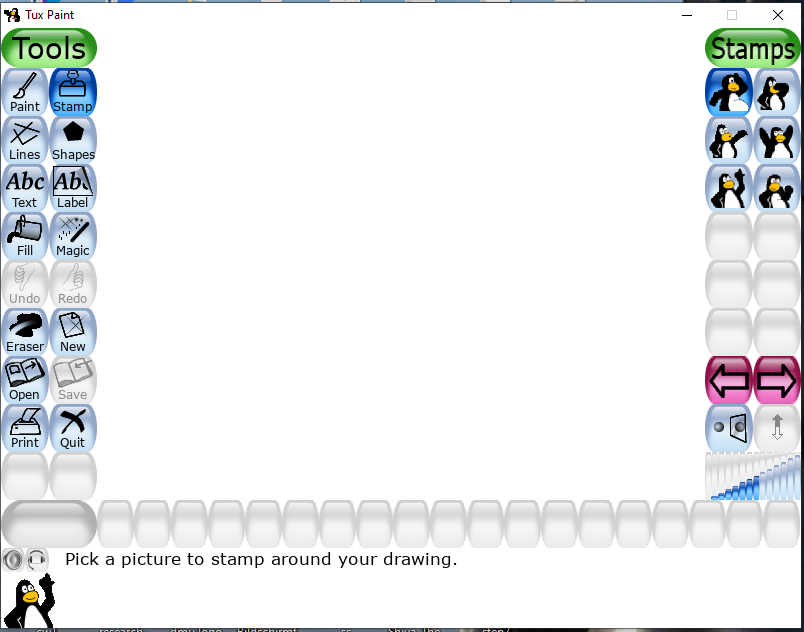
3. Select the desired shape of the stamp from the sub-tool box.
4. Now just click on the drawing to place your stamp.
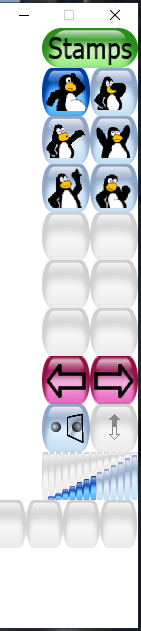
5. You can also place a mirror image of the stamp chosen by selecting the Mirror option below the button on the sub toolbox.

6. You can place the mirror image of the stamp in the drawing area.
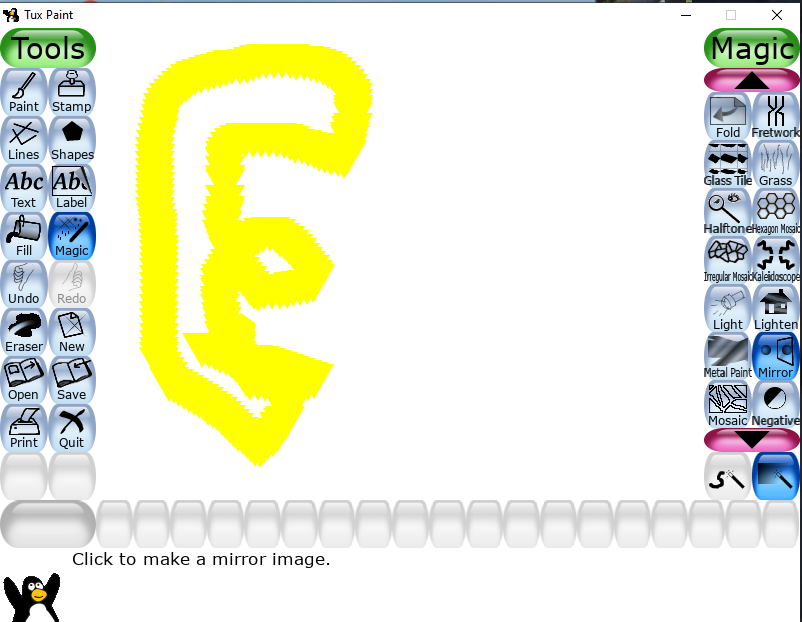
Image before mirror effect
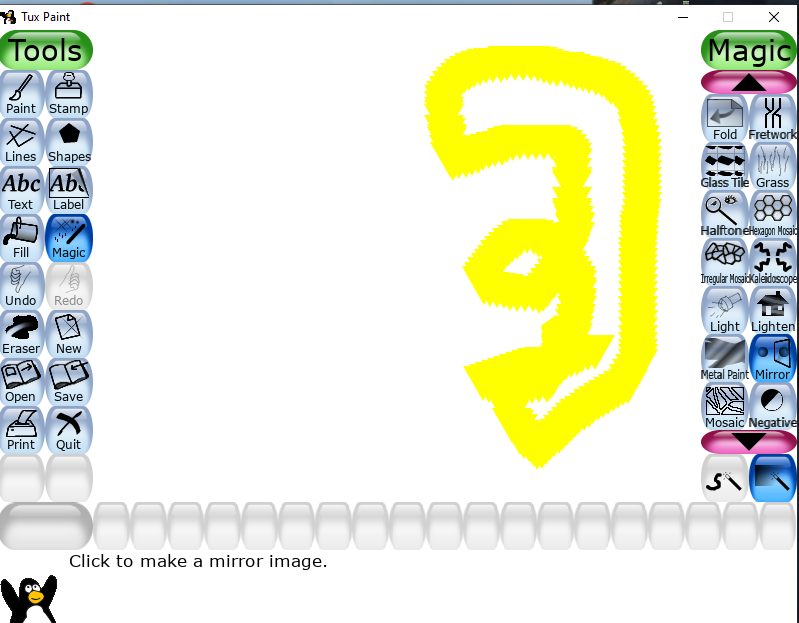
Image after mirror effect
7. You can also increase or decrease the size of the stamp by using the slope bar above the color box in the sub-toolbox.
Saving your work:
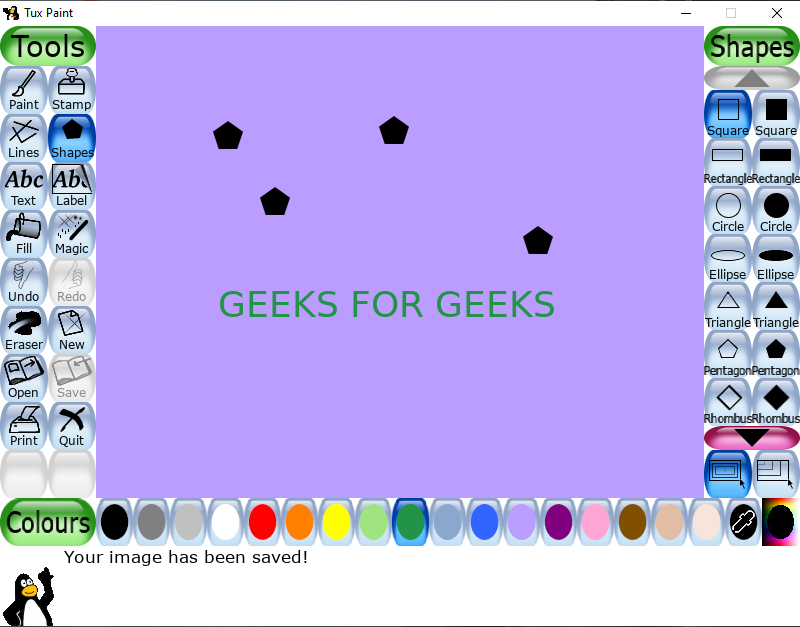
Once you finish the work, you must save your drawing for future use save tool.
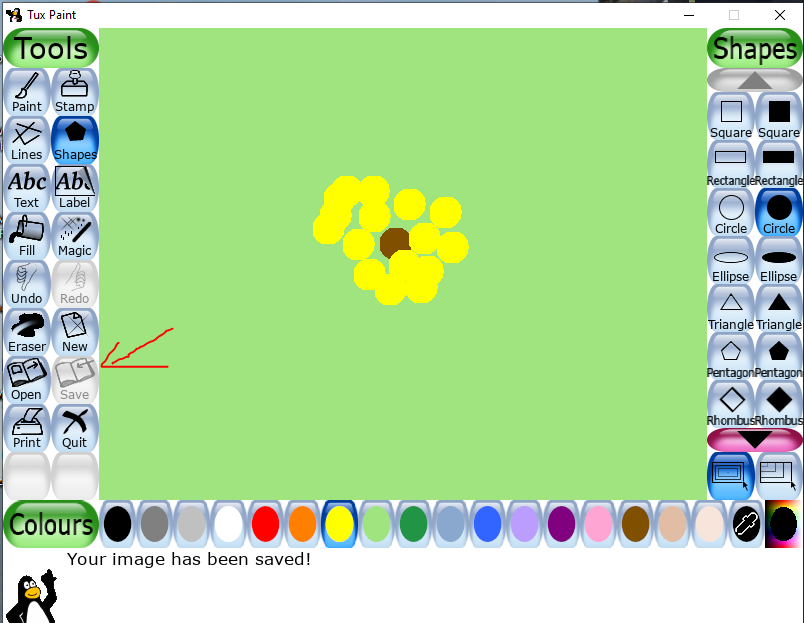
1. Just click the save tool after you finish your drawing, tux paint saves the file with the copy of the drawing without any file name.

2. If you save as already saved drawing Tux will prompt you to replace the old drawing or not. After saving your drawing, you can see a copy of your drawing in the open tool. The penguin confirms that you have saved your file successfully.
Opening and Erasing a Saved file
For opening an already saved file
1. Click on open tool
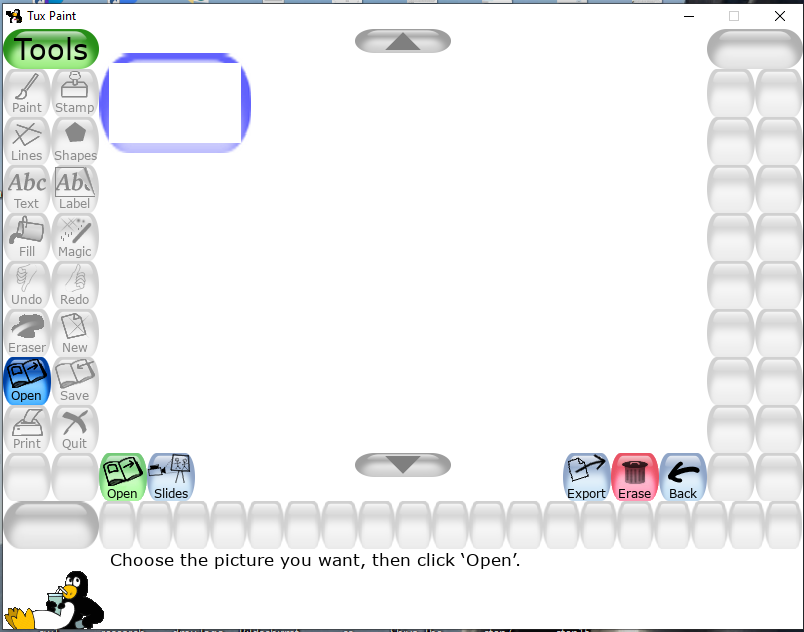
2. You will see all drawing in the form of images that have been saved to date.
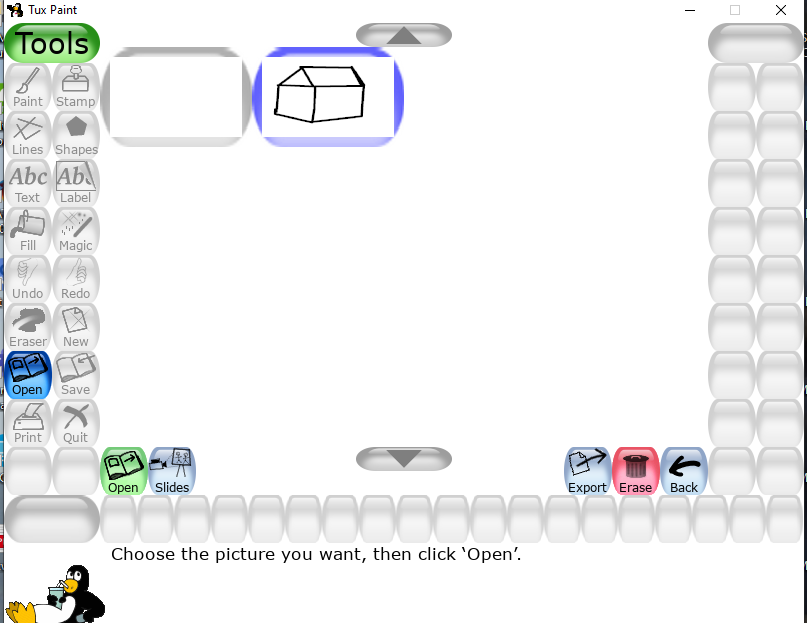
3. Select the desired drawing
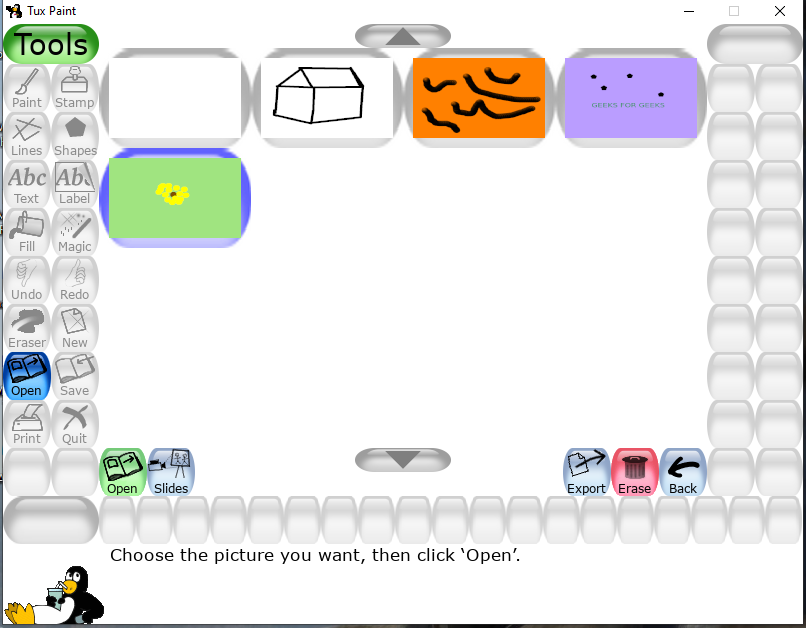
4. Clicks on the open button to open the same.
5. And if you want to erase or delete any drawing click erase button at the bottom (right side) after selecting the drawing.
Slide Show :
Tux Paint has a very special feature of Slide Show of all your drawing. In this, all the selected drawing open in a specified sequence. To do so,
1. Click on the open tool displayed on the toolbar.
2. All the drawings will be displayed in the Drawing area in the form of small images.
3. Click on the Slide button, at the bottom of the screen.
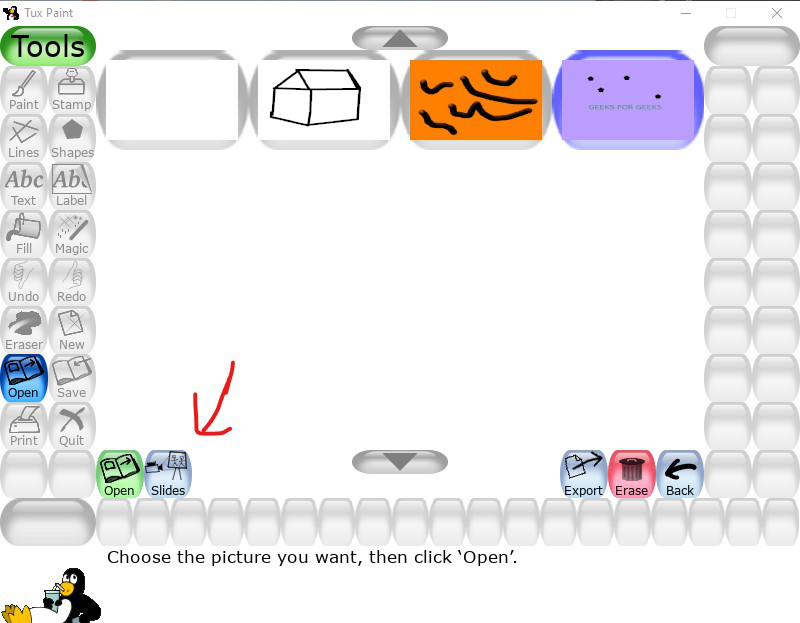
4. Click on each drawing image in the order you want to view them.
5. Now, you see that selected drawings are numbered.
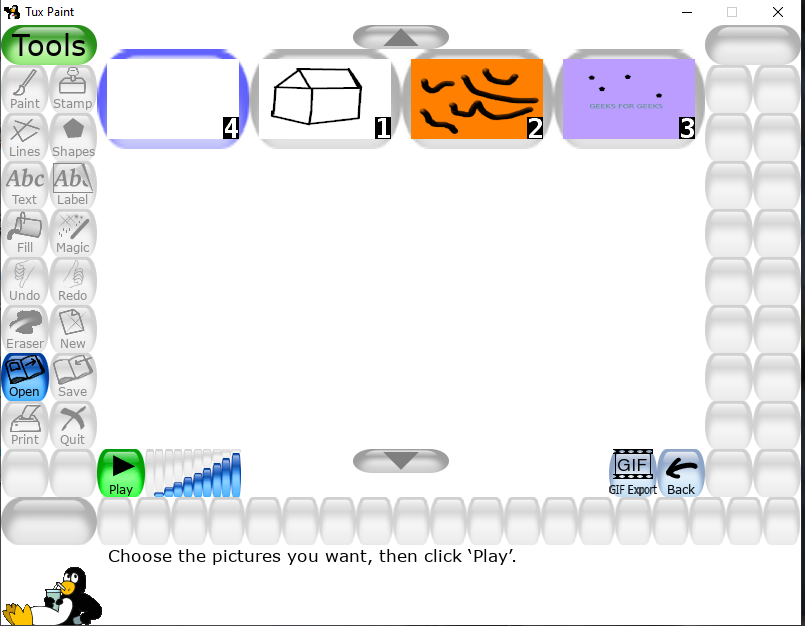
6. Click on the Play button displayed at the bottom.
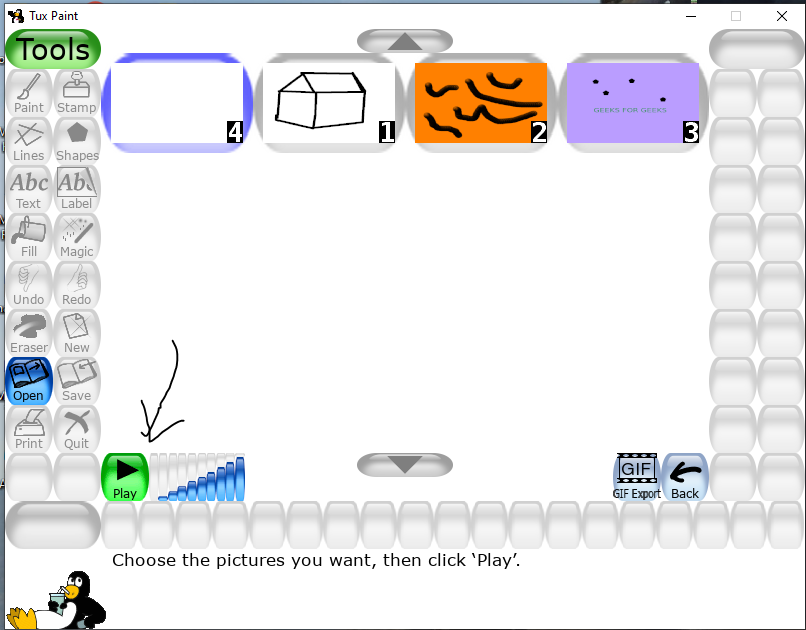
7. You can now view all the drawings one by one in the order you have selected.
Now the slide will appear in the series you have numbered them
Share your thoughts in the comments
Please Login to comment...