Leib (Estonian Black Bread!)
One of my tastiest memories from Tallinn is the bread. It was the first time I’d tasted rye bread that didn’t taste… dense and dry and seedy. It was amazing! It was absolutely delicious. In Estonia, we call this special dark rye bread ‘leib’. It is also known as ‘black bread’.
There are so many ways to make leib! I think every Estonian family has their own tradition with it. Things like the fermentation time, the spices, the seeds, the flour ratio? It’s all kind of the same thing, but also so very different. This is especially true because traditional leib uses a sourdough starter — and if you know sourdough, you know that each starter is unique. No starter is quite the same… and thus, each leib is different.
But for the most part there is your plain leib, and then your mixed bag leib. You can have a standard plain slice of rye bread, or you can zhuzh it up a little with raisins, cranberries, nuts, meat — anything goes, really! As this was my first time making leib, I went for the simple straightforward kind. Below you will find out my takeaway from making this loaf, as well as what I learned.
In Estonia, we call this special dark rye bread ‘leib’.
There are a few things that really stand out with leib.
Leib is made using a leaven (preferment) that sits about 18-24 hours. This is a long time to ferment, and it really makes a unique, tangy taste. Want less tang? Let it sit for less time.
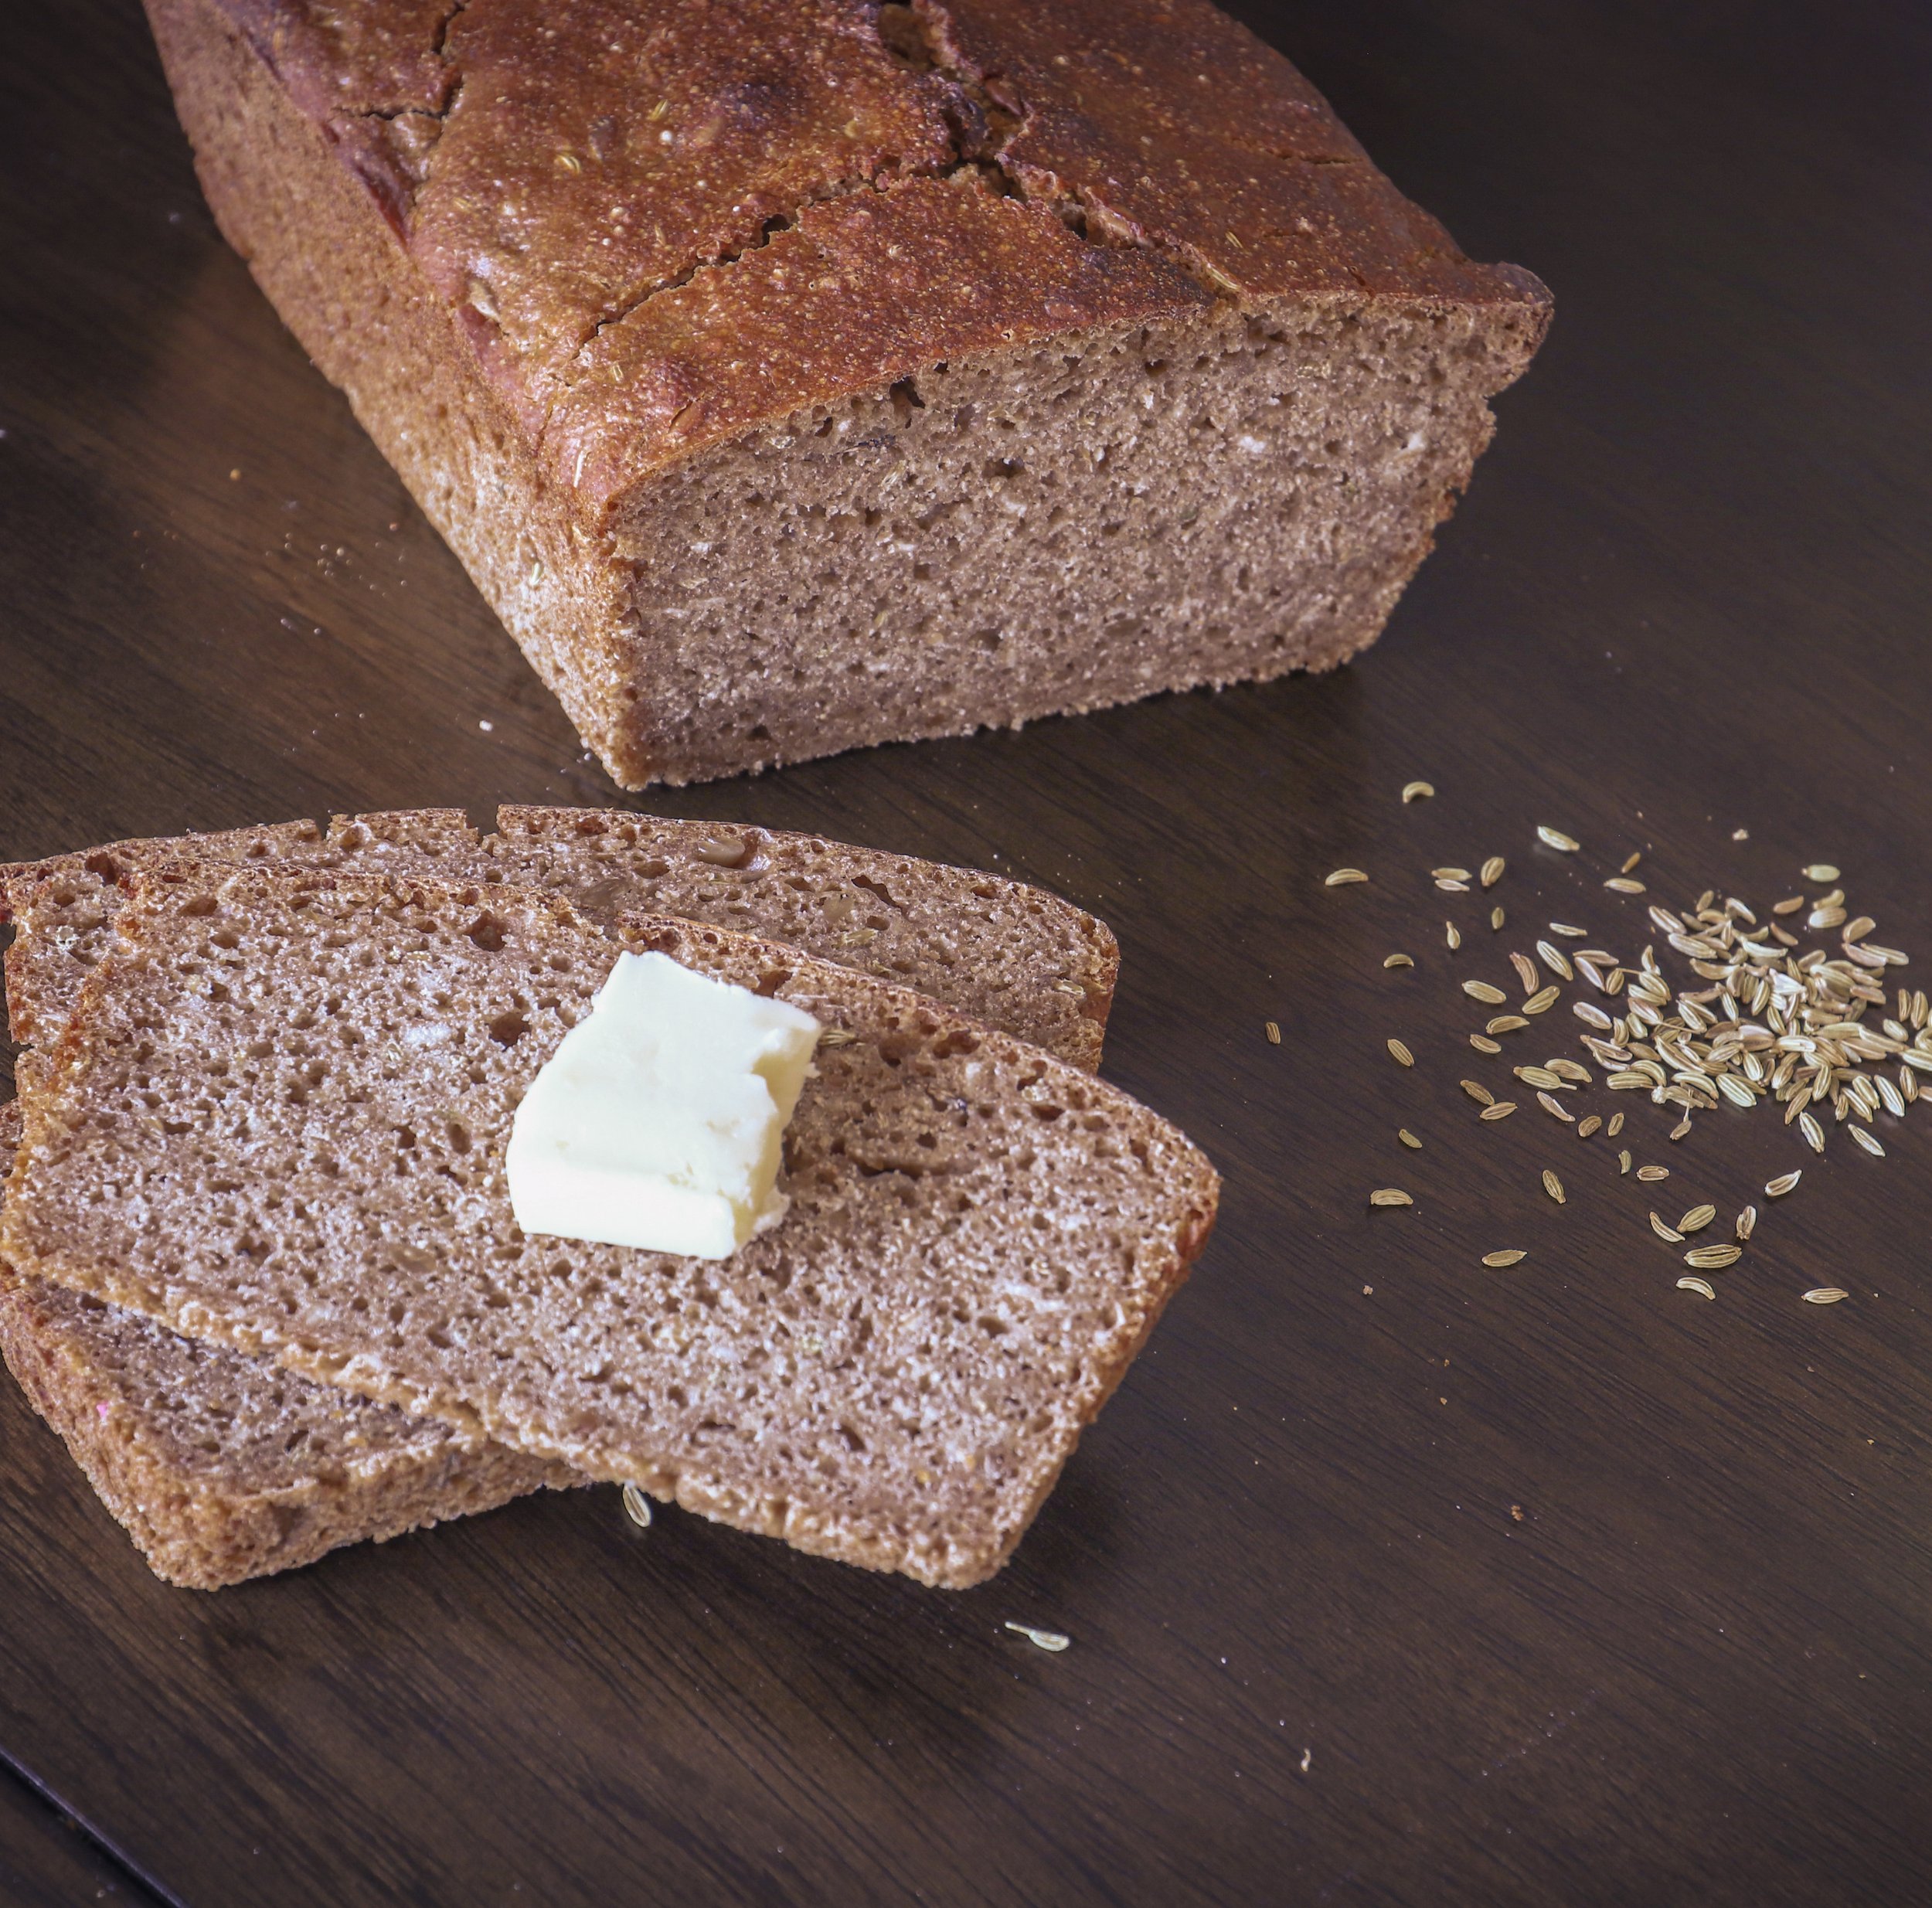
Often you will include things like rye malt powder, caraway seeds, or fennel. These strong tastes and aroma help make leib so delicious!
Some people darken their loaf with cocoa powder. There is no need to do this if you use rye malt and dark rye flour! The “Maillard reaction” will do its work and make your loaf a nice rich brown in the cooking process. But if you want it extra dark, no one will really judge you if you go that extra mile.
It is nice to make it as a 100% dark rye loaf. However, you can also get very tasty results by mixing it with whole wheat or other kinds of flour!
Unlike other types of bread, rye bread will not get that elastic dough where you can stretch it thinly between your fingers. Rather than relying on gluten to bind the dough together and create pockets of air as the yeast does its work, it actually has more of a gel-like reaction and this gel trapping the air bubbles from the wild yeast is what gives the dough its rise. This is also why an undercooked rye loaf will seem gelatinous. Make sure it’s cooked all the way!
Maillard reaction: what is it? It is a chemical reaction involving acids and sugars that gives browned food such a distinct flavor.

100% Rye Dough is not elastic. At all.
In fact, it is more claylike. Like playdough! It can be sticky, and hard to work with… you just add a bit of flour until you CAN work with it. Don’t try kneading it. Just incorporate everything well. A dough with this consistency will deliver a denser crumb. If you want more air in your slice, don’t add additional flour and instead keep it the consistency of a thick porridge.
When making a loaf for the first time, especially something so different as a 100% rye loaf… there was a little experimentation to be had. I did three different loaves and for each I varied the proofing environment, as well as the hydration. Below you can see the results.

The results of the experiment? Slower proofs in the cold, or shorter proofs in a warm environment. No need to do a very long proof if your environment is warm. You can have more or less hydration based on your preference of crumb.
I was using a recipe that was passed down from word of mouth and then translated, so the instructions weren’t exactly the best! I had to do some experimenting to see what kind of consistency I wanted. The first loaf on the left was overproofed — the bubbles all popped on the surface and made dimples and it wasn’t as nicely domed as it had been a few hours earlier. This loaf was baked in a more narrow pan, so it is higher than the others. I put it in a warm location to proof for several hours.
The loaf in the middle was baked in a wider pan and was left out to proof in my cold kitchen for 6-8 hours. It didn’t over proof and came out pretty nice! But keep in mind, it’s the middle of winter and my kitchen is quite cold. If it was a warmer environment, I would have not left it out as long.
The loaf on the right was treated the same as the loaf on the far left, except that it did not have any extra rye flour added after the initial mixing, so it had more moisture content and was pourable. The consistency is actually pretty nice with the open air air bubbles inside, but alas it was over proofed and collapsed in the middle as well. Tastes fine, though!
Enough talking, though. This is the important part, coming up. Just remember that this was my first experiment with making leib, and although it turned out tasting really great, there are definitely things I’m going to adjust to make the next loaf! This loaf tasted very tangy, with a big bite from the fennel and coriander, and with a very well put together crumb that was chewy but pleasant.
The recipe I used for these loaves is as follows!
INCREDIENTS
The Leaven (it’s much like a poolish made with sourdough starter):
6 cups of warm water that has been left on the counter for 24 hours
2 cups of sourdough starter
750g of dark rye flour
Mix together with a spoon. Let it sit for 18-24 hours in a warm place free from drafts. I had to use 2 big bowls to fit everything.
Next, once the leaven is frothy and has lots of bubbles on it, add:
9 teaspoons of sea salt
1 1/2 cups of sugar
750g of dark rye flour
1/2 cup of rolled oats
15g of coriander
15g of fennel seeds (or caraway)
1/2 cup of sunflower seeds
METHOD
This will yield a very wet and sticky dough! You can use this as your dough for the bread if you want higher hydration and bigger air pockets. For a denser loaf, though, keep adding rye flour a handful at a time until it is solid enough that you can mold it without it sticking too much. If you wet or flour your hands, as well as use a dough scraper, it will be easier to handle.
The wet dough can be spooned in to a greased loaf pan and left to rise for 6 hours in a cool place (or 2+ hours in a warm place). The dough should only rise a little, like an inch or two. Before leaving to rest, take a wet spoon and smooth the top out.
The denser dough can be rolled and folded into a sausage shape, and placed in a pan. Before you leave it for a few hours to rest, flatten the top with a wet spoon. It can take as little as 2+ hours or as much as 6 hours, depending on your kitchen’s temperature. It will only rise slightly.
Once you see a bit of a domed top shaping up and it’s risen about an inch or so, you are ready to bake! If air dimples have appeared on the surface, it has overproofed… the flavour might be a bit affected and the look won’t be as nice (take a look at the far left loaf in my picture to see what I mean). But hey, I taste tested it and it wasn’t bad! Waste not want not. Or use it as altus, maybe?
In an oven that has been heated to 445 F, take a cookie pan filled with water on the lower shelf. On the middle shelf, put your loaf that is ready to bake. Keep it there for 12 minutes, and then lower your oven temperature to 395 F. Bake for another 45 minutes, or until the loaf is cooked through.
Remove and let sit for 20 minutes before turning over on a cooling rack. Let sit, covered with a clean and slightly dampened tea towel, for 2 or more hours before cutting in to it, as it will still be baking and ‘setting’ on the inside.
And that’s it! You have a loaf of leib! I will be doing an experiment with some slightly different variations in my next batch. I am on a quest to make leib as delicious as the ones from the Muhu bakery I enjoyed in Tallinn.
Enjoy! Nägemist.