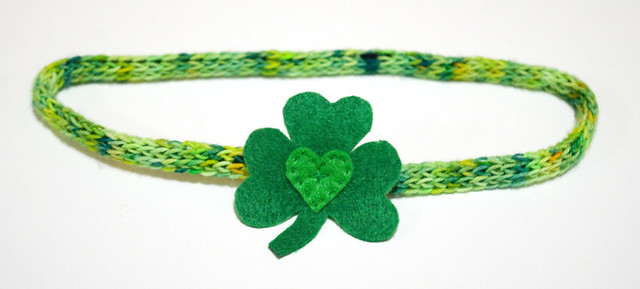
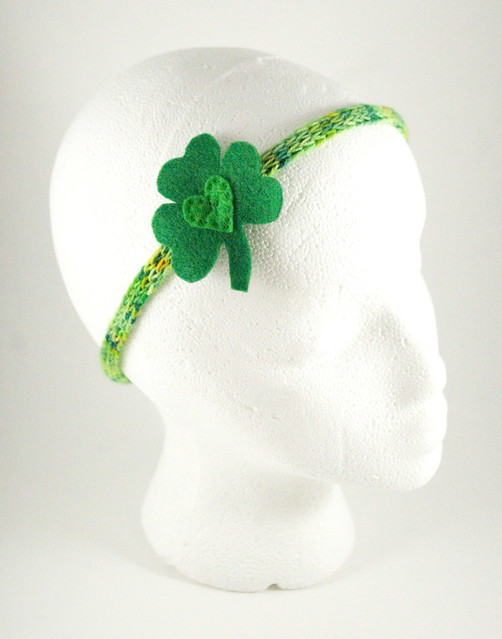
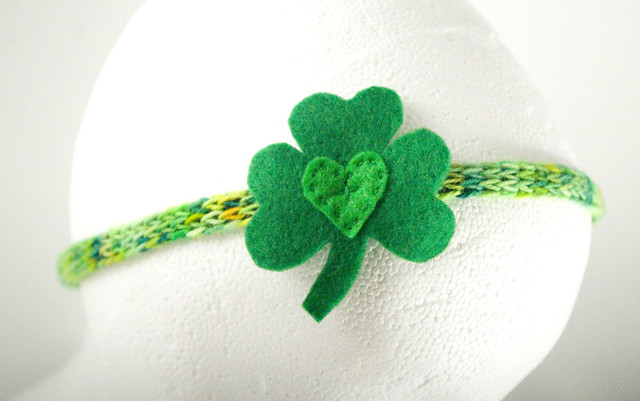
I loved to spool knit (also known as corking) as a kid. I would make yards and yards of multicolored I-cord, but I never quite knew what to do with it after that. So I thought I’d figure out a way to use some spool knitting in a useful way — and only a short length of it, too, so that little ones with not much patience could still make something fun.
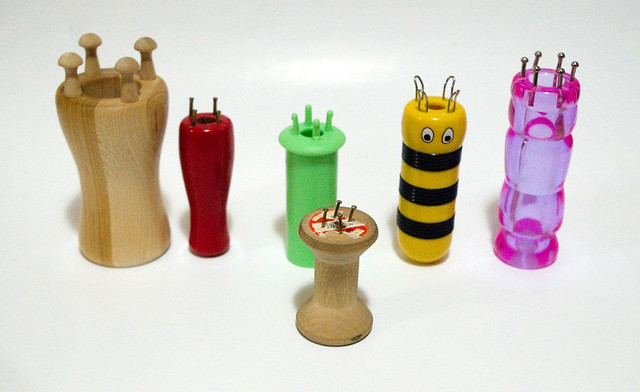
For this craft you will need a spool knitter or knitting spool, which is also known as a french knitter, a knitting dolly, a knitting mushroom, or a small knitting loom. There are probably terms I’ve never heard of as well, but they’re all the same tool! You can buy one commercially; they’re often found at thrift stores as kids tire of them, and sometimes at dollar stores in the craft section. Walmart even carries a few kinds if you don’t have a craft store in your area. But you can always make your own as I did with the one in the front, which is just four nails in an old wooden spool. The one that I’ve chosen to use for this craft is the pink one on the far right, which has six points instead of the more common four, just because I’ll be using a thin sock yarn. But you can use whatever kind you have handy!
Spool-Knit Headband
Materials:
– yarn
– narrow flat elastic
– two shades of green felt
– green thread to match felt
Supplies Needed:
– knitting spool
– crochet hook or spool knitting hook
– scissors
– small needle for sewing
– darning needle
– pencil or marker
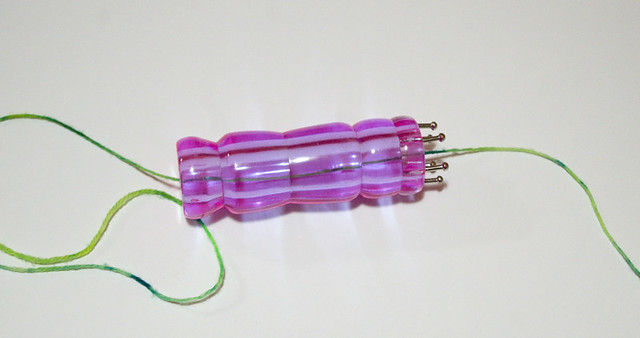
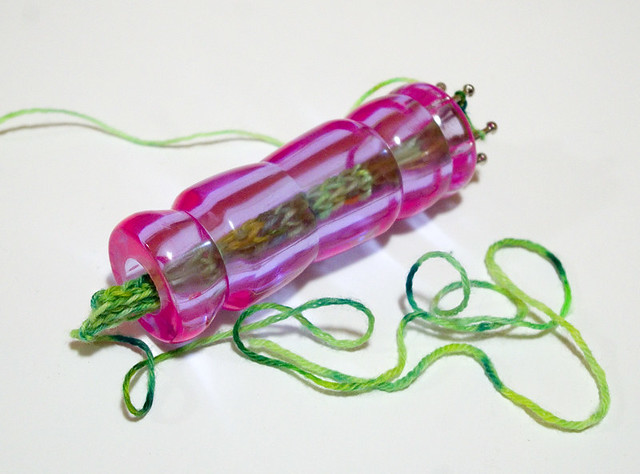
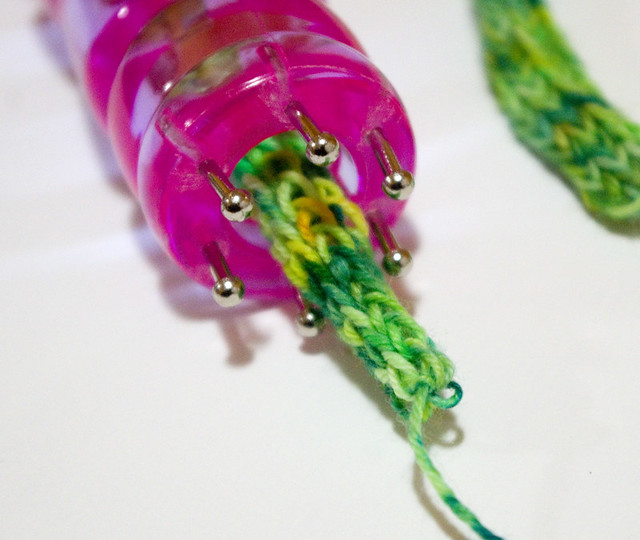
1. Thread your yarn through the knitting spool, leaving a tail of approximately 6″ dangling. The ball of yarn should end up at the end of the tool with the pegs.
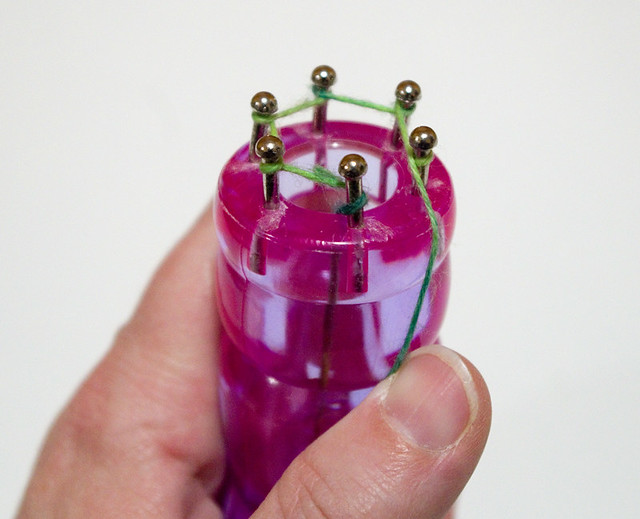
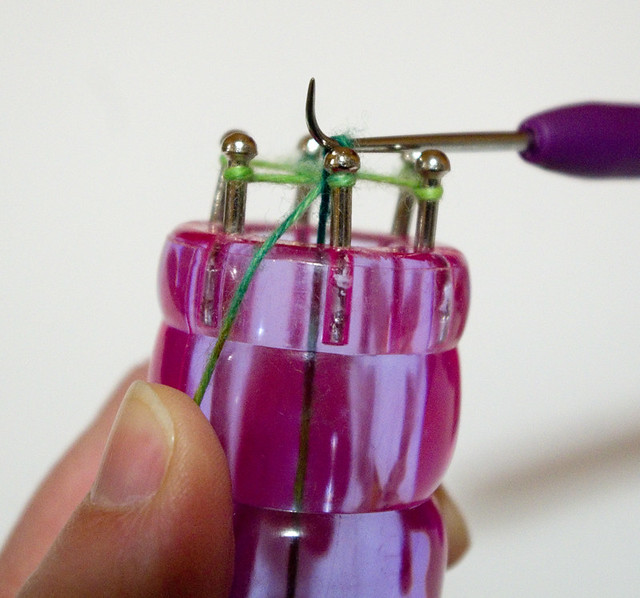
2. Keeping the yarn taut, wrap the yarn counter-clockwise once around your starting peg (all of the pegs are identical, just choose one to start from). Spin the knitting spool counter-clockwise in your hand until the next empty peg is directly in front of you, then wrap the yarn counter-clockwise once around that peg. Continue in this manner until all of the pegs are wrapped.
3. Wrap the starting peg a second time.
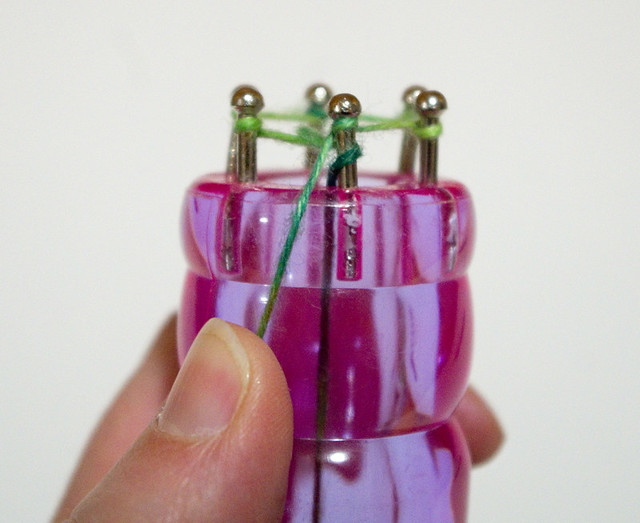
4. Using your hook, flip the first wrap over the second. Give the tail a gentle tug to set the loop.
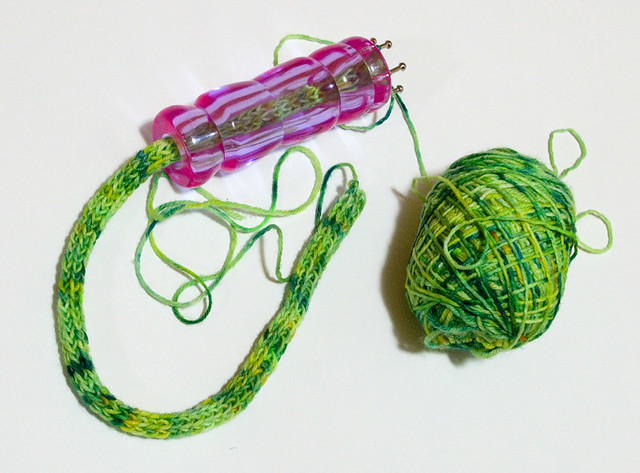
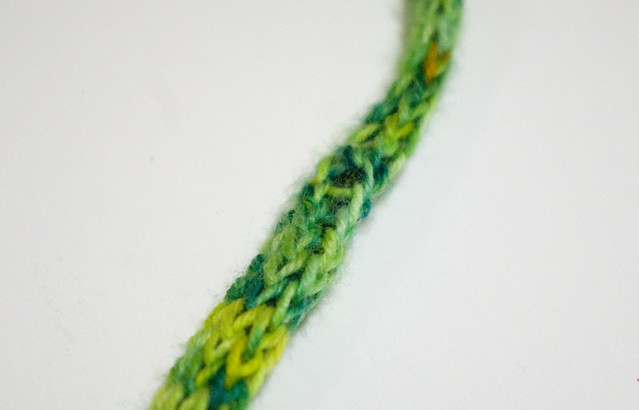
5. Continuing to move counter-clockwise, wrap each peg, flip the oldest wrap over the newest, and then give the tail a gentle tug. This will create a long spiral of spool knitting.
6. Continue in this method until the I-cord you have created is as long as the circumference of the head of the person who will be wearing the headband. Make sure that the measurement is taken without stretching the knitting.
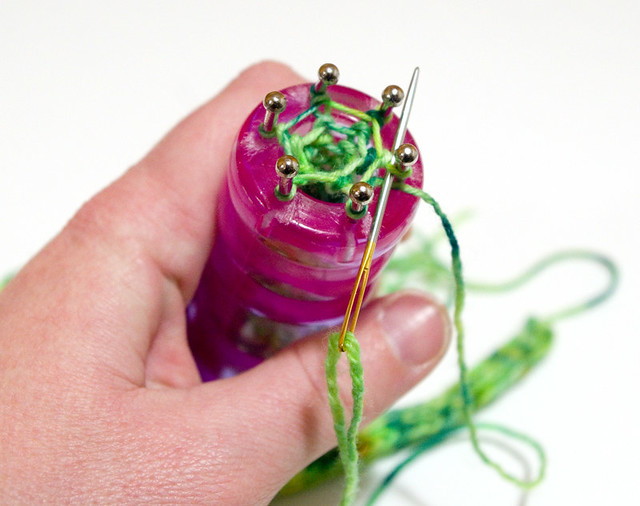
7. Cut the yarn about 6″ away from the peg end of the spool knitting. Thread the end of the yarn through the darning needle. Moving counter-clockwise from the last stitch, use the darning needle to thread the yarn through each loop.
8. Pull the loops off of the pegs, then pull the yarn taut. Tie the yarn securely so that the knitting will not unravel.
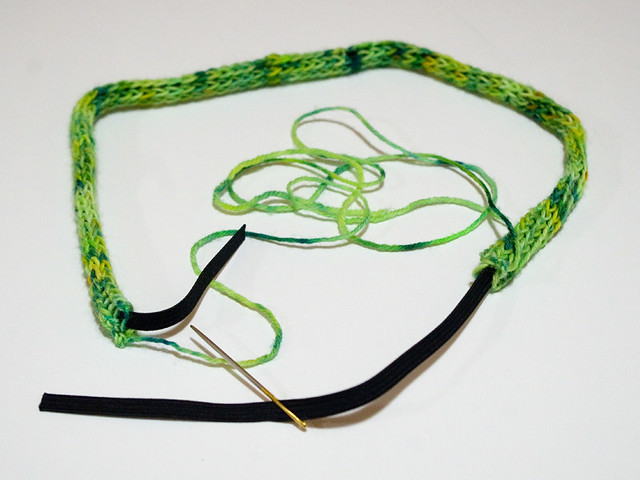
9. Remove the I-cord from the knitting spool. Thread the elastic through the darning needle. Use the darning needle to pull the elastic through the center of the “tube” of the I-cord.
10. Push the I-cord back on the elastic to create a clear working area. Cut the elastic to the circumference of the intended head. Overlap the elastic about 1cm and, keeping it flat, stitch the ends together.
11. Pull the I-cord back so that it covers all of the elastic. Tie the two tails of yarn together tightly, then pass them both through the darning needle and use them to roughly stitch the two ends of the I-cord together.
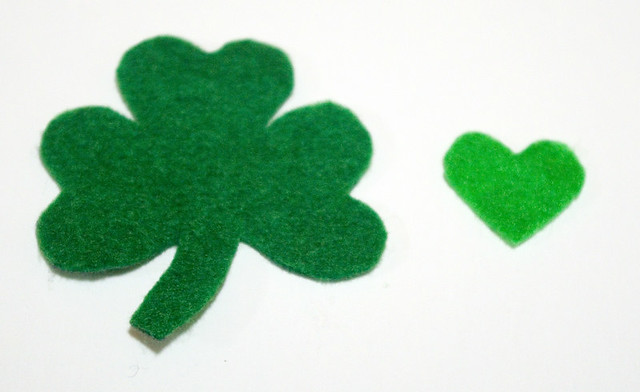
12. Use a pencil or marker to sketch a shamrock and a small heart out of two different shades of felt. Cut the designs out with scissors.
<img src="https://farm8.staticflickr.com/7856/46685216214_0aff433758_z.jpg" width="640" height="544"
13. Making sure that the non-marked side remains up, stitch the heart to the top of the shamrock.
14. Stitch the shamrock over the area on the headband where the two ends of I-cord were joined.
That’s all there is to it! Of course, any colour of yarn and any felt design can be used. I just thought that it would be nice to have something in the theme of Saint Patrick’s Day given that it was coming up on the weekend. But red, white, and pink with a heart design would be lovely for Valentine’s Day; red, white, and green for Christmas; you could make it in the colours of your favorite sports team or even Hogwarts House. Be creative!

