
By Nicole Tinkham
Rubber stamping is BIG right now especially with the holiday season right around the corner. Whether you’re an experienced stamper or new to the exciting craft, embossing powder is definitely something to look into. This simple powder can go a long way and really make your project stand out. While a heat gun is needed, there’s no reason to be hesitant in trying out this technique. In this post, we’ll explain what embossing powder is and how to use it, just in time to start working on those holiday cards!
What is it?
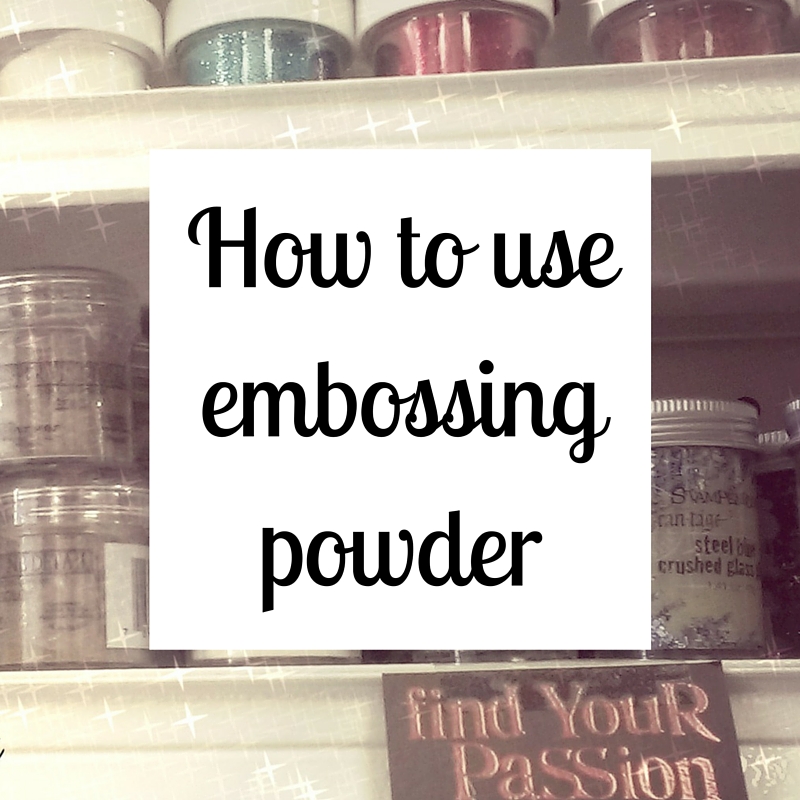
Embossing powder is a special powder that when heated, melts to form an embossed (or raised) surface. In the beginning, there were only a few colors available but today you can find endless options. For example, distressed powder doesn’t turn shiny when heated like other embossing powders but rather stays coarse giving it a distressed look and feel. Clear embossing powder is also available and can be used with pigmented ink. There are numerous colors available such as gold, pastels, and deep hues as well as different surfaces including glossy and matte.
The tools
To achieve the embossed look, you will need embossing powder and a heat gun along with a few other supplies.
Heat gun: When using embossing powder, you MUST have a craft heat gun! They are designed for crafts, blowing extremely hot air (but not too hot) with a low air current as to not blow the powder right off the page. Hair dryers and paint strippers are not an adequate substitution! You will find craft heat guns in a variety of different sizes with options including speed and cooling settings. BE CAREFUL: Heat guns are hot and can be dangerous!
Embossing powder: There are many different types of embossing powder available (see above).
Ink: Ink is used to hold the powder in place while applying heat. Clear embossing ink is available but pigmented ink can be used as well.
Stamps: You can use any stamp to get the ink onto the paper. With so many unique stamps at Keeton’s, you’re bound to find a few you love!
Surface (card): Feel free to get creative with the material in which you emboss on. Try embossing on different types of surfaces (textured, plain, glossy, etc.). It’s always a good idea to try it out on a small piece of scrap paper first to see how it will turn out.
Cleaning products: As with any stamping project, it’s important to keep your rubber stamps clean so they last a long time. See our blog post on How to Clean Your Rubber Stamps for more info!
The basic technique
- Have all of your supplies on hand. It’s much easier to work with everything within reach! Once you have everything ready, the first thing you need to do is load up your stamp with ink (either clear or pigmented).
- Press the stamp on the surface that you are working with.
- Place your stamped paper on a larger sheet or tray. This makes cleaning up unused powder much easier. Sprinkle plenty of embossing powder over the entire stamped design.
- Tap off extra powder and use a brush to get any stray particles of embossing powder.
- You don’t have to waste the excess embossing powder! Simply put it back in the container for next time!
- Hold the heat gun up to your design close enough to melt the embossing powder but far enough away to not burn the paper. As the powder melts, it will start to change. When this happens, move the heat gun over another area. You want to hold the heat gun steady, working one section at a time.
- Once you’ve hit every area with the heat gun, your embossed piece is complete! You can now incorporate it into a card, tag, or whatever you are using it for.
Other techniques to try
Above we mentioned the basic technique when working with embossing powder however there are many other techniques you can experiment with. You may even discover a new technique when experimenting, in which case we encourage you to share it with us!
Freeform – You don’t necessarily have to apply ink with a stamp. You can achieve a freeform design by dabbing your ink pad right on the paper.
Edging – For a subtle effect, emboss the edges of the paper by wiping the edge along the ink pad. Dip it in the embossing powder and heat with the heat gun.
Glossy finish – For a glossy finish, take the already embossed piece and dab the surface with clear embossing ink. Cover the surface with clear embossing powder and use your heat gun. Repeat until you reach the desired amount of gloss.
Make an impression – Instead of embossing the stamped image, you can do the opposite by embossing the entire piece of paper and make an imprint of the stamp. To do this, create 3-4 layers of embossing over the paper. While still warm, press your pre-inked stamp into the embossment and leave until the piece has cooled. Once set, remove your stamp to reveal the impression!
Distressed – Create a distressed look by using distressing powders. Simply apply clear embossing ink to the areas that will be embossed and sprinkle the distressing powder over those areas. Heat the areas with a craft heat gun as normal. You can now use your finger to rub off the course particles but DO NOT put these particles back in the container. Design tip: when you’re preparing your piece before embossing, consider using distressing inks to add to your distressed look. You can dab the ink pad along the edges of your piece for a nice effect.
As you can see, there are many techniques that can be achieved with embossing powder. Sometimes all it takes is a little experimentation so have fun with it and try something new! If you want to see how the process is done in person, stop in and talk to Joey, our stamping expert. She’s very knowledgeable and has a ton of tips and tricks up her sleeve!

I love embossed images but I need to practice. I have a talent for scorching my project at the last second. Yikes! Very good tutorial.
We love this technique as well but you’re right, it does take a bit of practice to get it just right! If you’re in the area, feel free to stop by and visit Joey. She is amazing at anything stamp related and has a ton of helpful tricks!